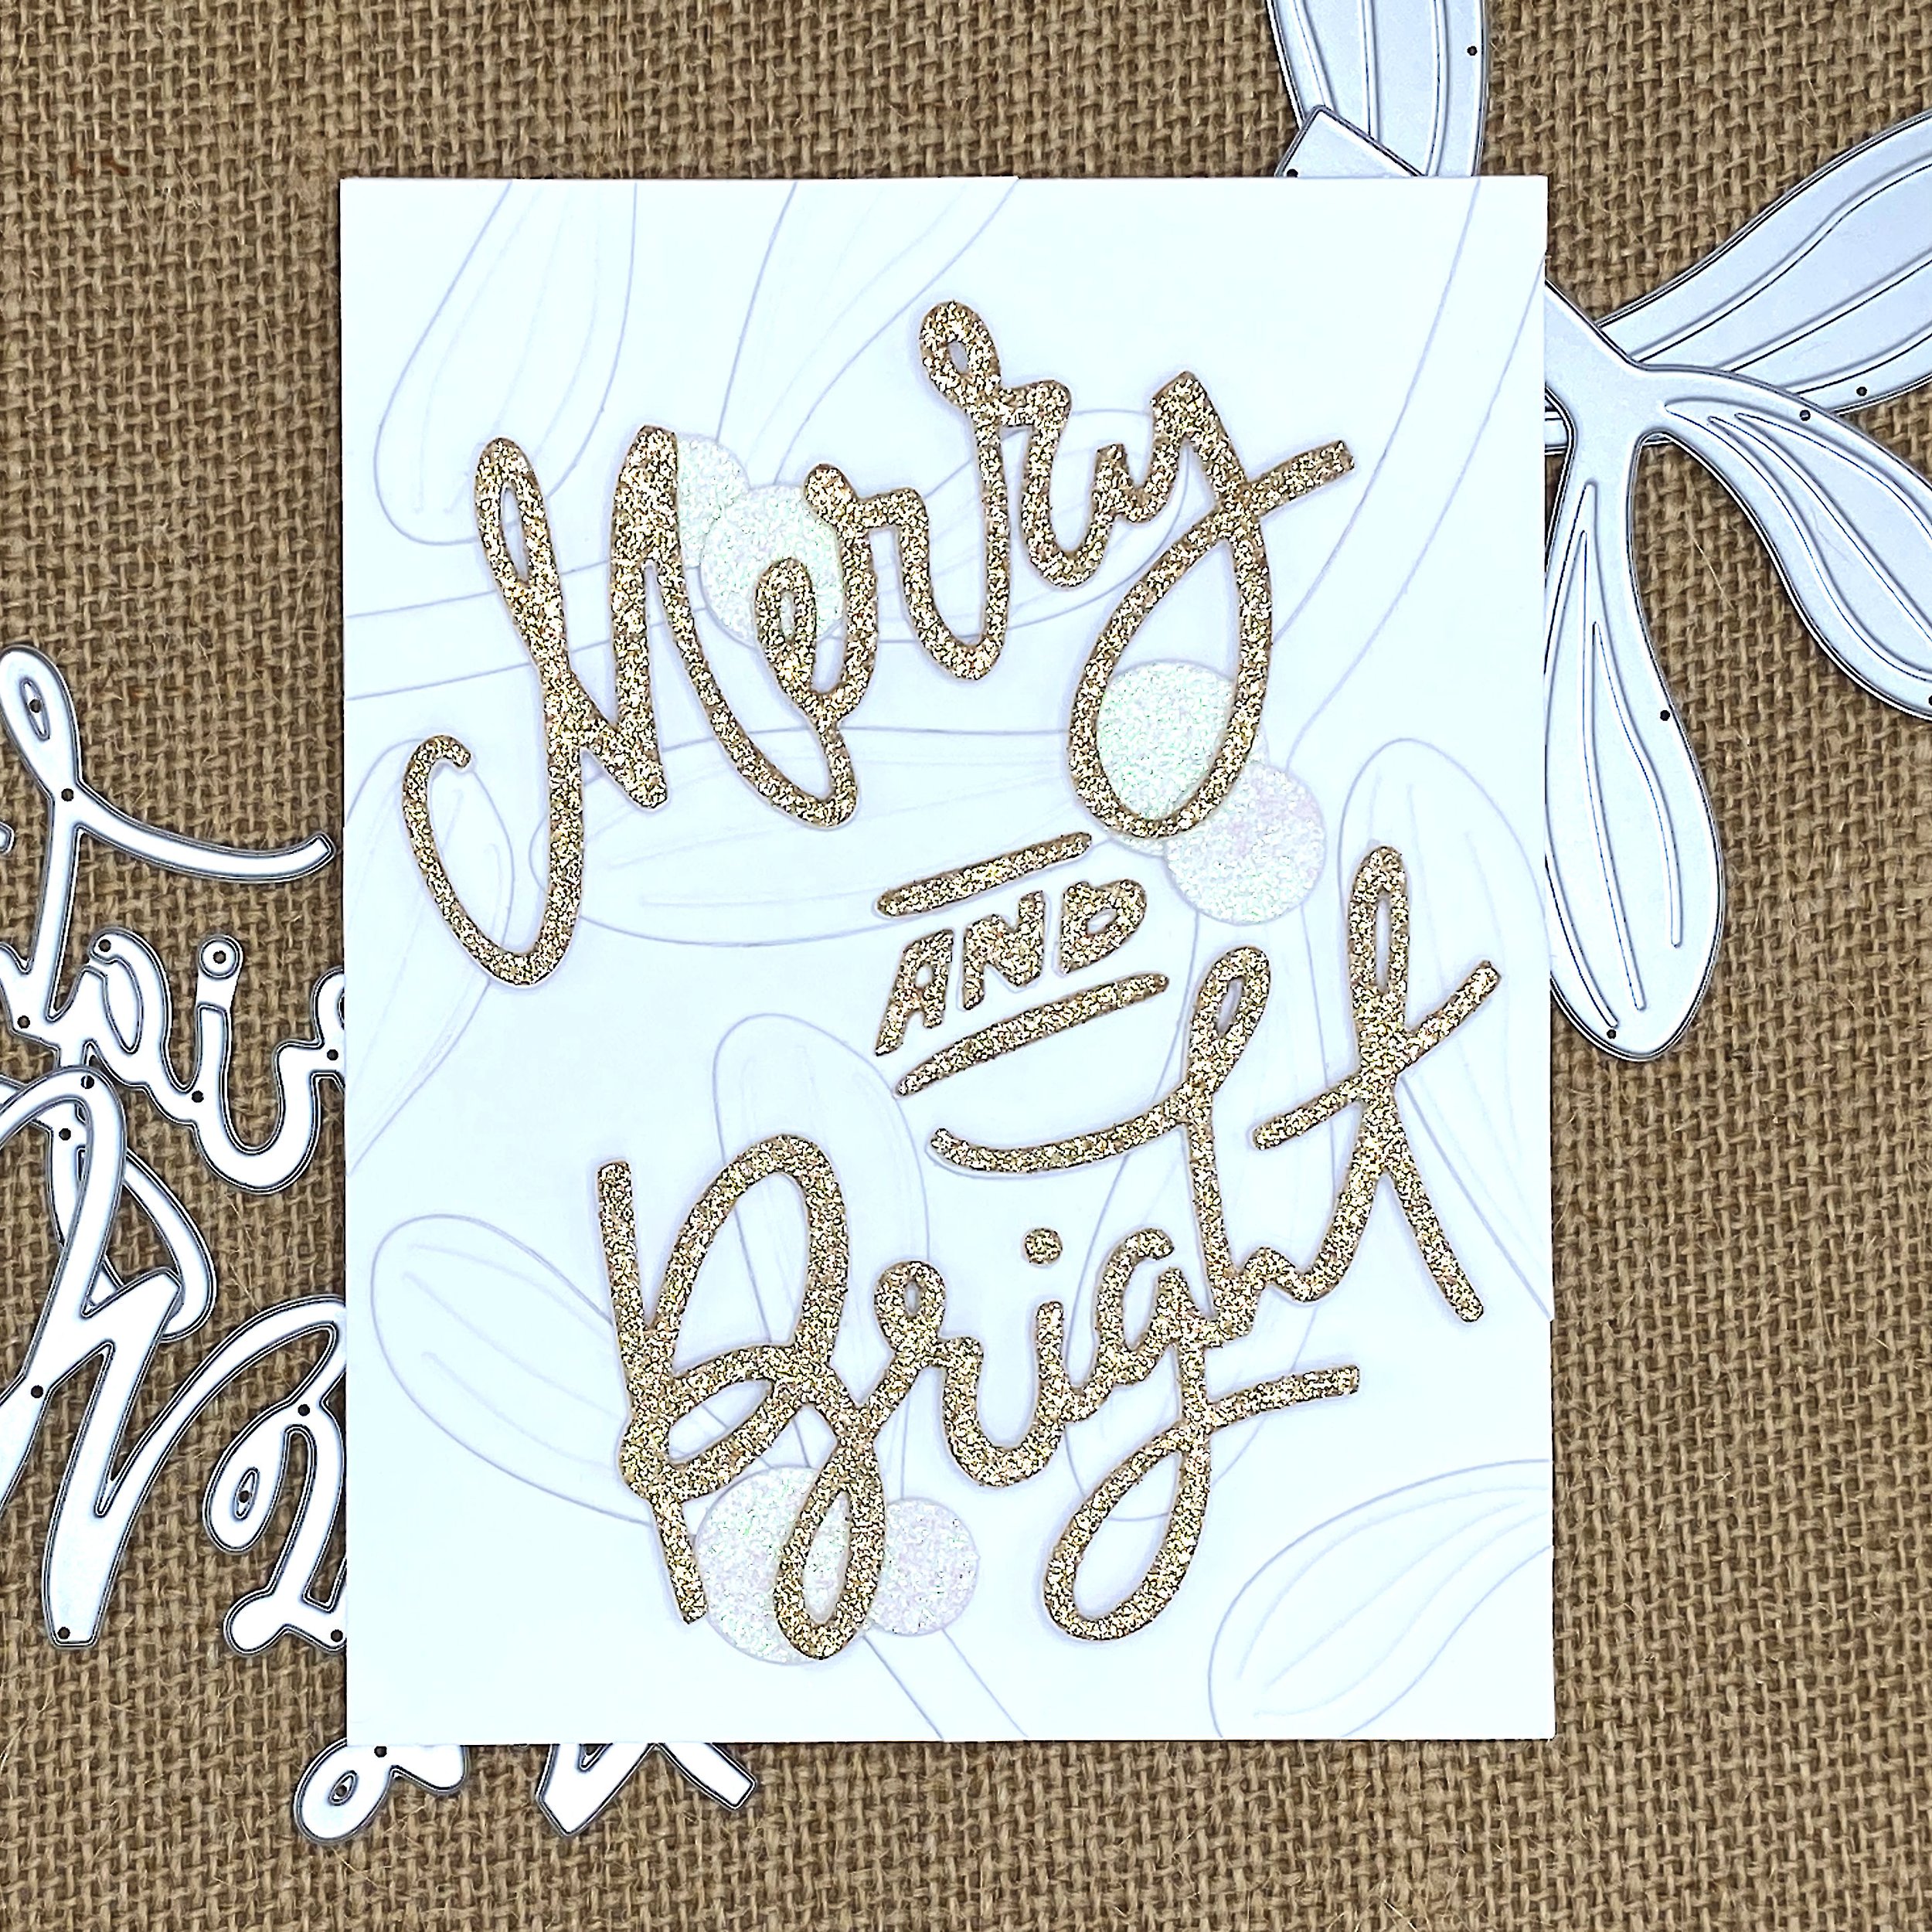
Mistletoe card tutorial
Affiliate links: You support my crafty business whenever you click on a link and buy something, and it doesn’t cost you a penny extra.
Giveaway
I designed this for Brennan’s Crushing Christmas Card Hop on Instagram. This month (December 2023) the hop is also a giveaway with prizes sponsored by Sizzix and TCW.
Sizzix are well known for their dies designed by famous designers like Tim Holtz and Lisa Jones. TCW, aka The Crafters Workshop, specialize in stencils and related products. They’re a big name in the art journaling and mixed media scene.
The giveaway is open internationally and ends on December 31st. Head on over to my post, if you want to participate.
Supplies
This card is relatively simple - it makes use of two Sizzix die sets:
Merry & Bright by Tim Holtz
For cardstock I’m using Recollections Glitter Cardstock in White and Champagne. Accent Opaque is used for stacking die cuts, too.
Background
This background technique is called faux embossing. Basically you use die cuts in the same color as the background to simulate an embossing folder. These large mistletoe leaves make this technique easy.
I started by cutting four of each of the three leaves from Accent Opaque 100 lbs. I doubled up my leaves. Then I placed the largest leaves first and worked my way down in size, trying to space them evenly across the card panel. I glued down my leaves as I went. That allowed me to cut off the parts that stuck out from the card and re-use them in another location.
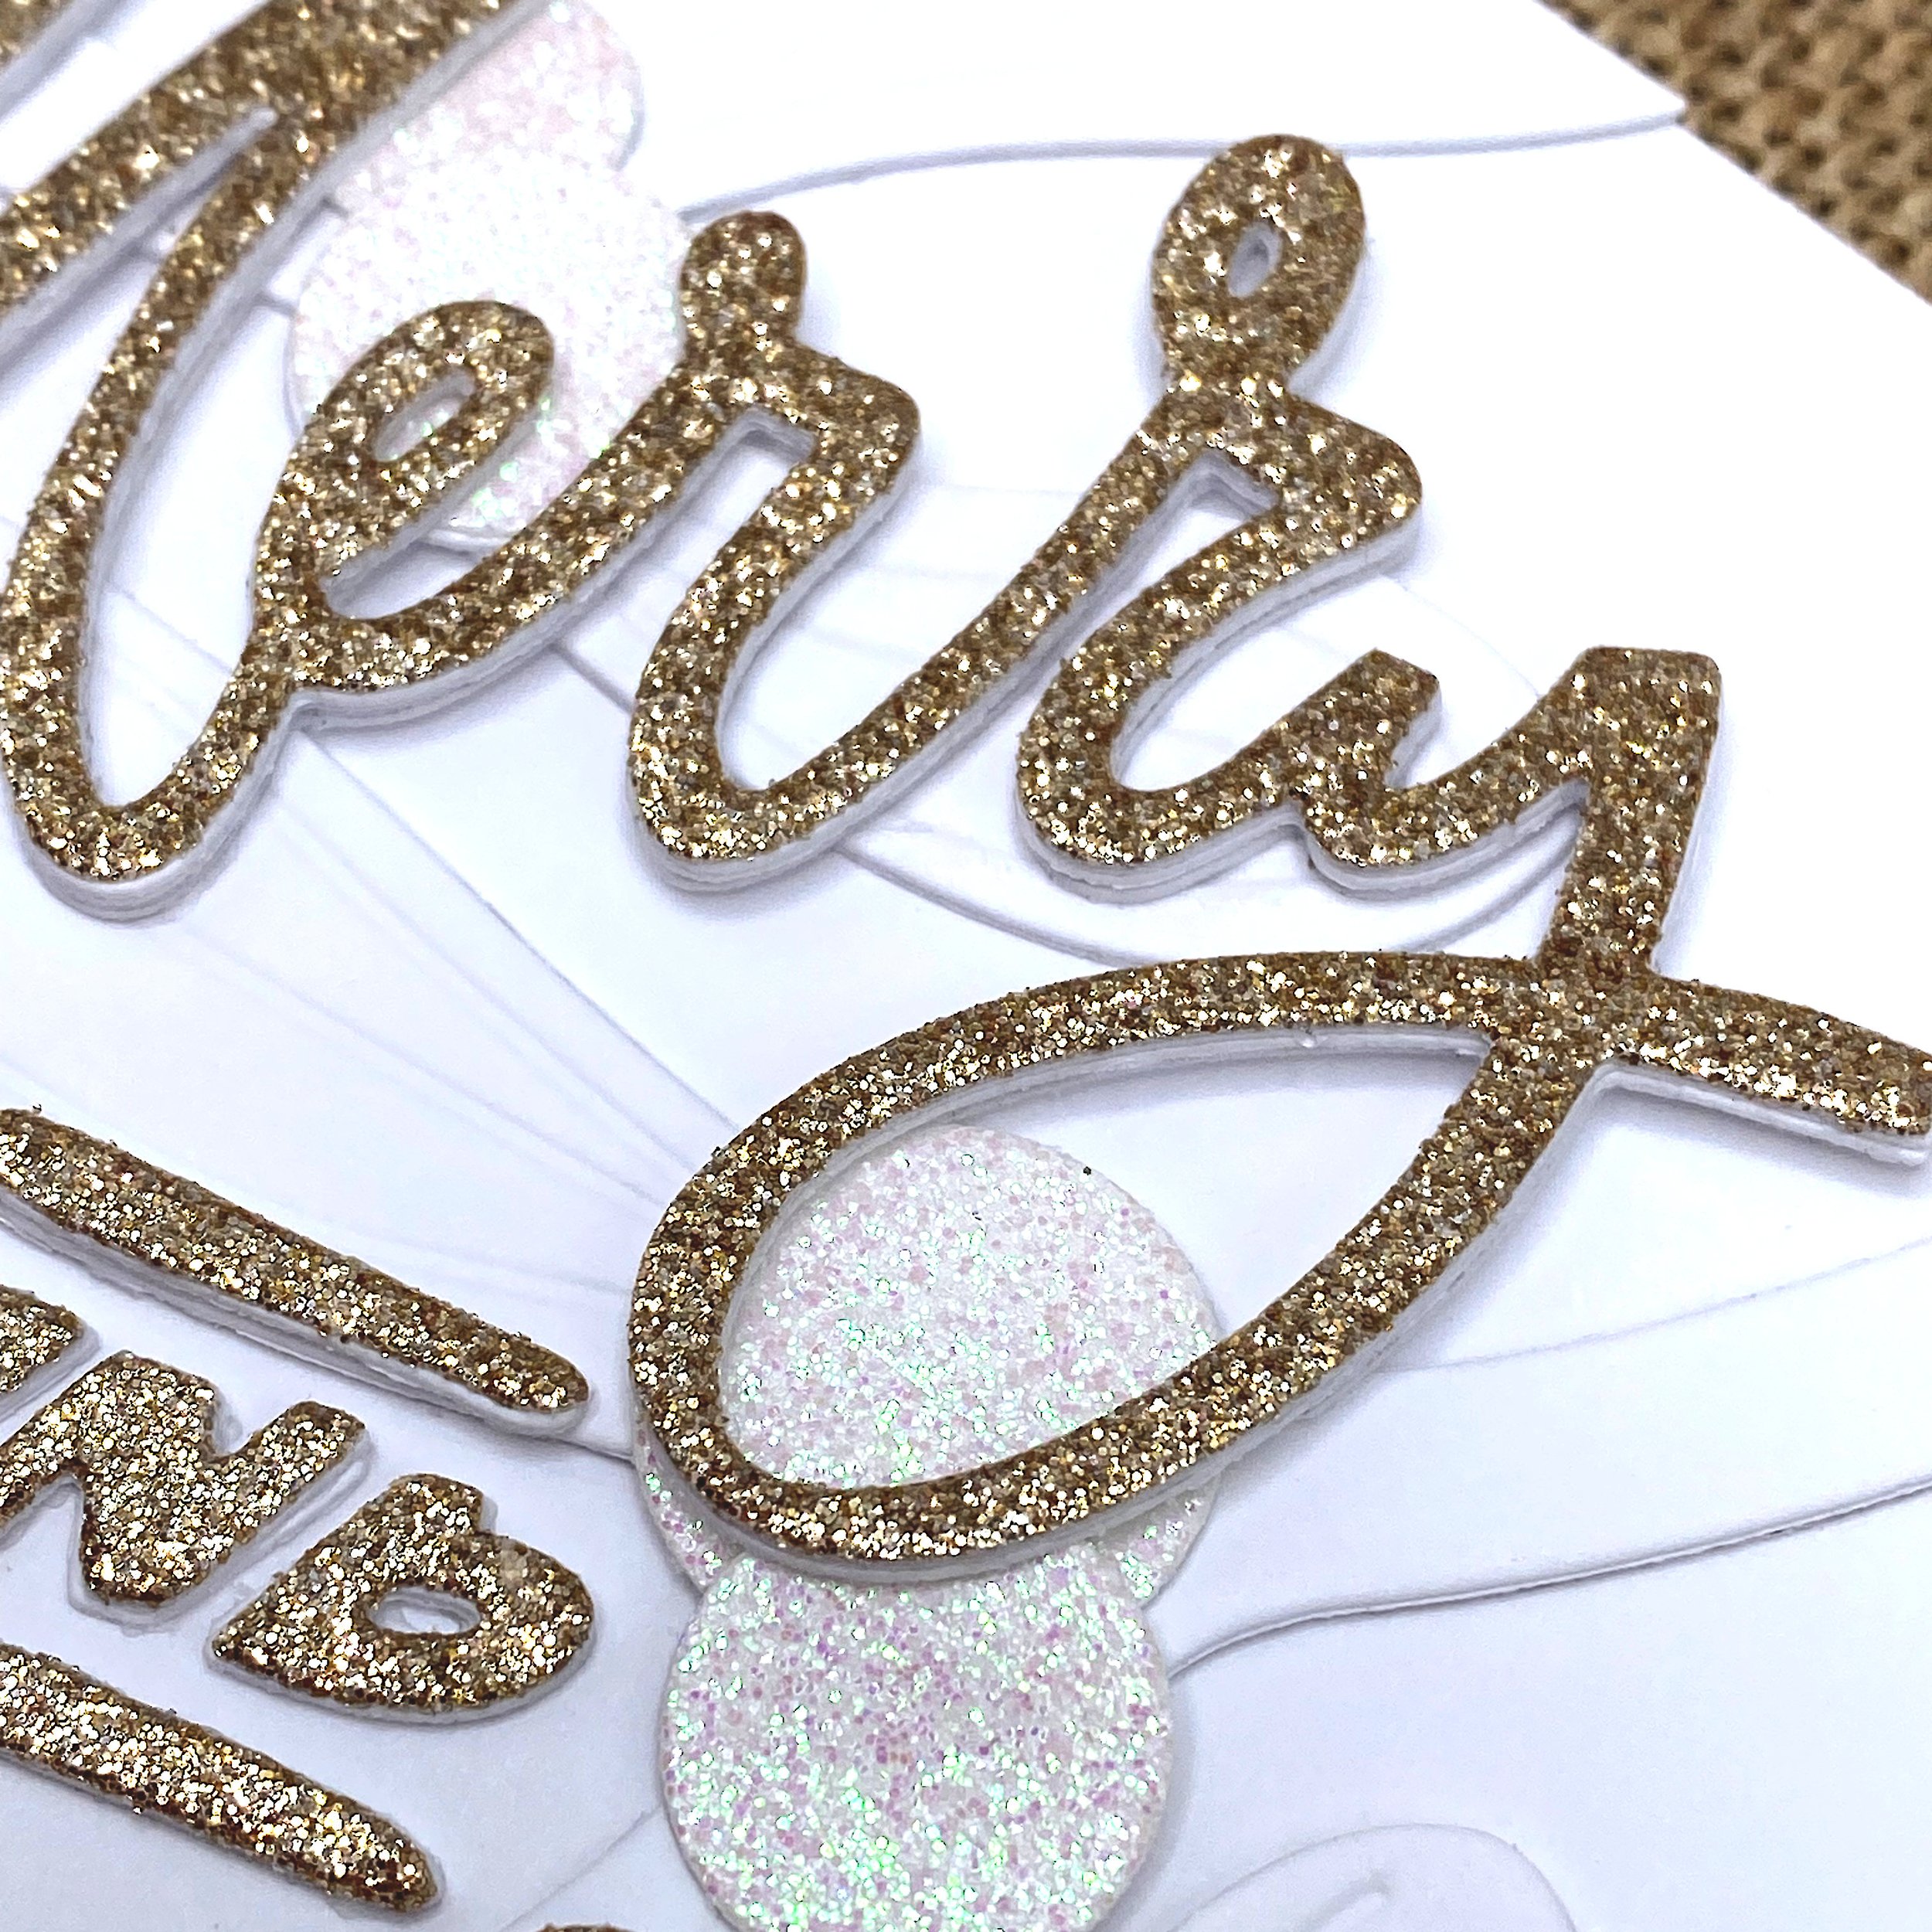
Next I cut the mistletoe berries: first out of Recollections White Glitter cardstock, then out of Accent Opaque. I stacked glitter and regular cardstock for my berries and added 2-3 where the mistletoe leaves met.
Sentiment
The sentiment is the star of the show and it’s quite chunky. I cut all words once out of Recollections Champagne Glitter Cardstock. Then I cut “Merry” and “Bright” 4 times from Accent Opaque 100 lbs and the “AND” twice.
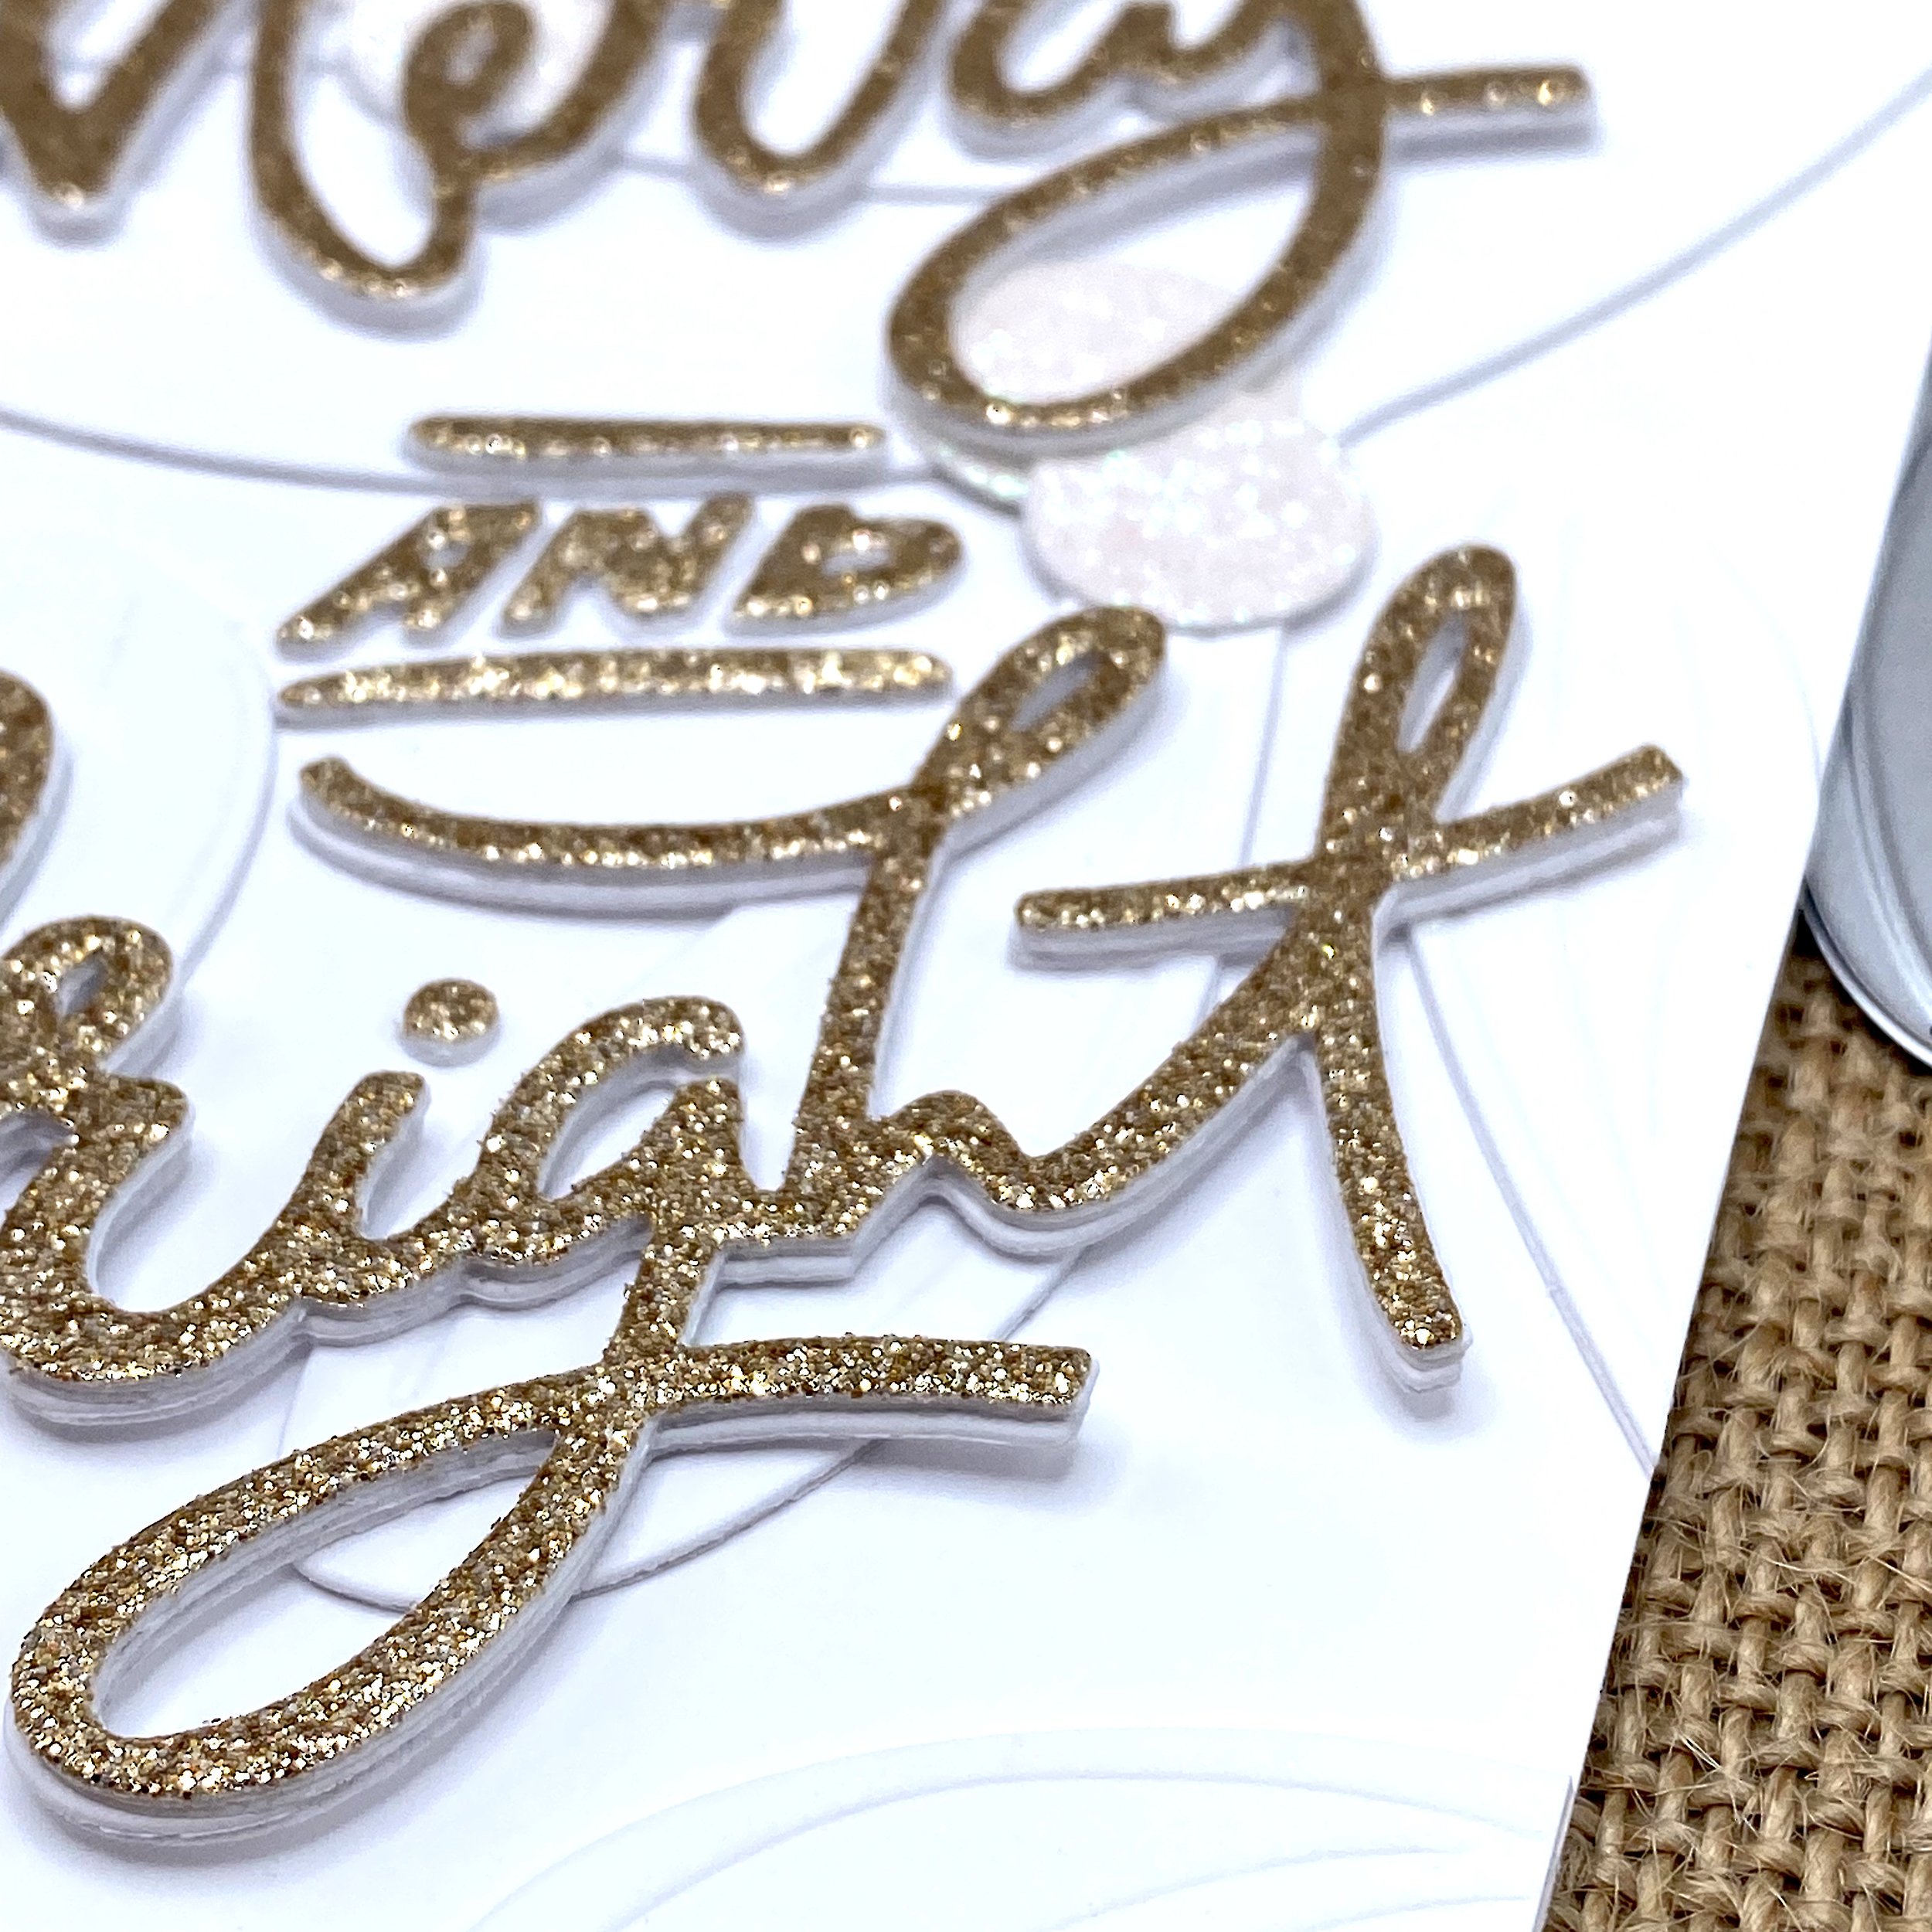
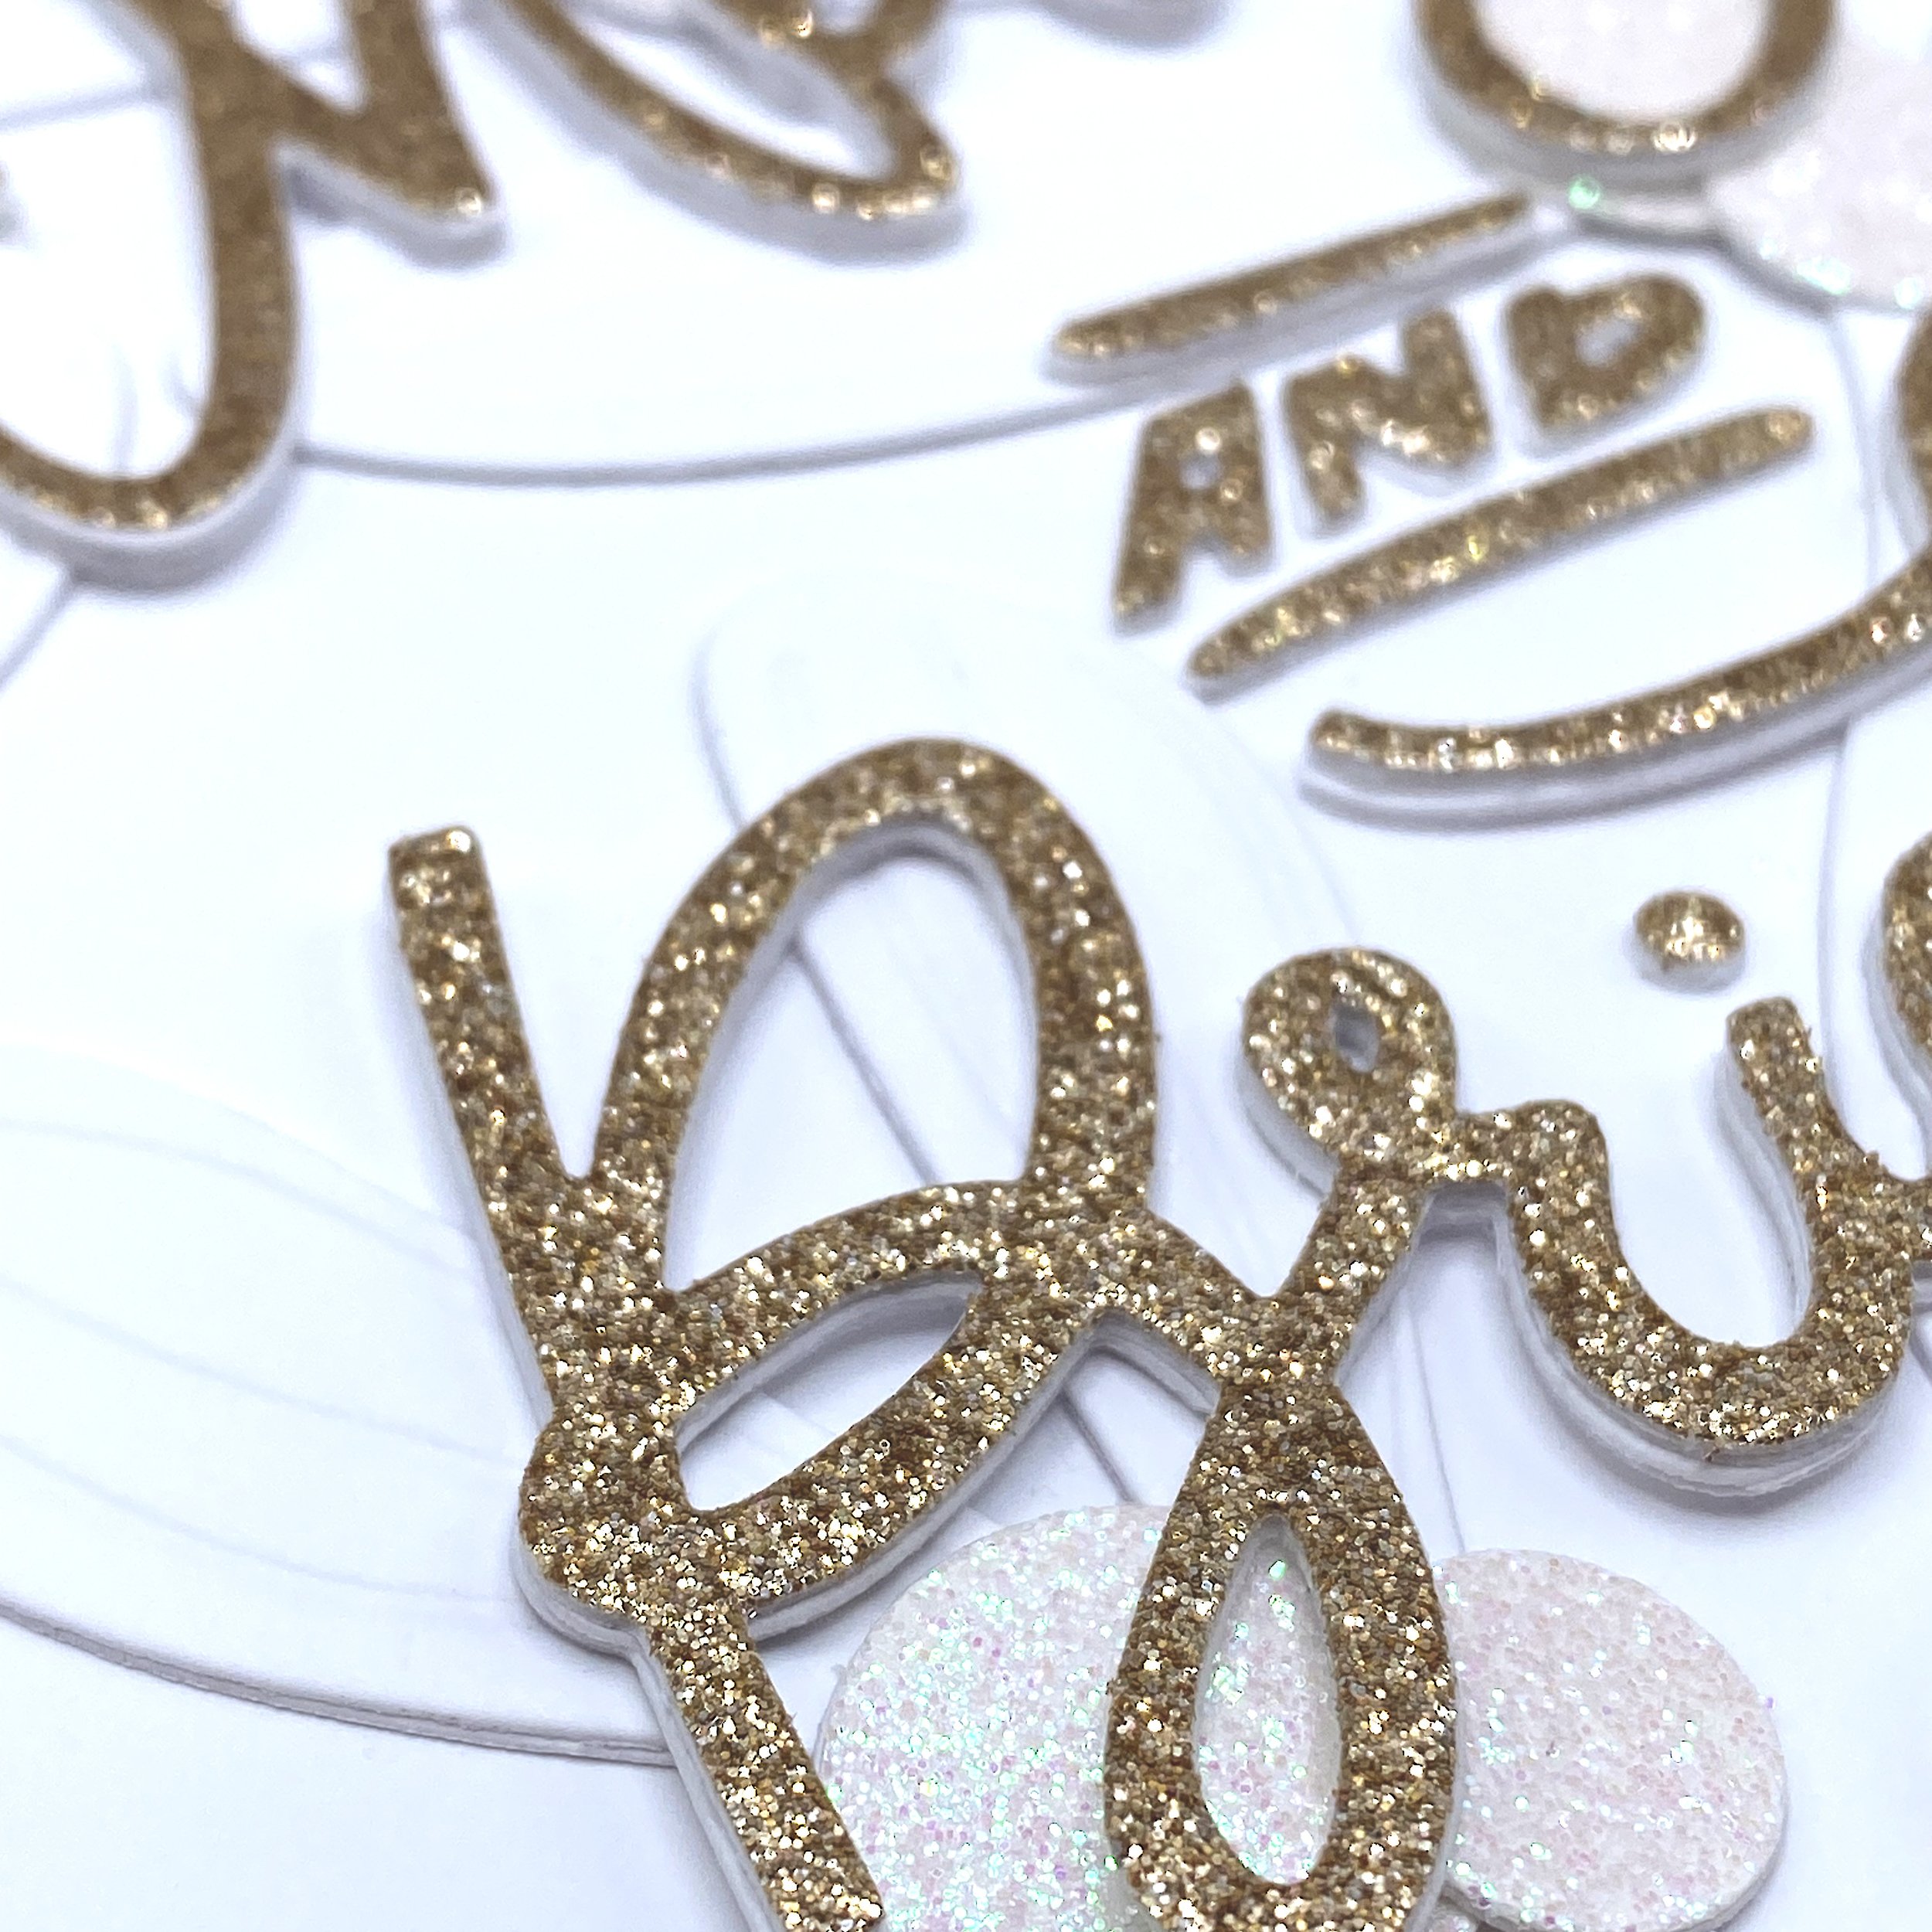
I stacked two white die cuts behind each champagne glitter die cut. I stacked the remaining two die cuts of Merry and Bright with each other.
Next I dry fitted the glittering Merry and Bright die cuts on the card panel. I cut apart the corresponding white die cuts and glued them behind the parts of the glittering sentiments that landed on top of the leaves. After more dry fitting, I adhered the sentiment only to the mistletoe leaves. It’s rigid enough that it stays straight without building up the parts between the leaves.
The “AND” is less chunky, because it’s less important. I glued it directly to the card panel between the larger words.
That’s all for this card - now you can sit back and admire the sparkle! ✨


