

I’ve recently started to subscribe to Waffle Flower’s Sneak Peak Club and I love it! Members get to play with the next release about a month early, plus free shipping on all orders over $30.
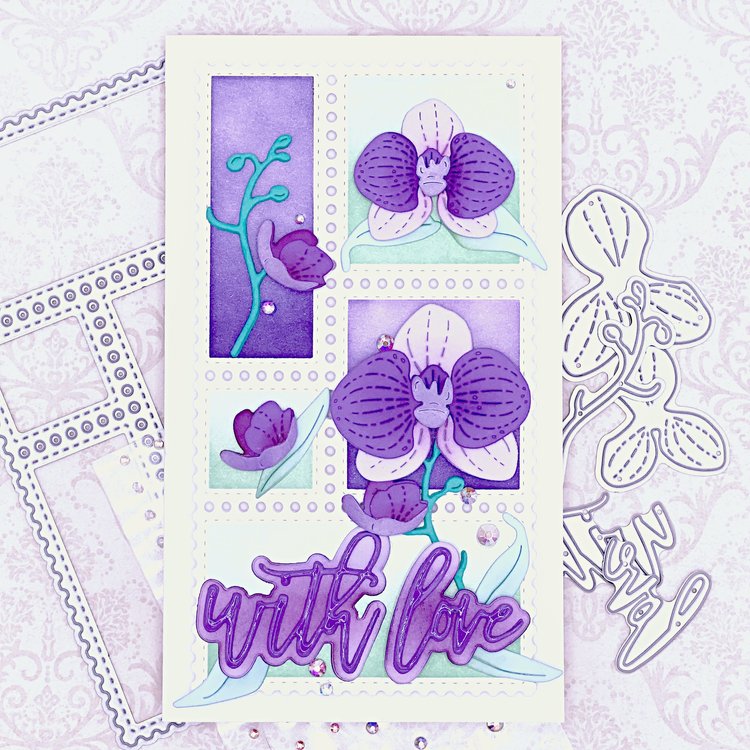
This card was inspired by the December Sneak Peak Club delivery. Specifically I wanted to use the die set and coloring stencil from the Mini Slimline Postage Collage Product Suite. When they become available, I’ll add links here. In the meantime the A2 Postage Collage Die Set and Coloring Stencil are available for pre-order. So you can achieve the same look in another format.
Orchids
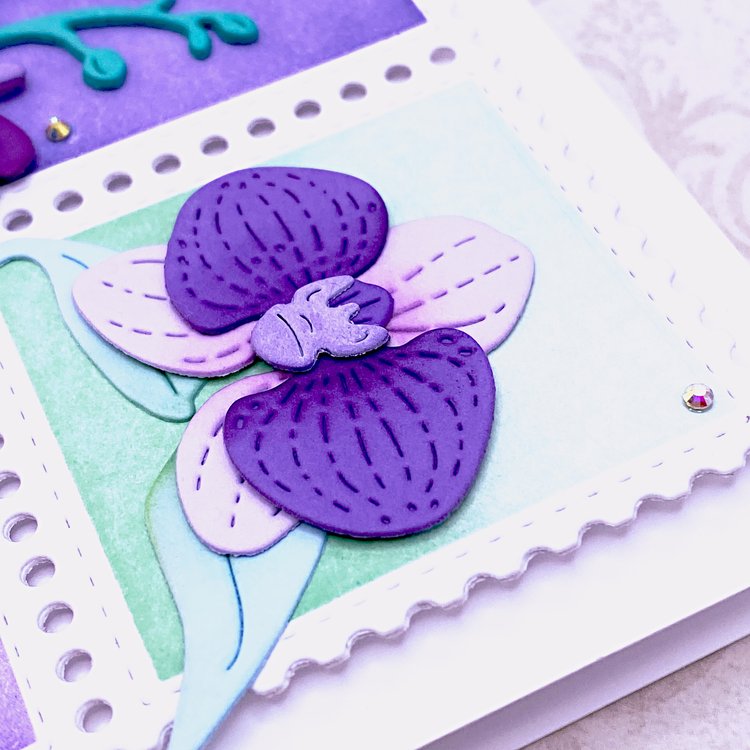
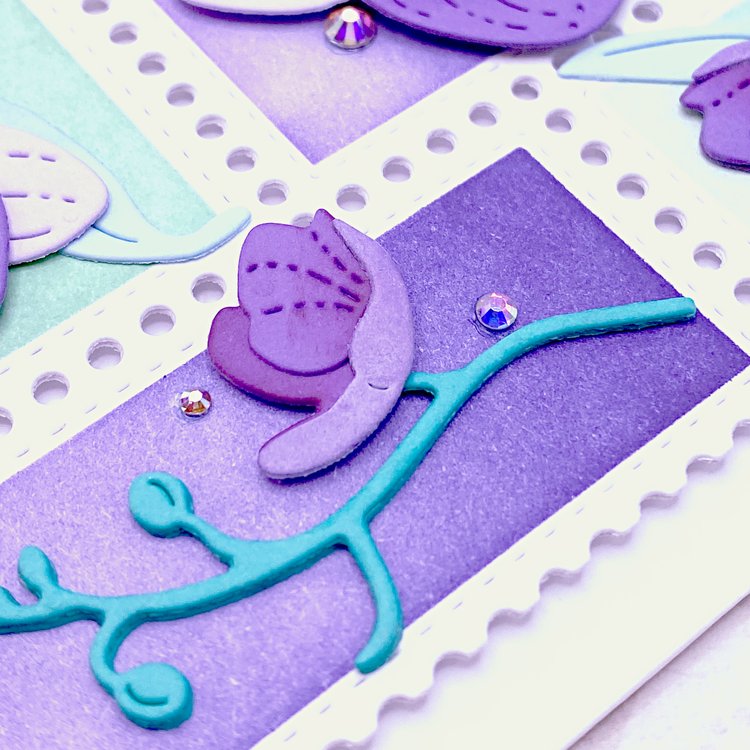
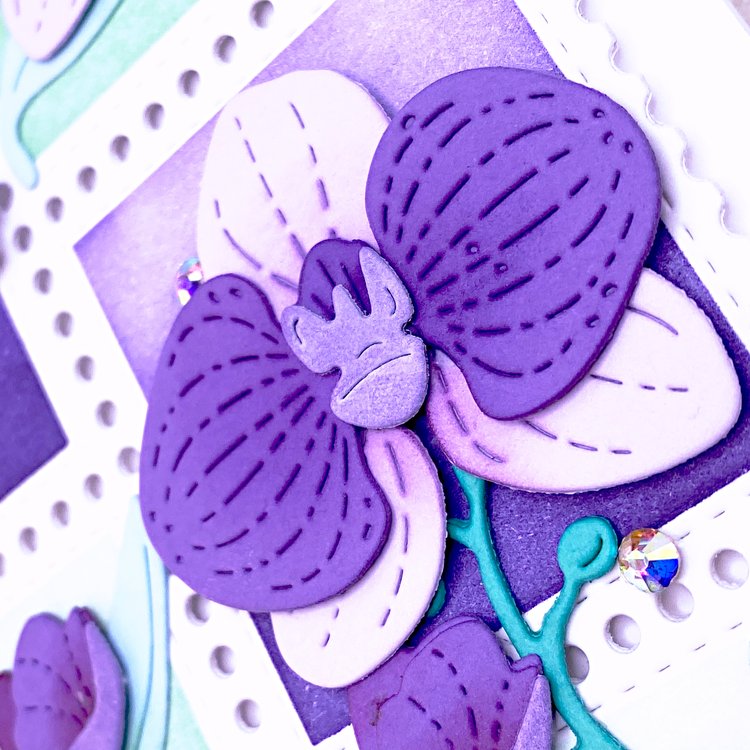
For the florals I used the Layered Orchids die set by Waffle Flower. It creates two large flowers, two small flowers, a twig and three leaves.
If you’re looking for reference photos, search on Phalaenopsis or moth orchid. Note that the leathery leaves form a rosette at ground level. There are no leaves on the flower stems. The largest flowers will be at the bottom of the flower cluster and the buds will be at the top of the stem. Common colors are white, pink and yellow, but moth orchids are often dyed other colors.
I cut the flowers out of two shades of purple from Recollections 110 lbs Very Violet. For the twig and leaves I used two colors from Recollections 110 lbs Oean. To give the flowers some depth, I added dark purple ink blending to the centers of the flowers and white ink blending to the parts of the flowers closest to the viewer. I also shaded the lower part of the leaves in green.

Background
I cut out the collage die twice from white cardstock. Then I stenciled the squares to form a checkerboard pattern with the same ink colors that I used for the flowers and foliage. I knew I wanted to use foam tape to adhere the collage die cut to the card base, so I stacked the two collage die cuts for added stability.
Sentiment
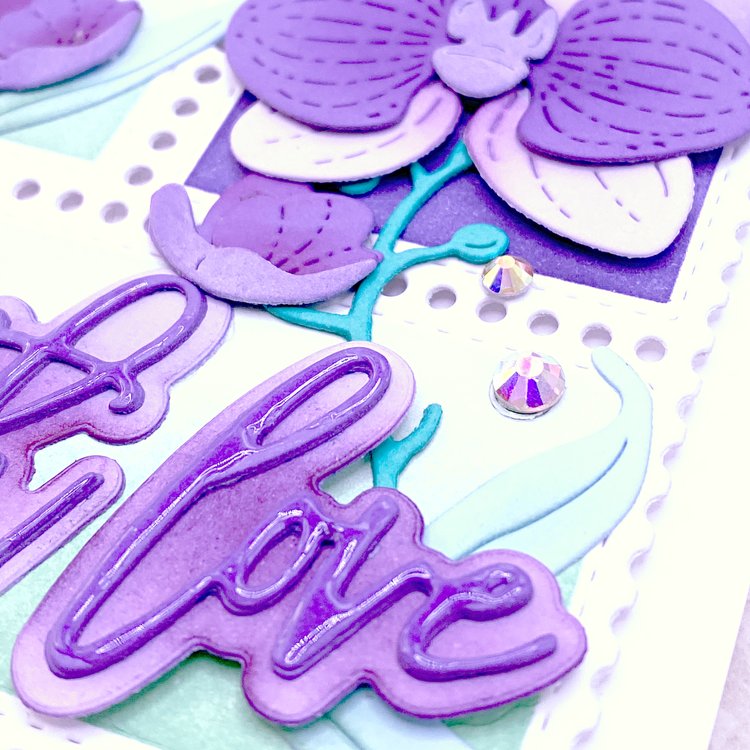
I cut the sentiment out of the same purple shades as the flowers and ink blended the shadow layer for added depth. The die set is called Print & Script With Love Die. It was also in the December Sneak Peak Club. I stacked two layers of the words for added dimension and two layers of the shadow layer.
Assembly
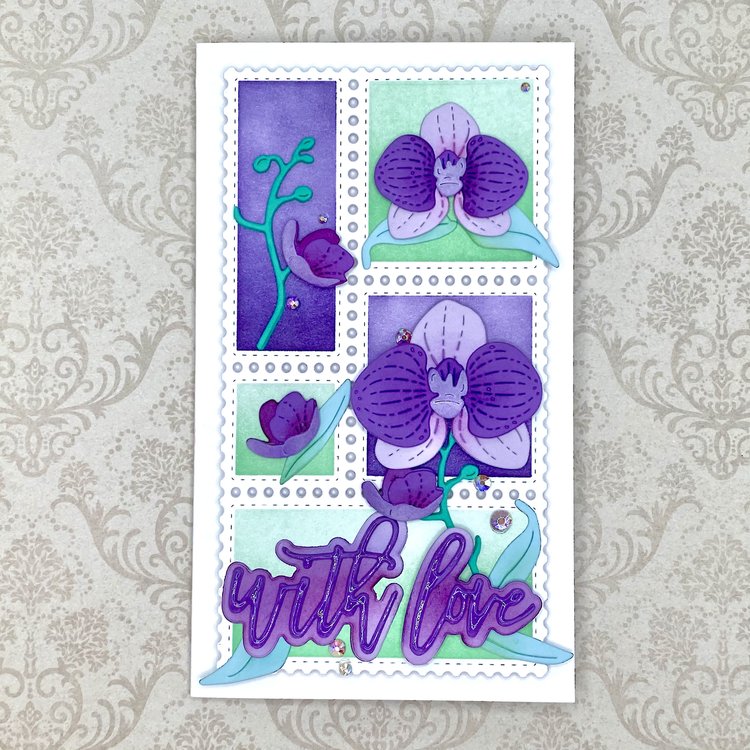
The only other thing I needed was a cardbase. Waffle Flower’s mini slimline format is 6 by 3.5.” I created my cardbase from white cardstock cut to 6” by 7” that I scored down the middle.
I decorated the stenciled background with flowers, stems and leaves and adhered the sentiment. Then I adhered the finished background to the cardbase with foam tape for added dimension.
Finally I scattered some Spellbinders Crystal Mix Color Essentials Gems around the card and put Ranger Glossy Accents on the sentiment for added shine.