Lovely Layers Deer
Affiliate links: You support my crafty business whenever you click on a link and buy something, and it doesn’t cost you a penny extra.
The main feature of these cards is the Lovely Layers Deer Die Set by Honey Bee Stamps. The backgrounds I’ve stenciled using the Farmhouse Fields Layering Stencil Set and the sentiment is from the Thankful Buzzwords Set.
You can watch me make this card on YouTube. It’s a 13-minute video on the @ValleyOakPaper YouTube channel.
Stenciling the backgrounds
The Farmhouse Fields layering stencil set includes six pieces. That may be a bit intimidating but Honey Bee stencils have engraved layers that show the whole scene. Those lines make the stencils much easier to use.


The stencils aren’t numbered, because you can use them in any order. But they do have names, which is really helpful. I ink blended over the stencils with Distress Oxide inks. Here are the colors I used:
Lost Shadow and Speckled Egg for the Clouds stencil
Wild Honey, Gathered Twigs and Rusty Hinge for the Trees.
Gathered Twigs for the Tree
Speckled Egg for the Hills Right
Old Paper and Speckled Egg for the Hills Left
Old Paper and Speckled Egg for the Foreground
I created one background by ink blending over the stencils the way they are intended to be used. Then I cleaned them with rubbing alcohol and a microfiber cloth and turned them over to create the mirror image background. It’s easy to see which way your stencil is turned because of the text on them.
The reason I wanted a mirror image is because I’m using the deer to balance the composition and the two deer are facing different directions.
Deer
I cut the deer from Kraft, cream and dark brown cardstock. Here’s my cut list:
Brown cardstock
Bodies and antlers * 2 for stability
Heads and faces
Cream cardstock
Necks and bellies
Snouts
Inside ears
Around eyes
Dark brown cardstock
Eyes
Hooves
Noses
To add more depth and definition, I ink blended some die cuts using detail ink blending brushes. I started by gluing together the bodies. Then I added Ground Espresso Distress Oxide ink around the edges and in the shadows.
Next I stacked the Antlers and added Frayed Burlap to them. I inked the edges of the Heads and faces with Vintage Photo. Then I glued together all the brown, ink blended parts.
Turning to the cream die cuts, I ink blended with Tattered Rose on the neck and belly fur, as well as the snouts. The eyes and the ear fur was too tiny to ink blend. Then I added the cream die cuts to the deer bodies.
The dark brown parts were too fiddly to ink blend, so I glued them onto the faces and feet without it.


Sentiment
For the sentiment I used the Buzzwords Thankful Die Set. The cream and dark brown cardstock I used was not very substantial, so I cut the word and first shadow layer three times per cards. Then I stacked them.
My sub-sentiments are from Tim Holtz Tiny Text Stamp Set. It includes lots of positive messages that are great for sub sentiments. I stamped them with Ranger Coffee Archival Ink on cream cardstock. Then I cut them out with my Tim Holtz 8.5” trimmer.
Assembly
Now we have the backgrounds, the deer and the sentiments prepared, so we can assemble our cards.
I started by cutting down the backgrounds to 4” by 5.25”. Then I cut dark brown cardstock to 4.375” by 5.375”. I layered them so that I got a really thin mat of the dark brown around our stenciled background. That really pulls the cards together. I added the matted backgrounds to my Ohuhu card bases.
Then I’m going to place our deer on the backgrounds. I’m putting the buck on the right-side stenciled background and the doe on the mirror stenciled background.
The sentiment goes on the bottom. It’s overlapping the deer legs, so I die cut two more of the shadow layer of the same Kraft cardstock I used for the deer themselves. I stacked and cut the Kraft cardstock in half. Then I added the right half under the sentiment on the buck card and the left half under the sentiment on the doe card. Then I glued down the sentiments.
Next I’m adding the sub sentiment to each of the cards. I cut another layer of cream cardstock and stacked under the sub sentiments. Then I dry fitted them under the “thankful” and added double layers of foam adhesive to create an even surface.
And that finishes these cards. Please comment if you have any questions, either below or on the YouTube video!
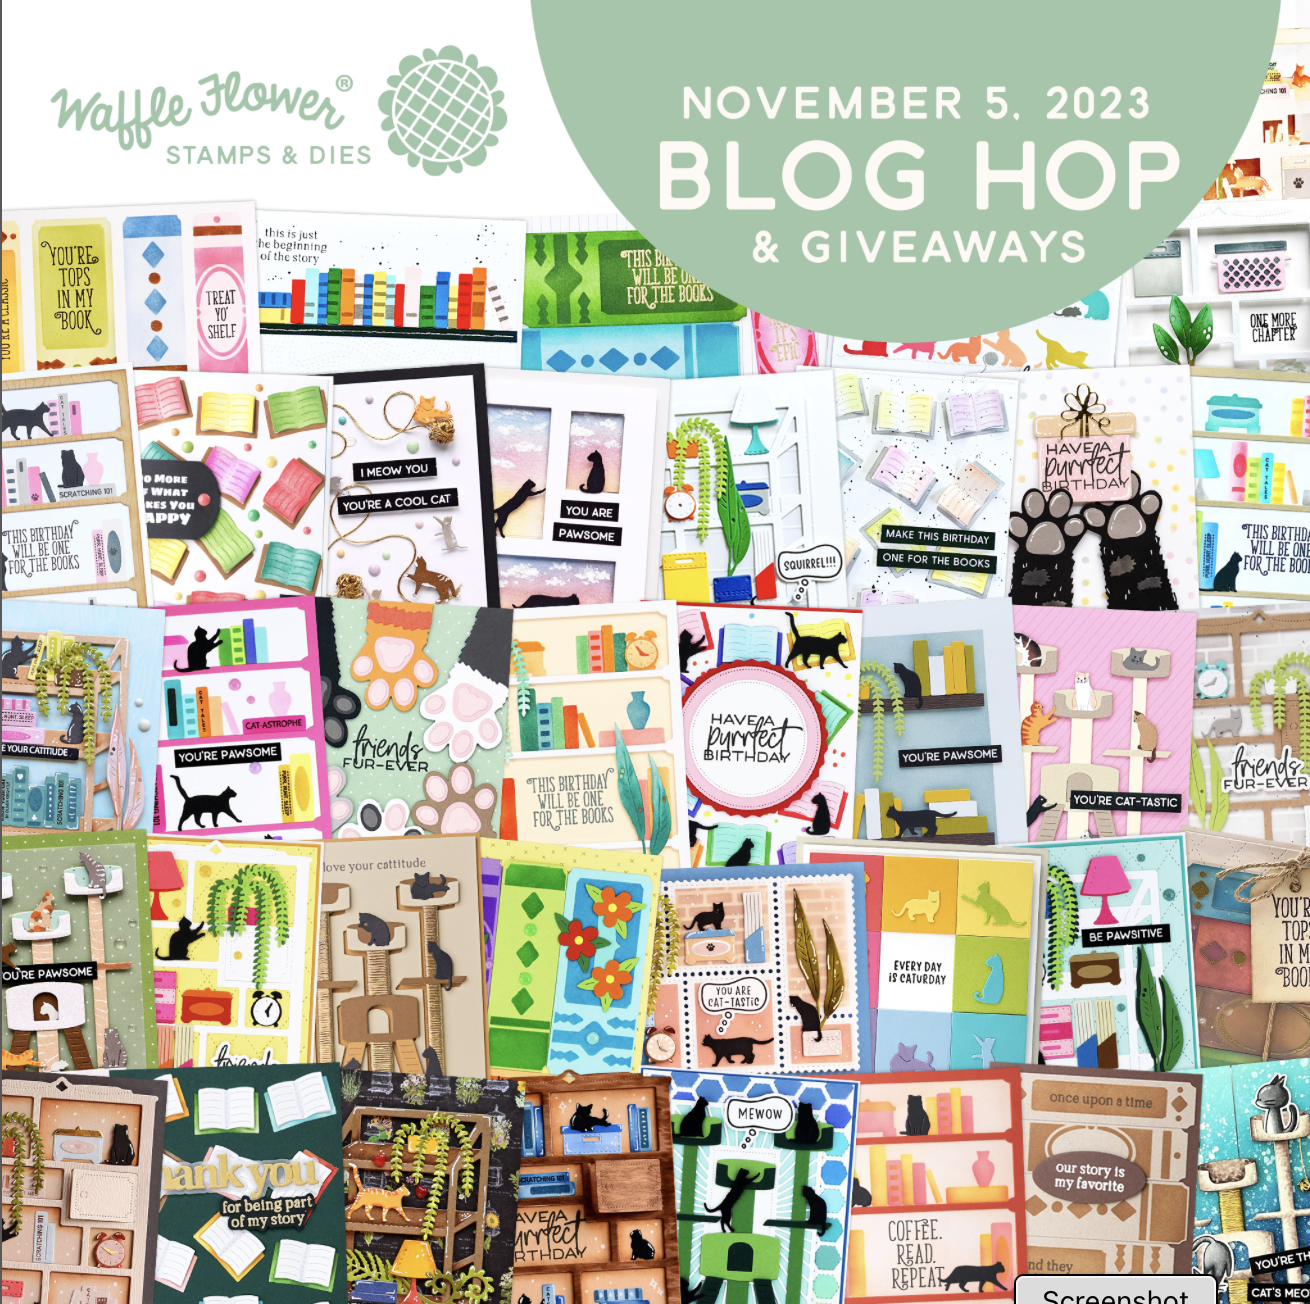
Waffle Flower Cat-Themed Release Day and Moving Sale