Birthday bears
Bears
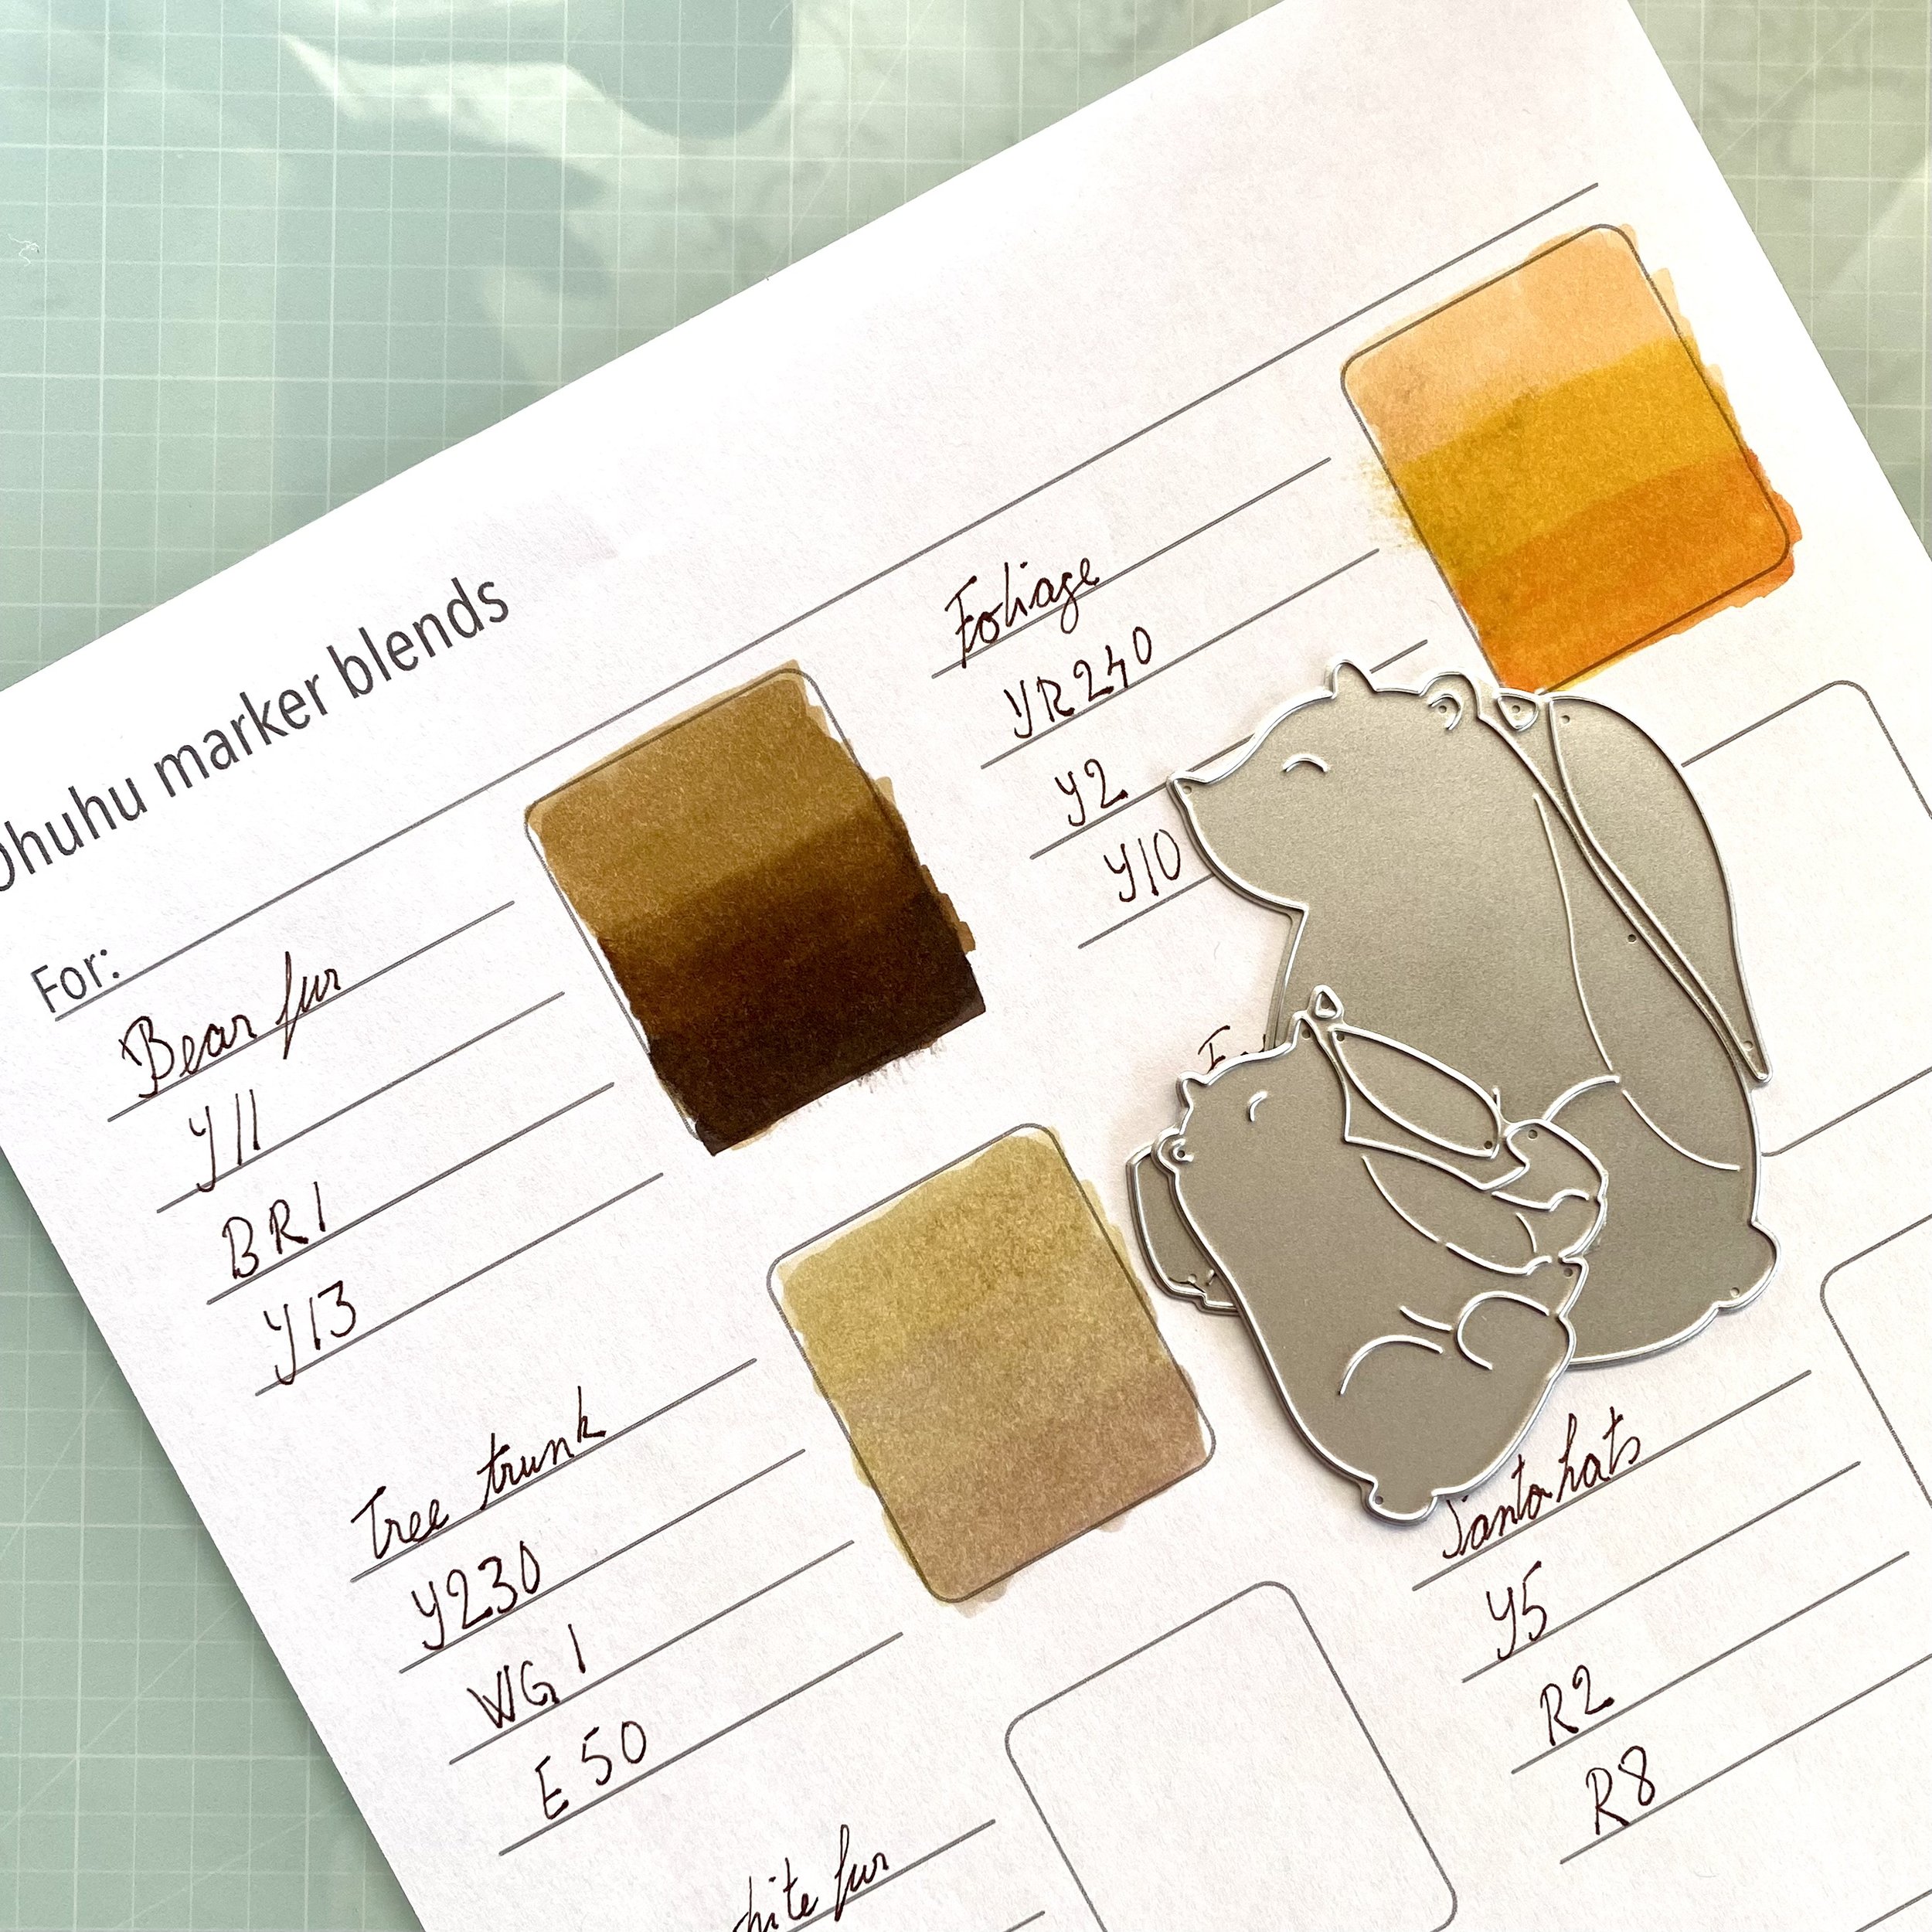
Ohuhu Bear Markers
Y11 Brown Grey
BR1 Raw Umber
Y13 Chestnut Brown
Affiliate links: You support my business whenever you click on a link and buy something, and it doesn’t cost you a penny extra.
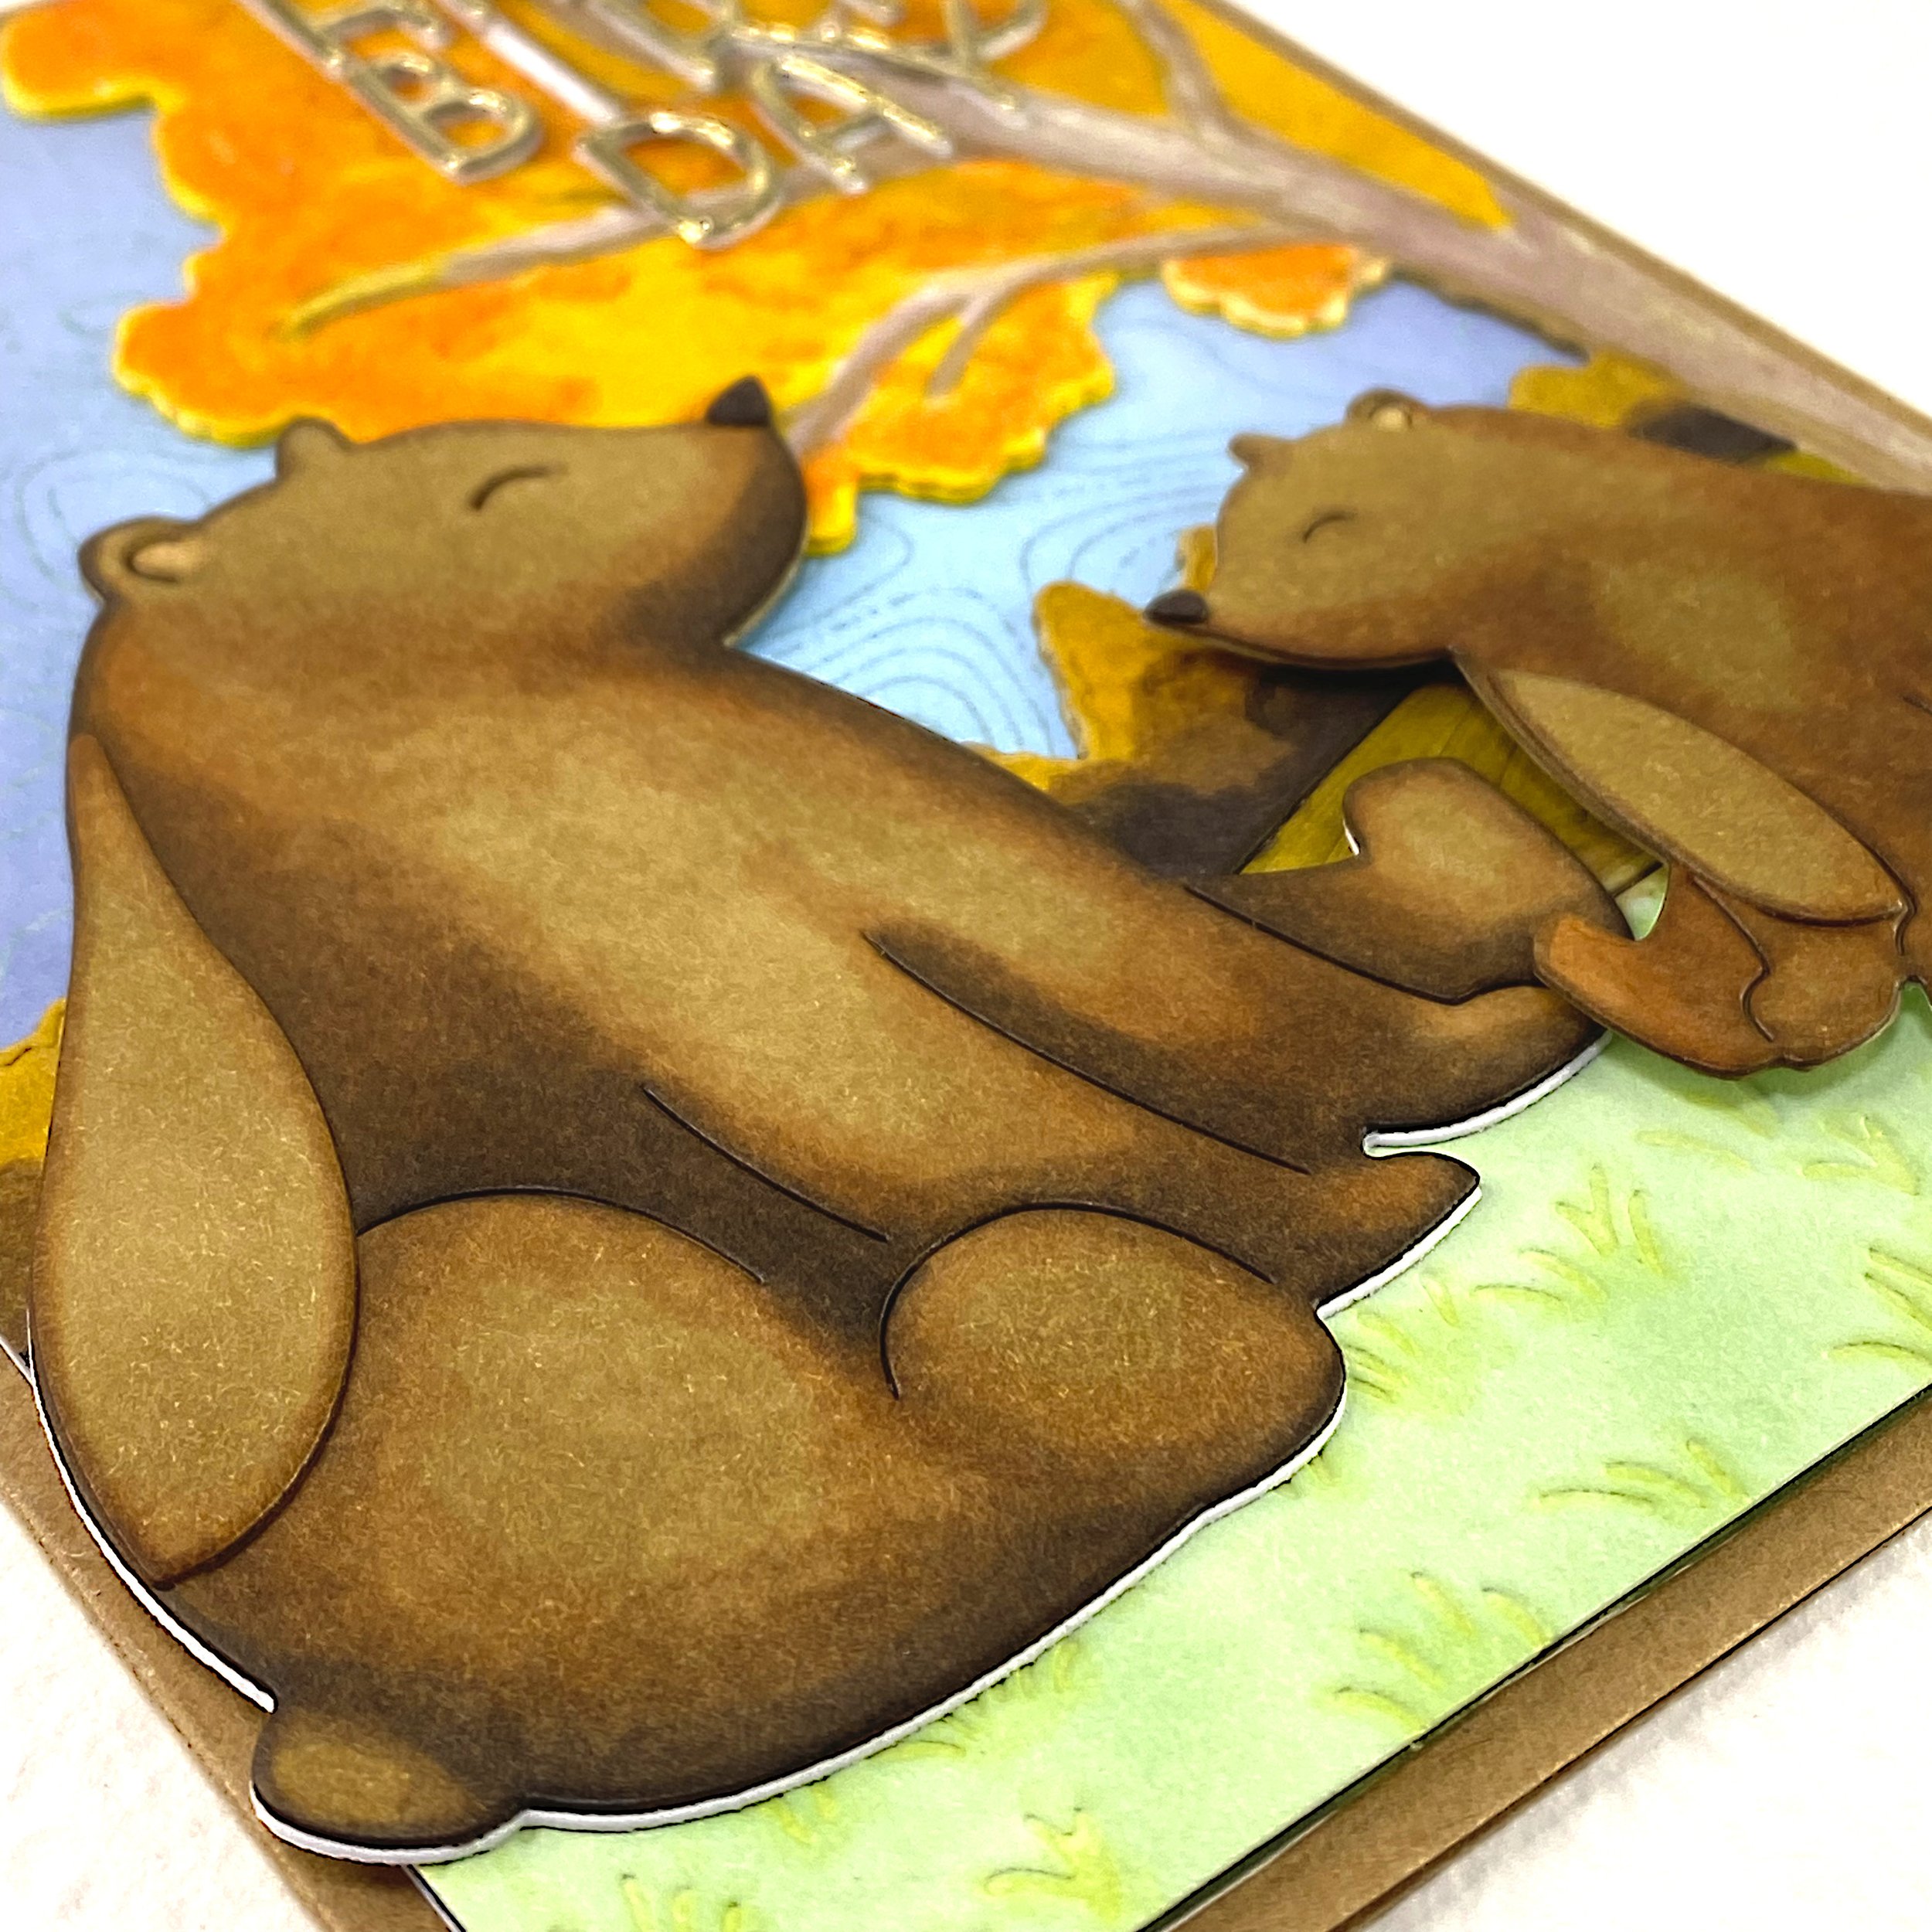
The mama bear and her cub are from a Sizzix die set by Lisa Jones. It’s called Nature Friends and also includes a bunny, a hedgehog and a badger. I cut out the bears and colored them with my Ohuhu alcohol markers.
I’m very much still a beginner with alcohol markers, so there are parts I’m less happy with. An Insta friend recommended that I watch videos by Christy Gets Crafty on YouTube. She has a playlist of nearly 500 videos about Copic coloring. Copic is the dominant brand of alcohol markers, but they’re much more expensive than Ohuhu. I’ve just started watching one of Christy’s videos and I can already tell that I can learn a lot from her. I just wish there were something similar for Ohuhu markers, because I obviously can’t use her tips for specific Copic colors.
Background
Ohuhu Foliage Markers
YR240 Cream
Y2 Sunflower
Y10 Apricot
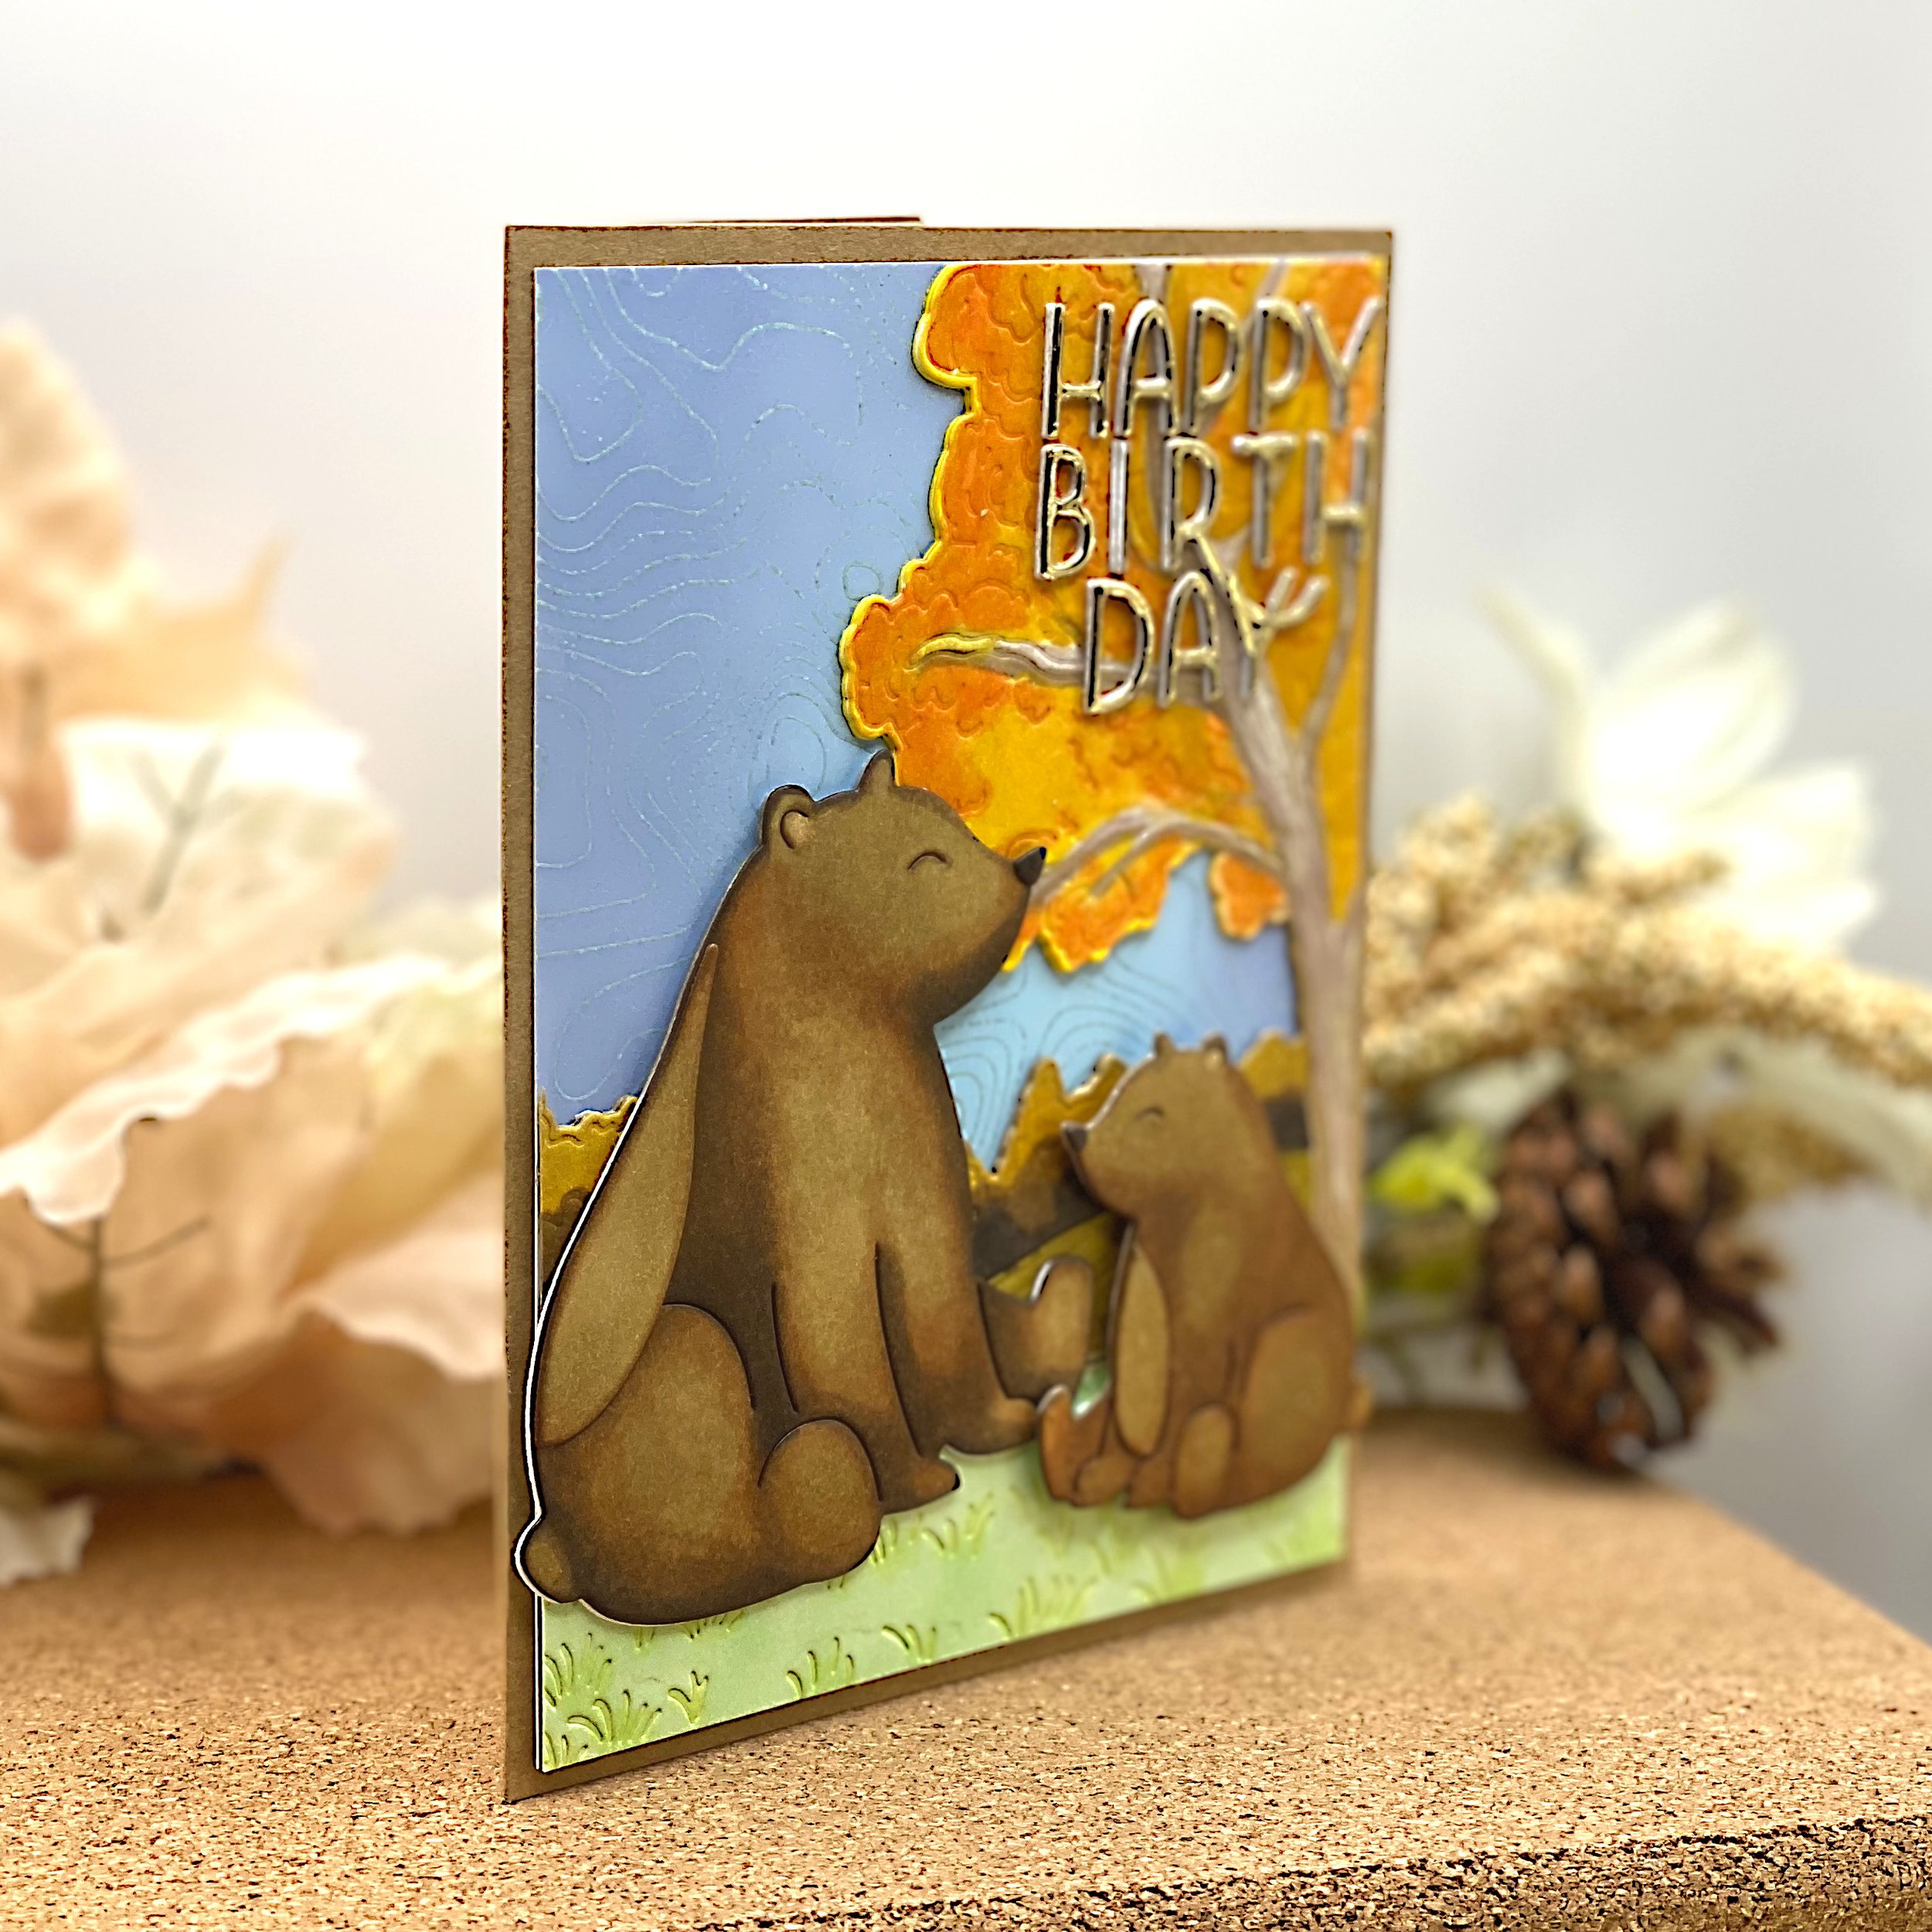
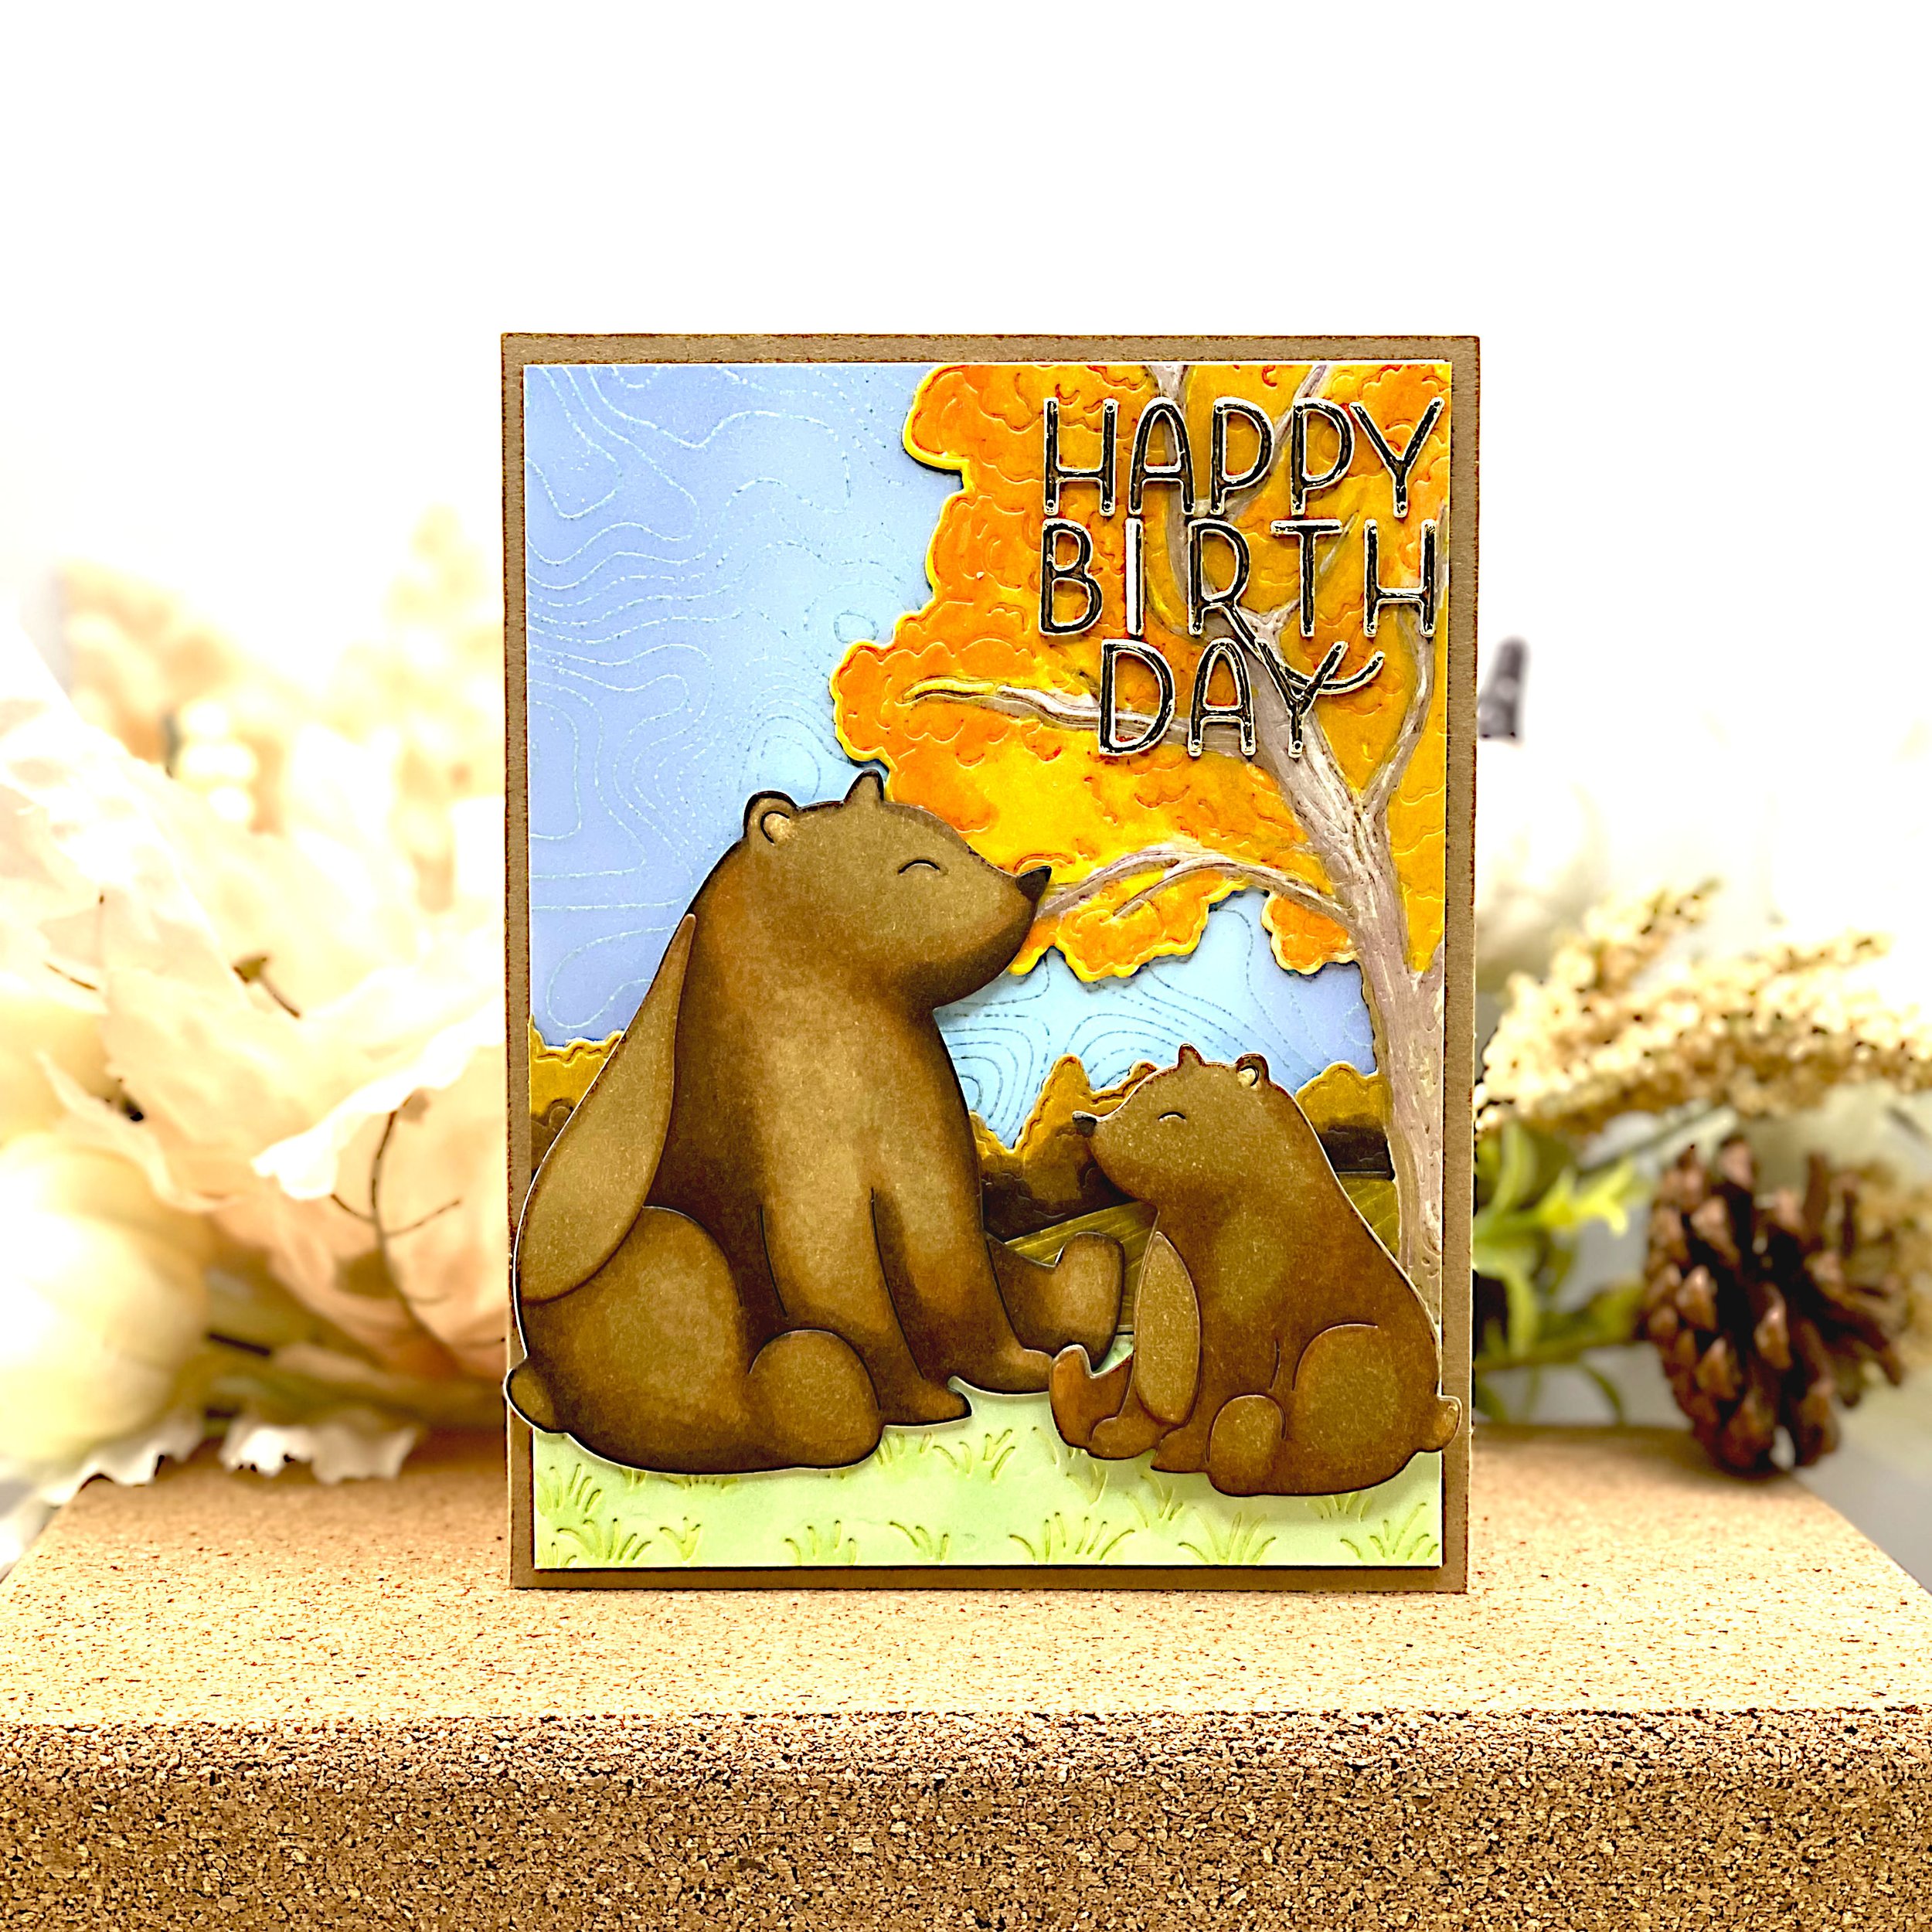
I created this card for a fall-themed Instagram hop, so I wanted to place the bears in an autumnal landscape. For this I used a Honeybee Stamps cover die called Farmhouse Fields Scene Builder. I have the coordinating layered stencils, but I need to practice my alcohol marker coloring. So I went back to my Ohuhus.
When I was done coloring, I doubled up the die cut and cut it down to 4” by 5.25.” That leaves an 1/8” border around the card panel to pull the card together.
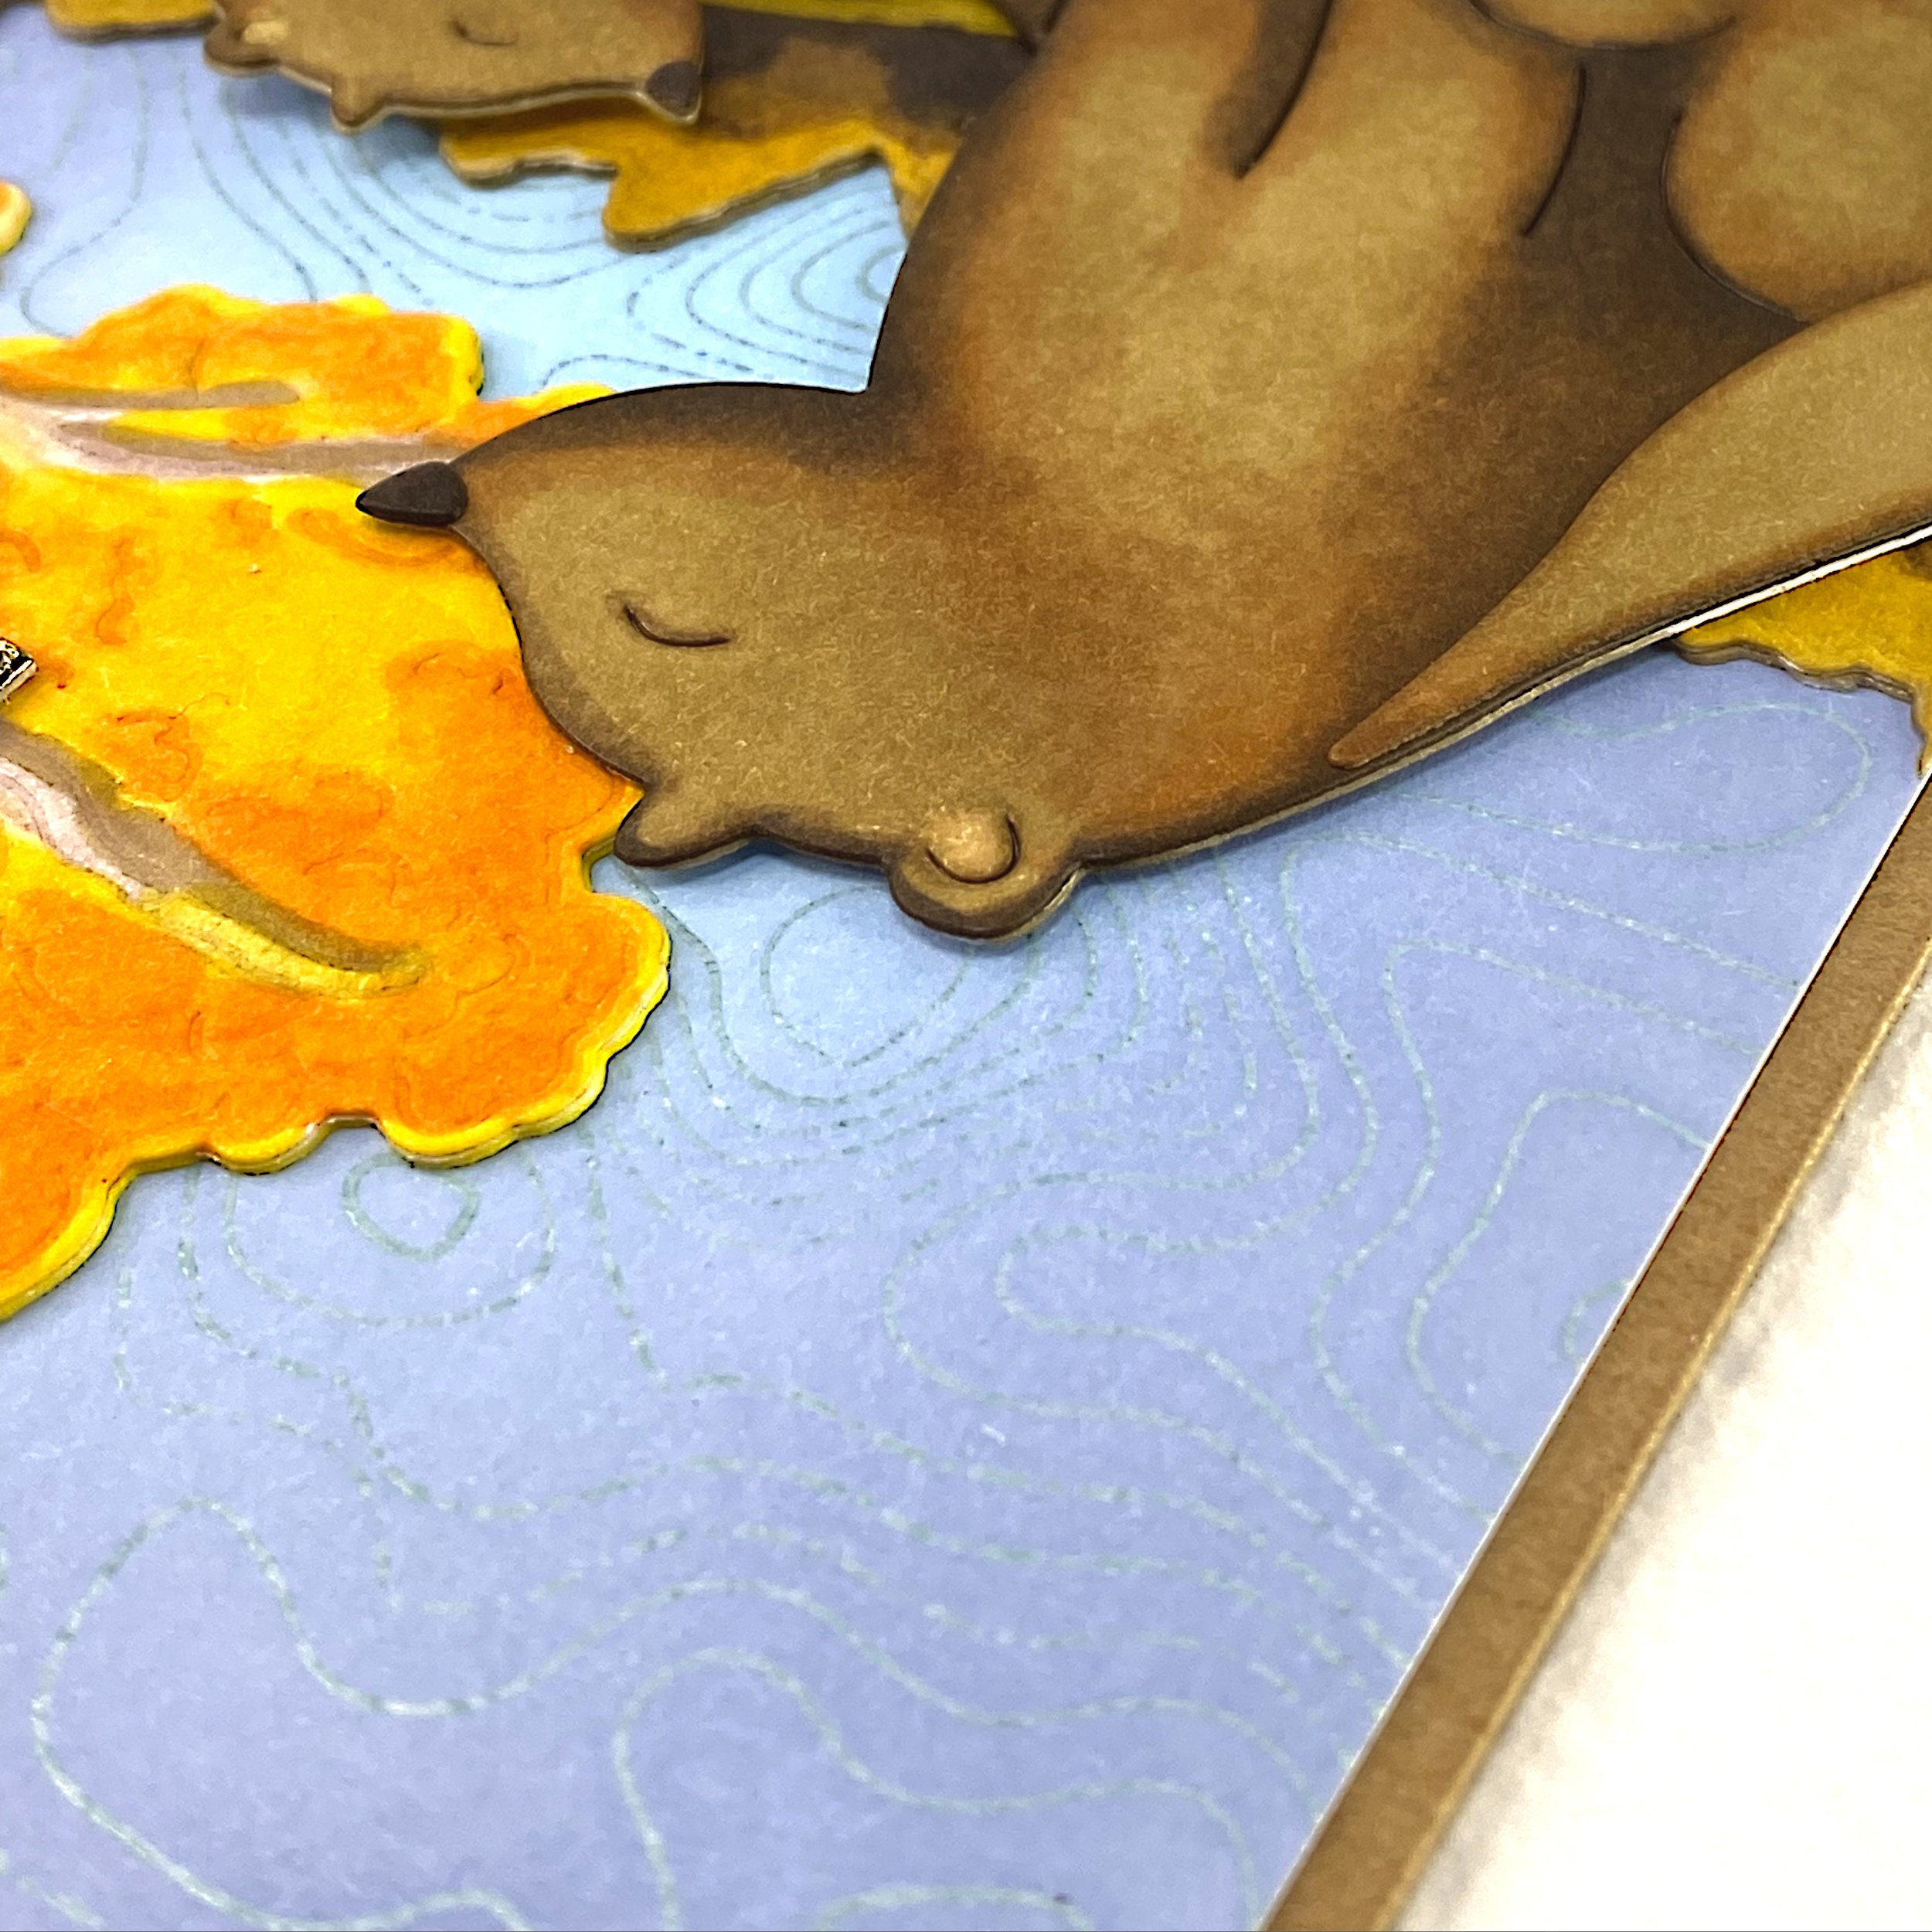
The cover die doesn’t include a sky, so I cut a panel of white cardstock to 4” by 5.25” specifically for that. To add interest to the sky, I stamped a Unity Stamps background stamp with topographical contour lines with Versamark ink and heat embossed it with Distress Embossing Glaze in Speckled Egg. Then I ink blended over the contour lines with Distress Oxide in Tumbled Glass and Stormy Sky. When I was done, I used a microfiber cloth to remove the ink sitting on top of the embossed contour lines. The result is subtle but you can see it in the close-ups.
Sentiment and assembly
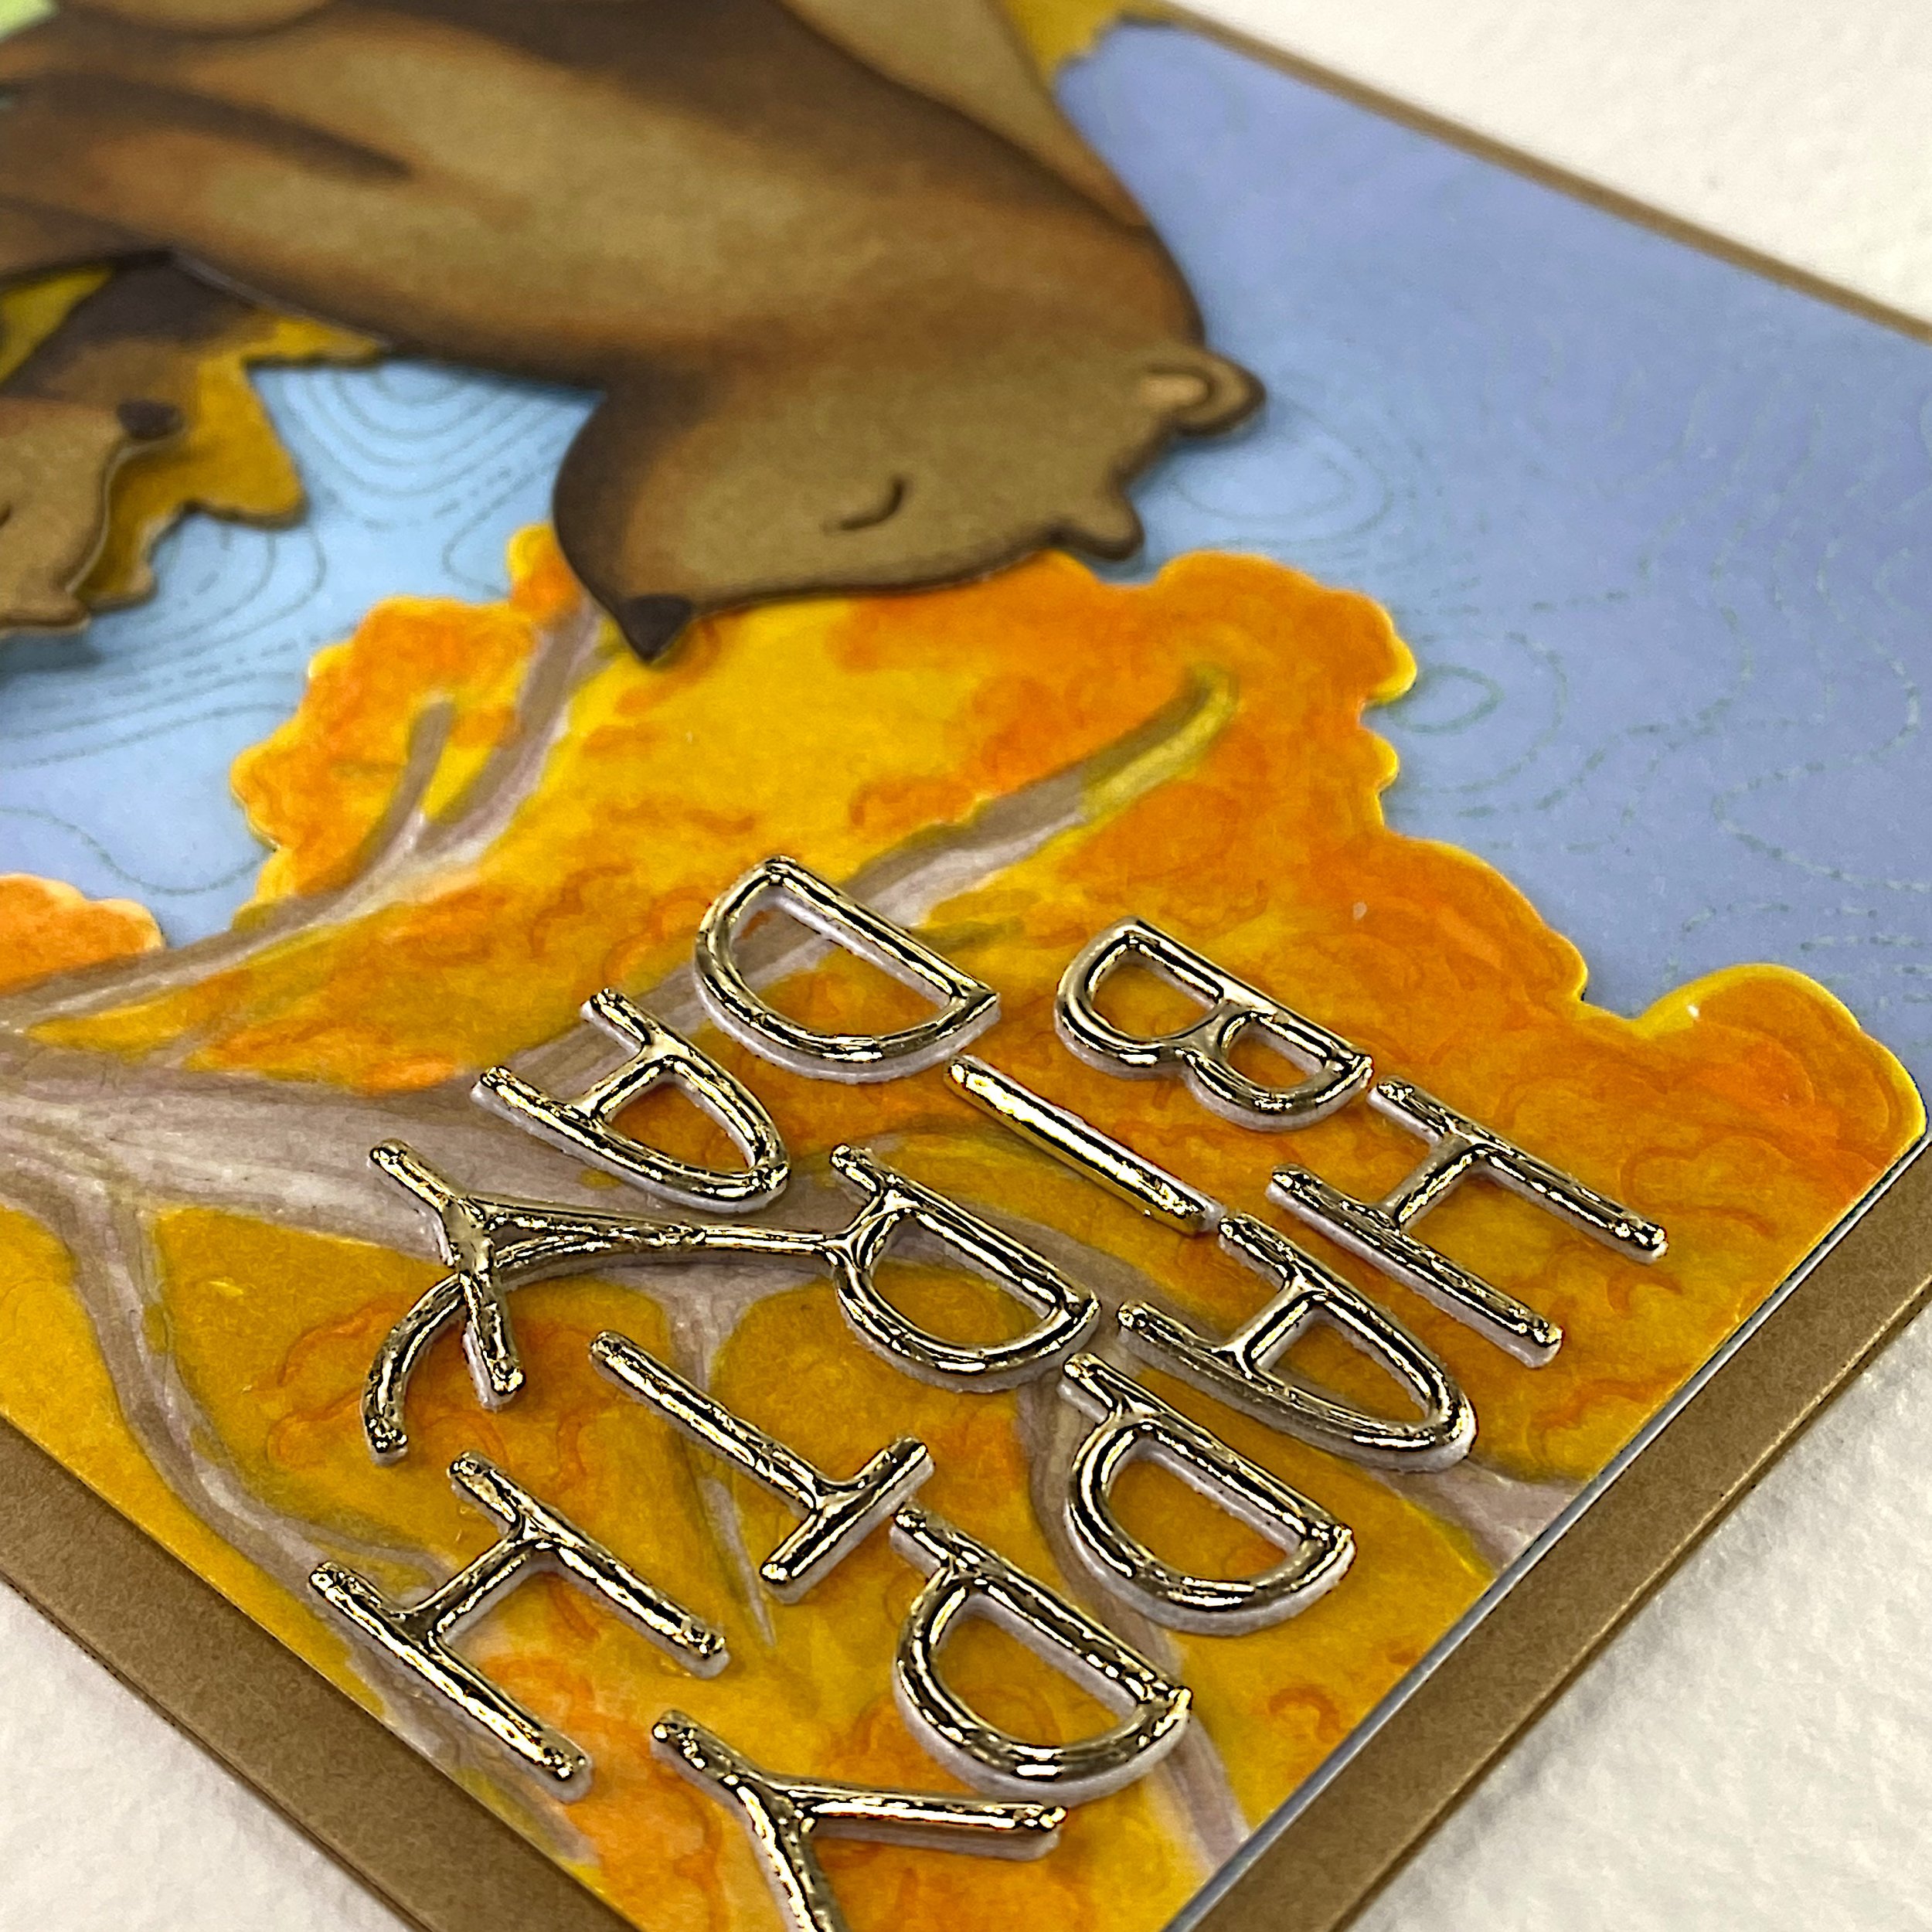
The sentiment is from my stash. While I like the font, including the swoopy R, employing it here helped me remember why I don’t use it very often. Sentiments with unconnected letters are really too fiddly for my taste. In particular you can see that I struggled with the letter i. If I want to sell this card, I’ll have to go back and fix that. Yeah, I think this sentiment die may get destashed soonish.
Each letter is comprised of three cardstock layers - two white Accent Opaque, and one Recollections Gold Foil on top. The sentiment ended up on the tree on the right, because it didn’t fit on the sky on the left.
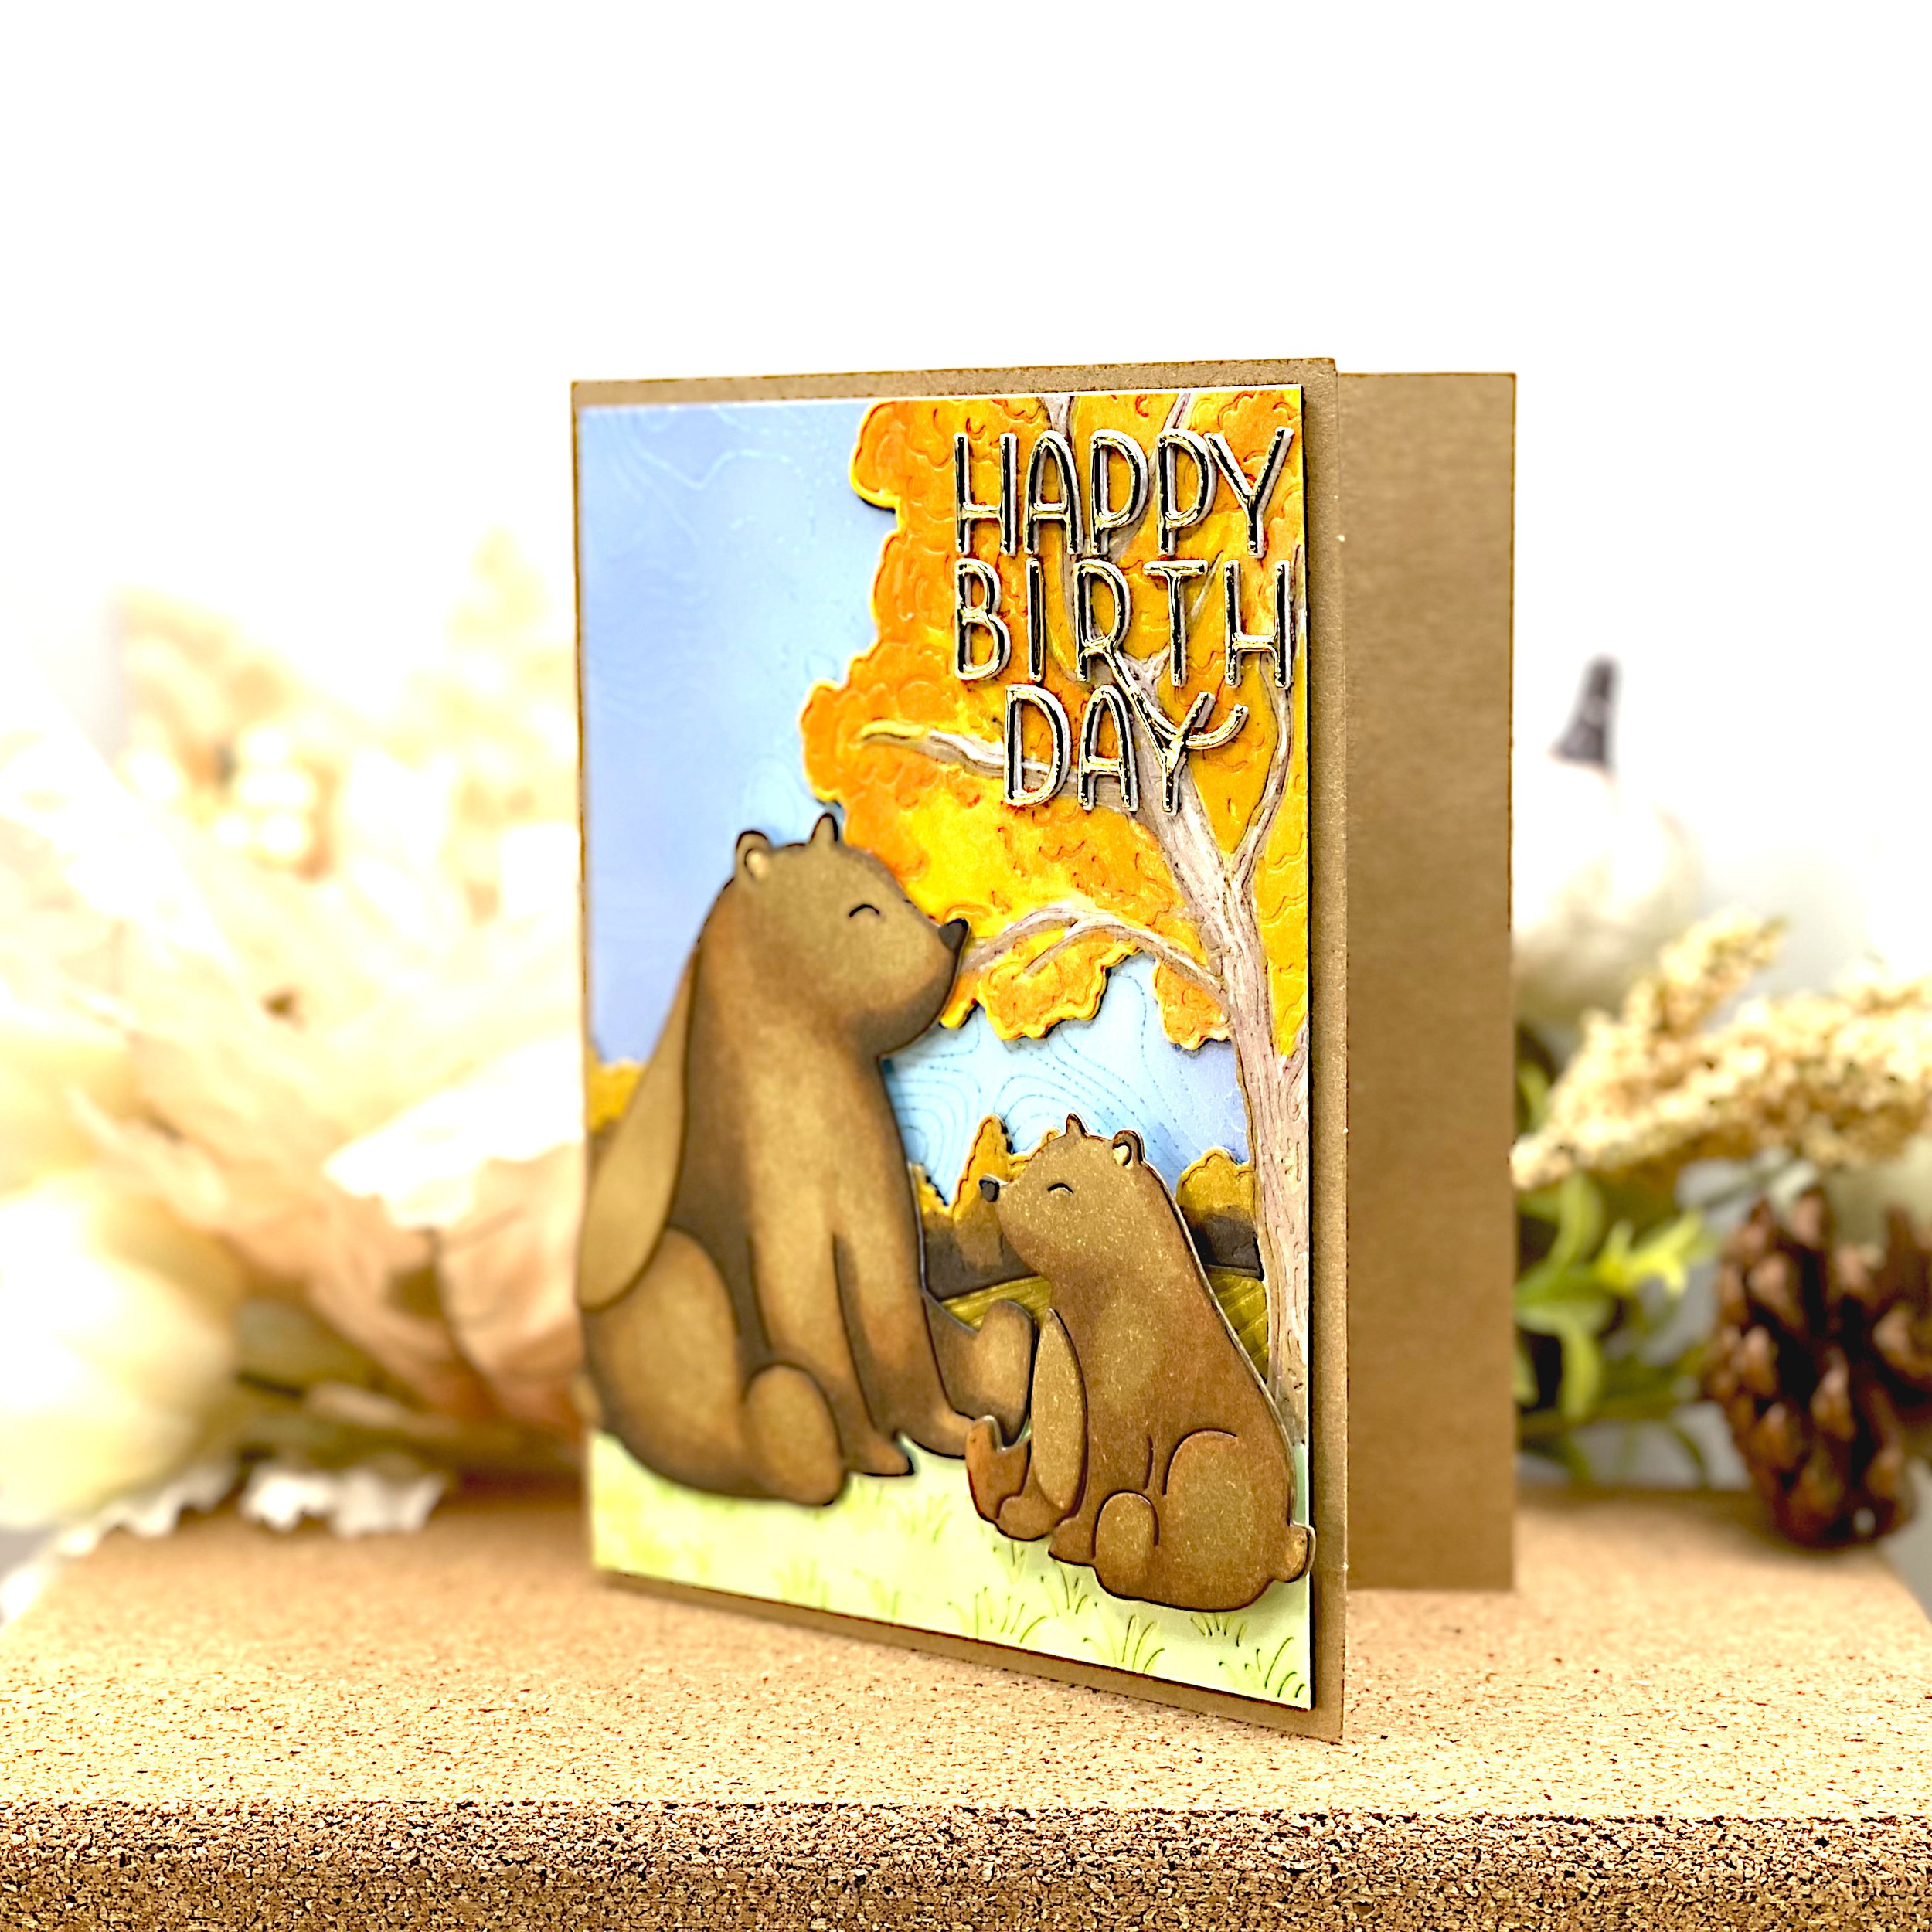
I doubled up the bears and adhered the mama bear to the landscape with wet glue. The bear cub got foam tape instead to emphasize it. When the card front was completely assembled, I adhered it to a Kraft A2 cardbase.
This is a workflow that works for me - I assemble a complete card panel and then I hold it up against cardbases in white, Kraft, black etc. That enables me to pick the cardbase that makes the card panel shine the most. Depending on the color of the cardbase, I add a panel to the inside of the card for the customer to write their personal message. Like so many things, that’s something I learned from Jennifer McGuire.