

Pink Mother’s Day card tutorial
Affiliate links: You support my business whenever you click on a link and buy something, and it doesn’t cost you a penny extra.
Challenge palette

I started out by stenciling the Pinkfresh Studio’s unreleased Nothing But The Best floral motif, using Pinkfresh inks in the following colors:
Sparkling rose
Raspberry bliss
Persimmon
Clementine
Sweet mustard
Fresh pear
Grassy knoll
The first five of these were determined by the theme of this week’s challenge, as you can see from the picture.
Oops
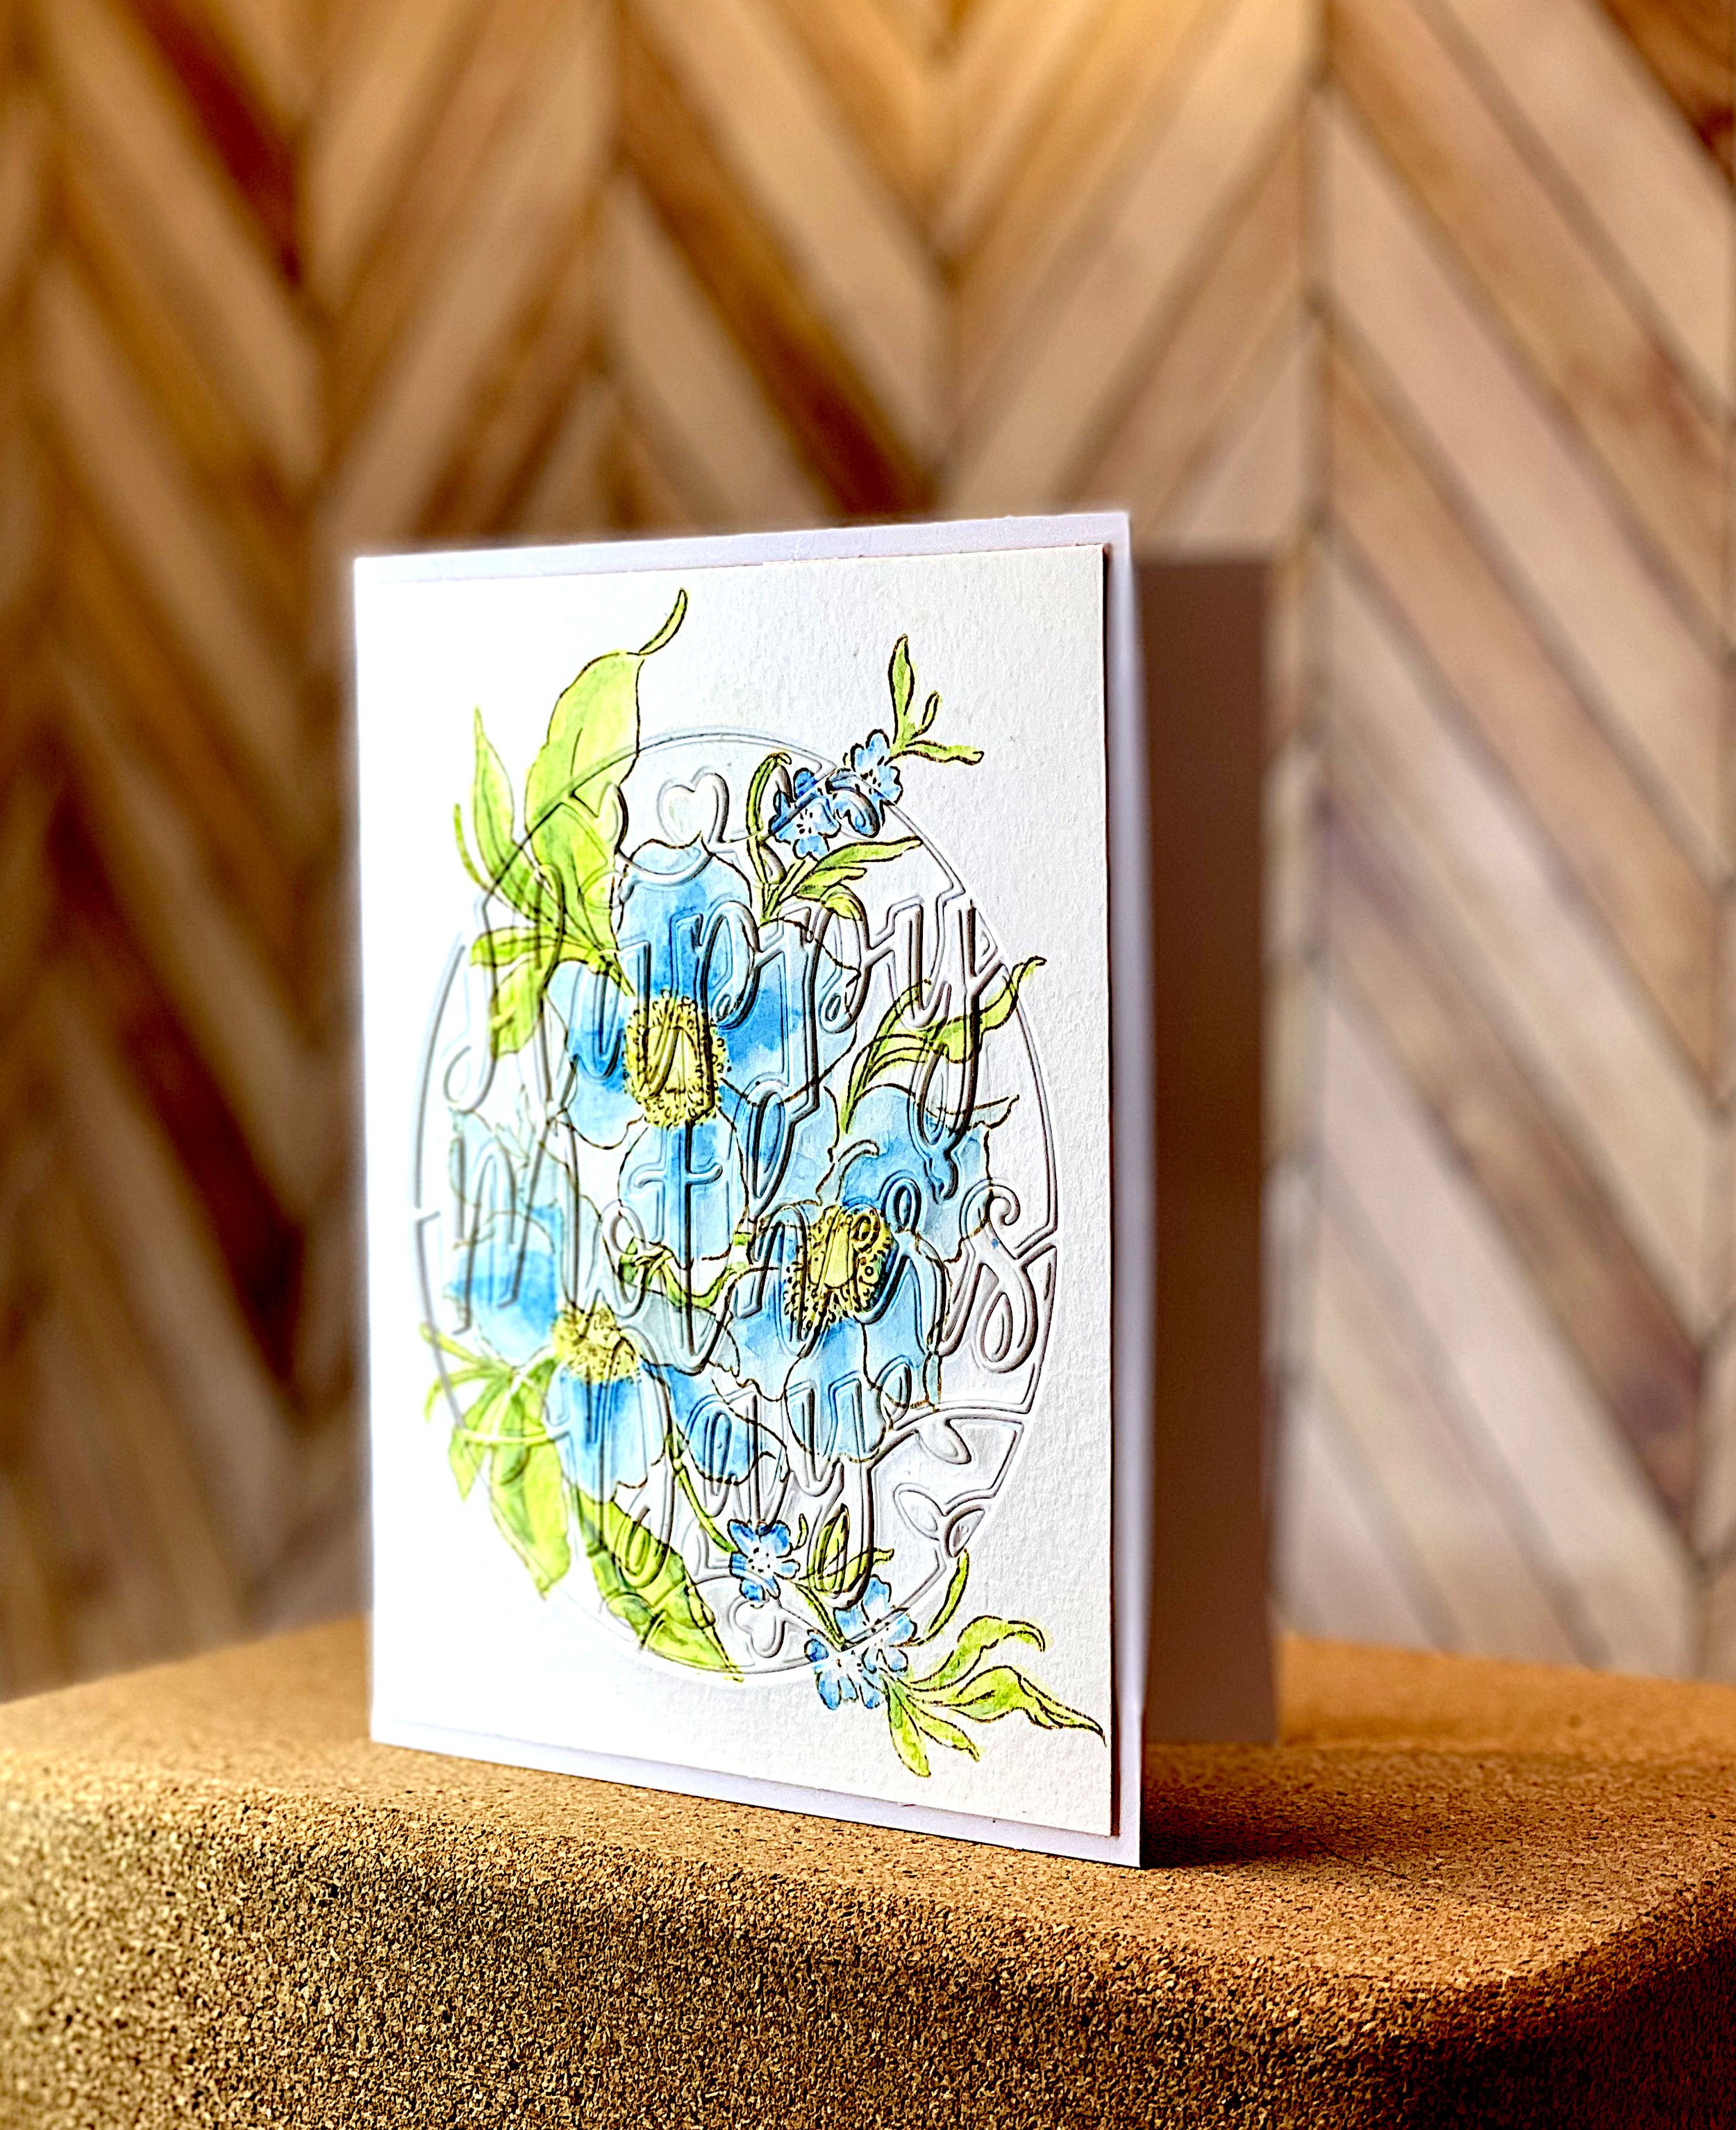
Then I cut out the stenciled motif. This is where things went wrong. Out of sheer habit, I doubled up the die cuts. That meant that I couldn’t create an eclipse card. 🤦🏼♀️
An eclipse card is a card that relies on topography only to convey its sentiment. I included the blue card in the gallery below as an example of an eclipse card. Doubling up die cuts is great for creating a card that feels substantial. But it’s very hard to die cut through two layers of 120 lbs cover weight cardstock. So I had to revise my plan.
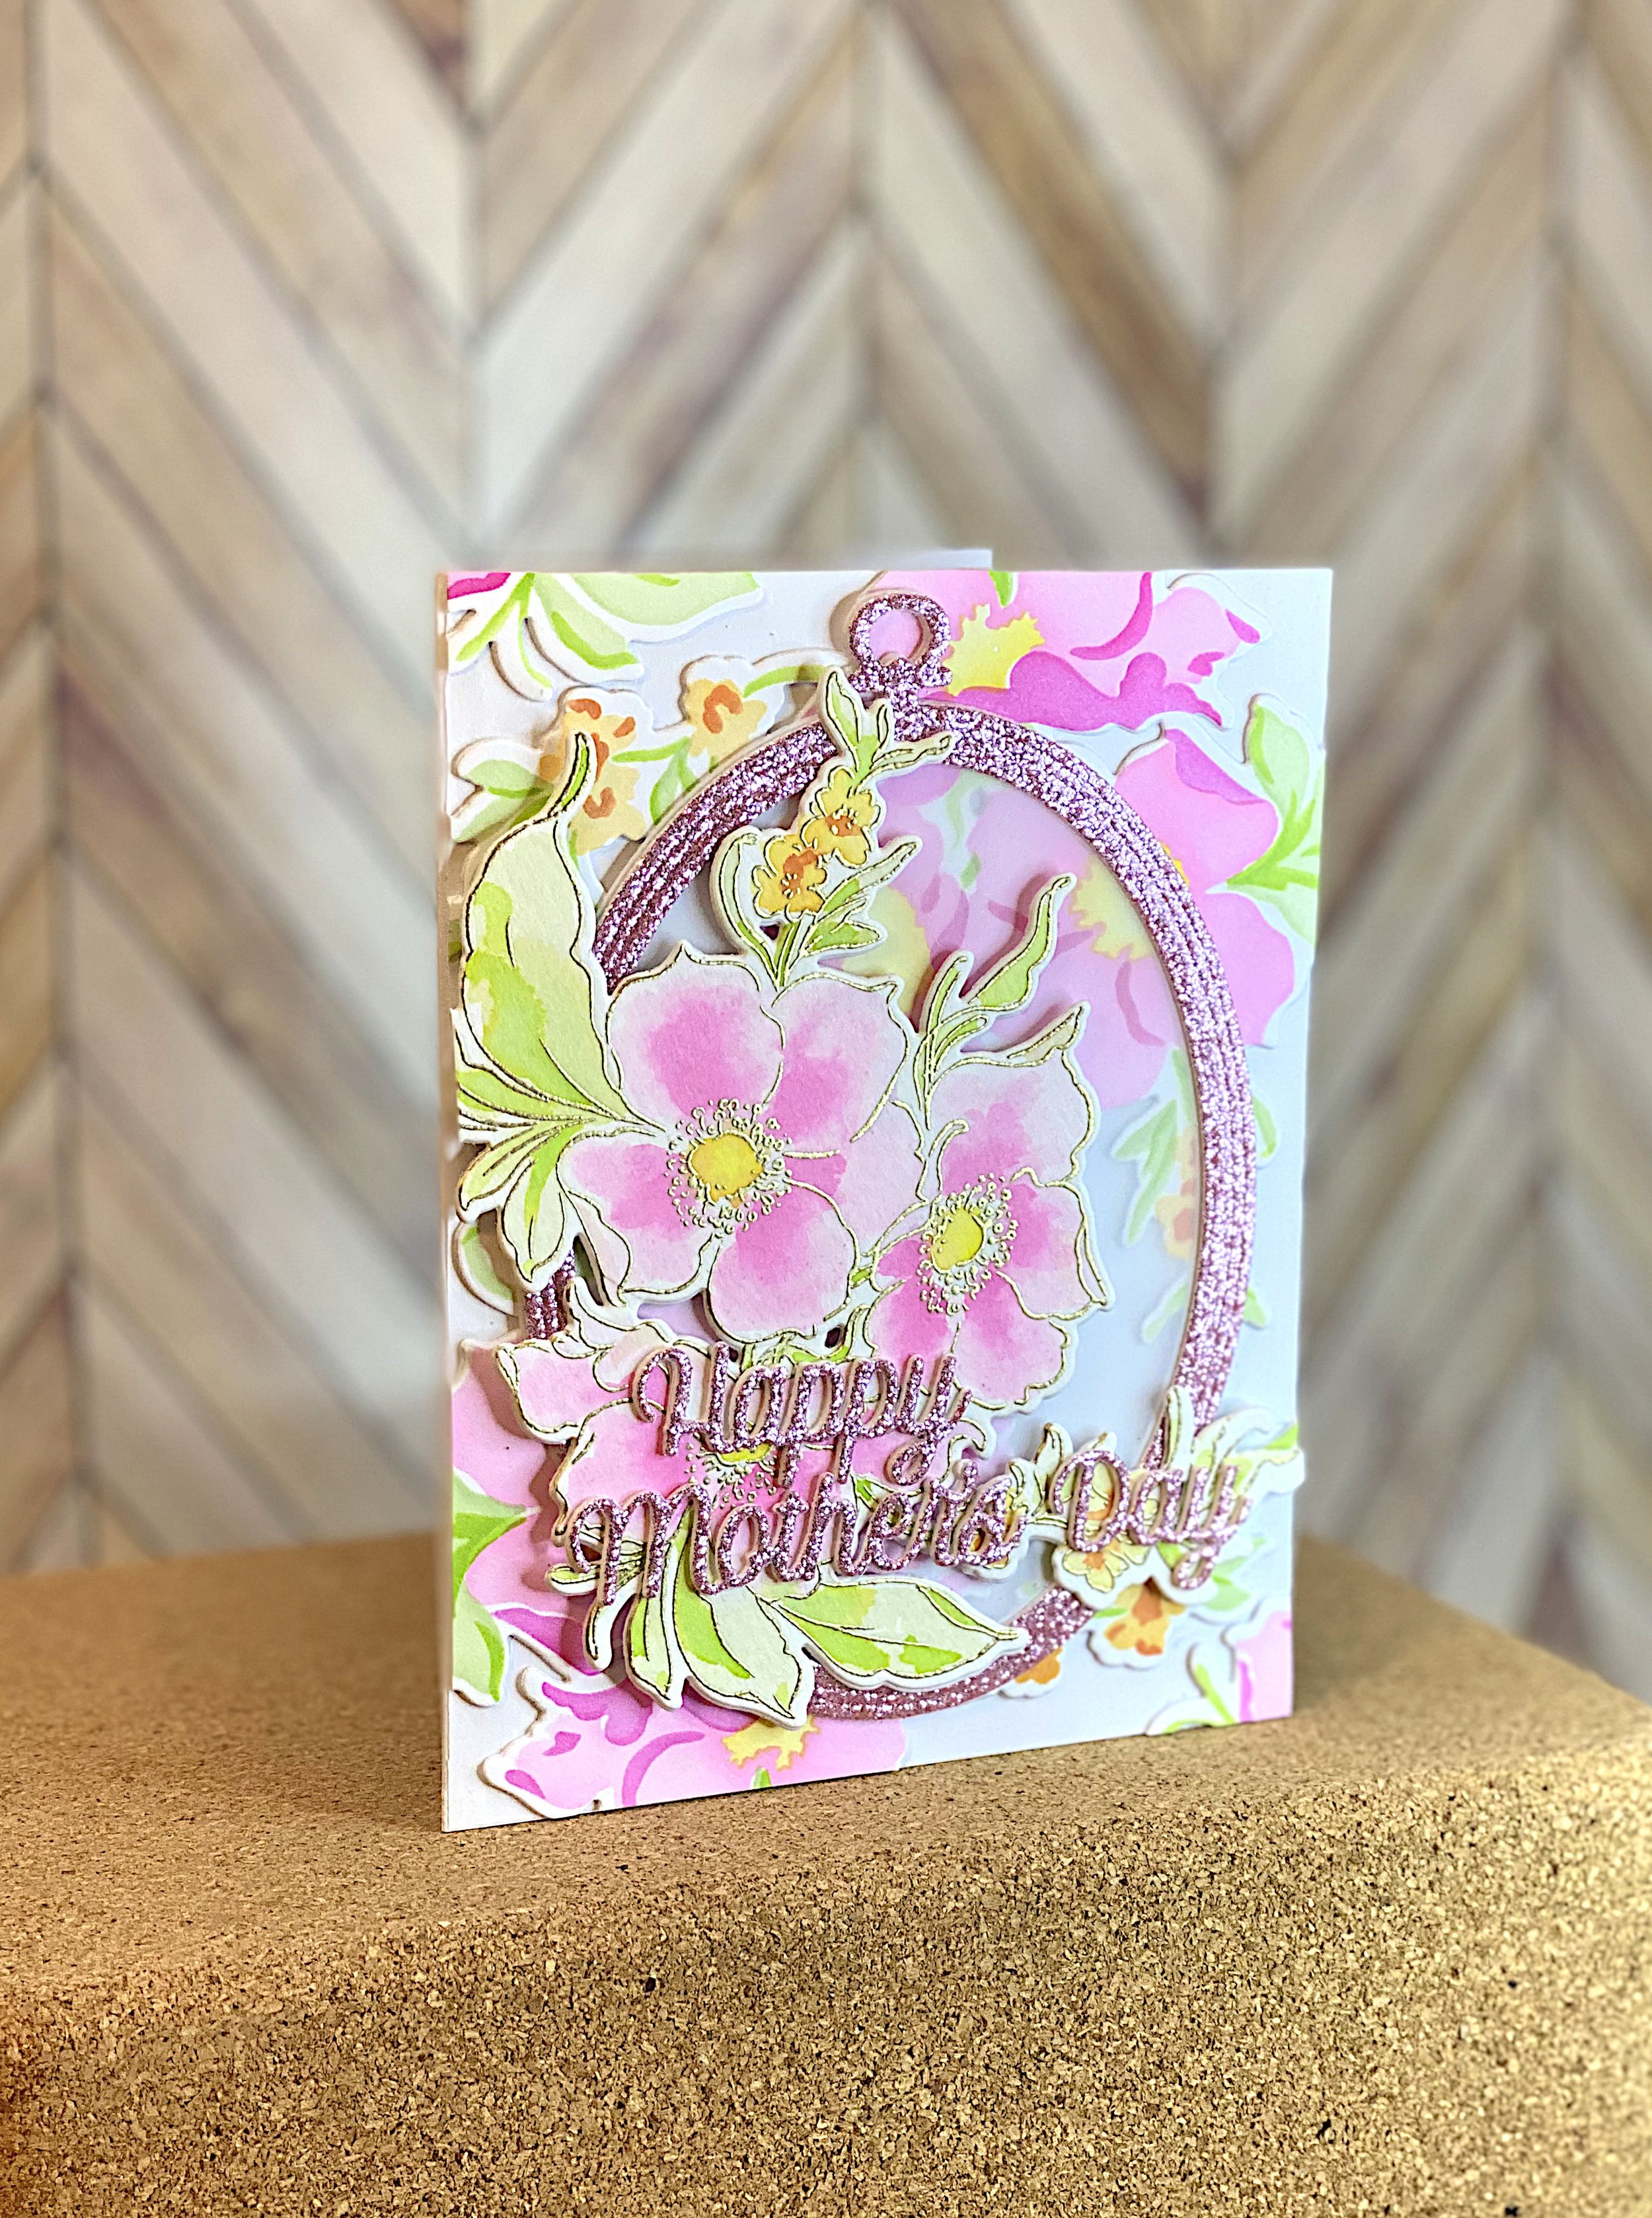
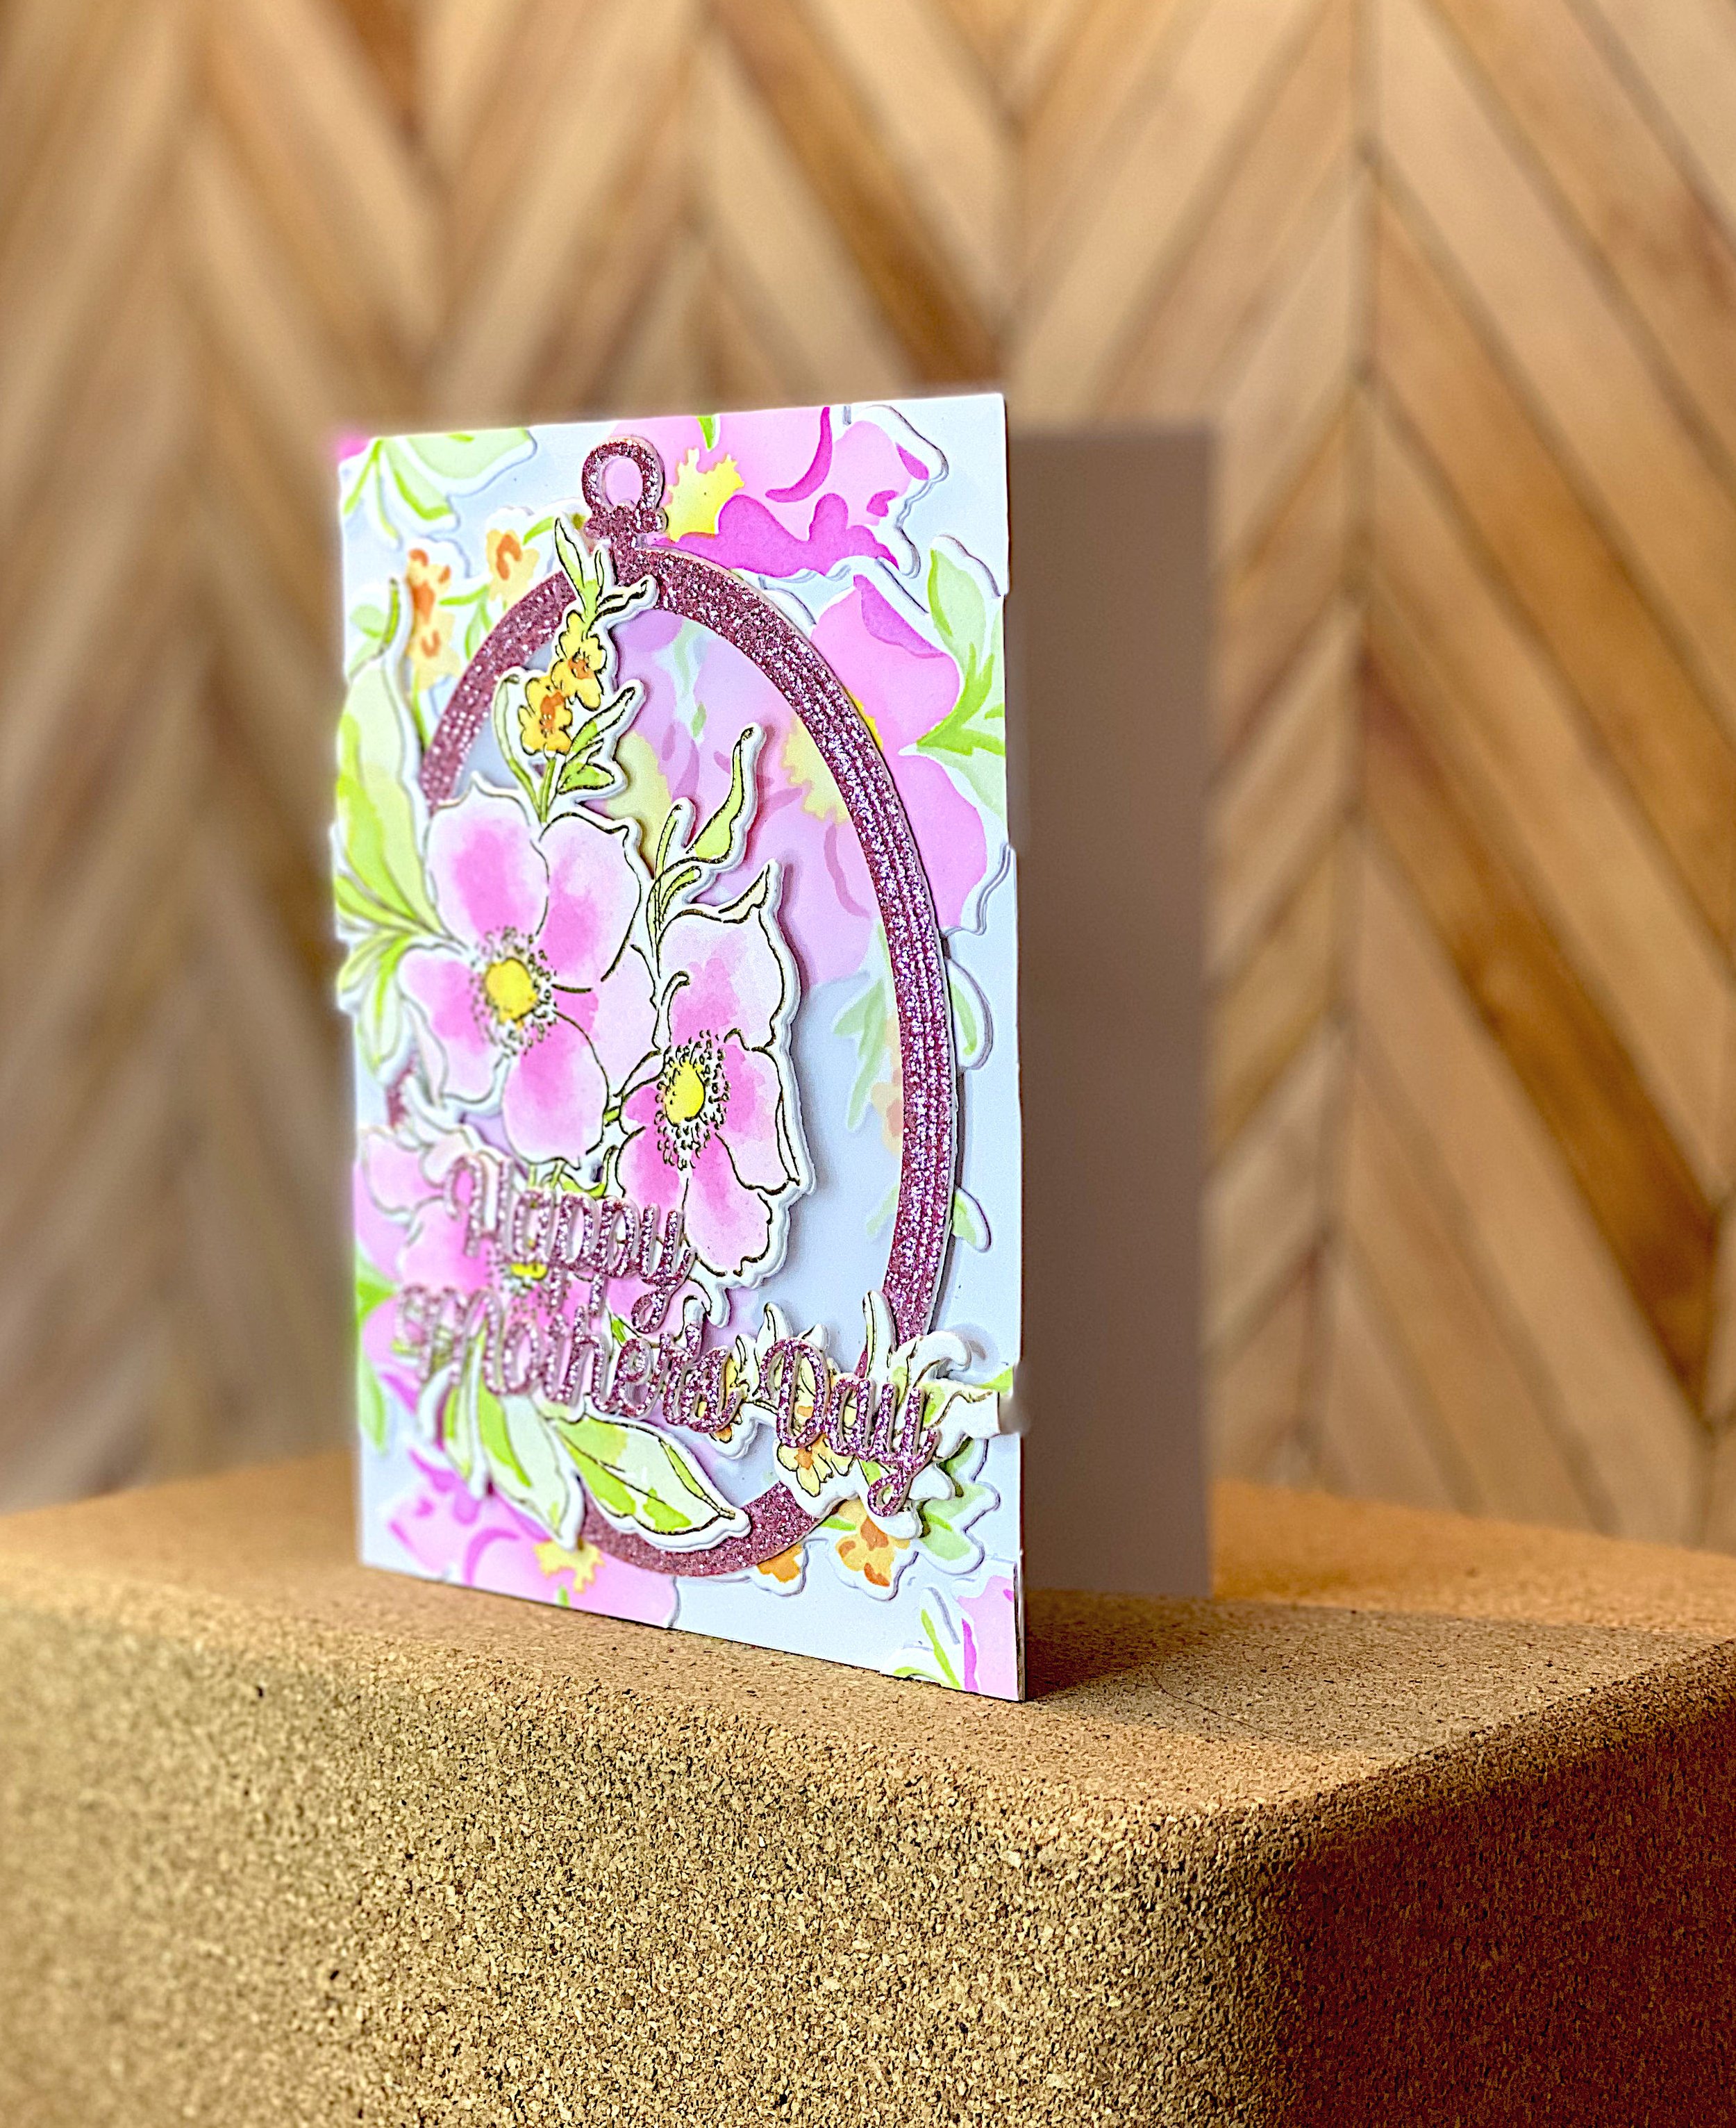
I decided to use the stenciled flowers as a background. So I glued them onto the card front.

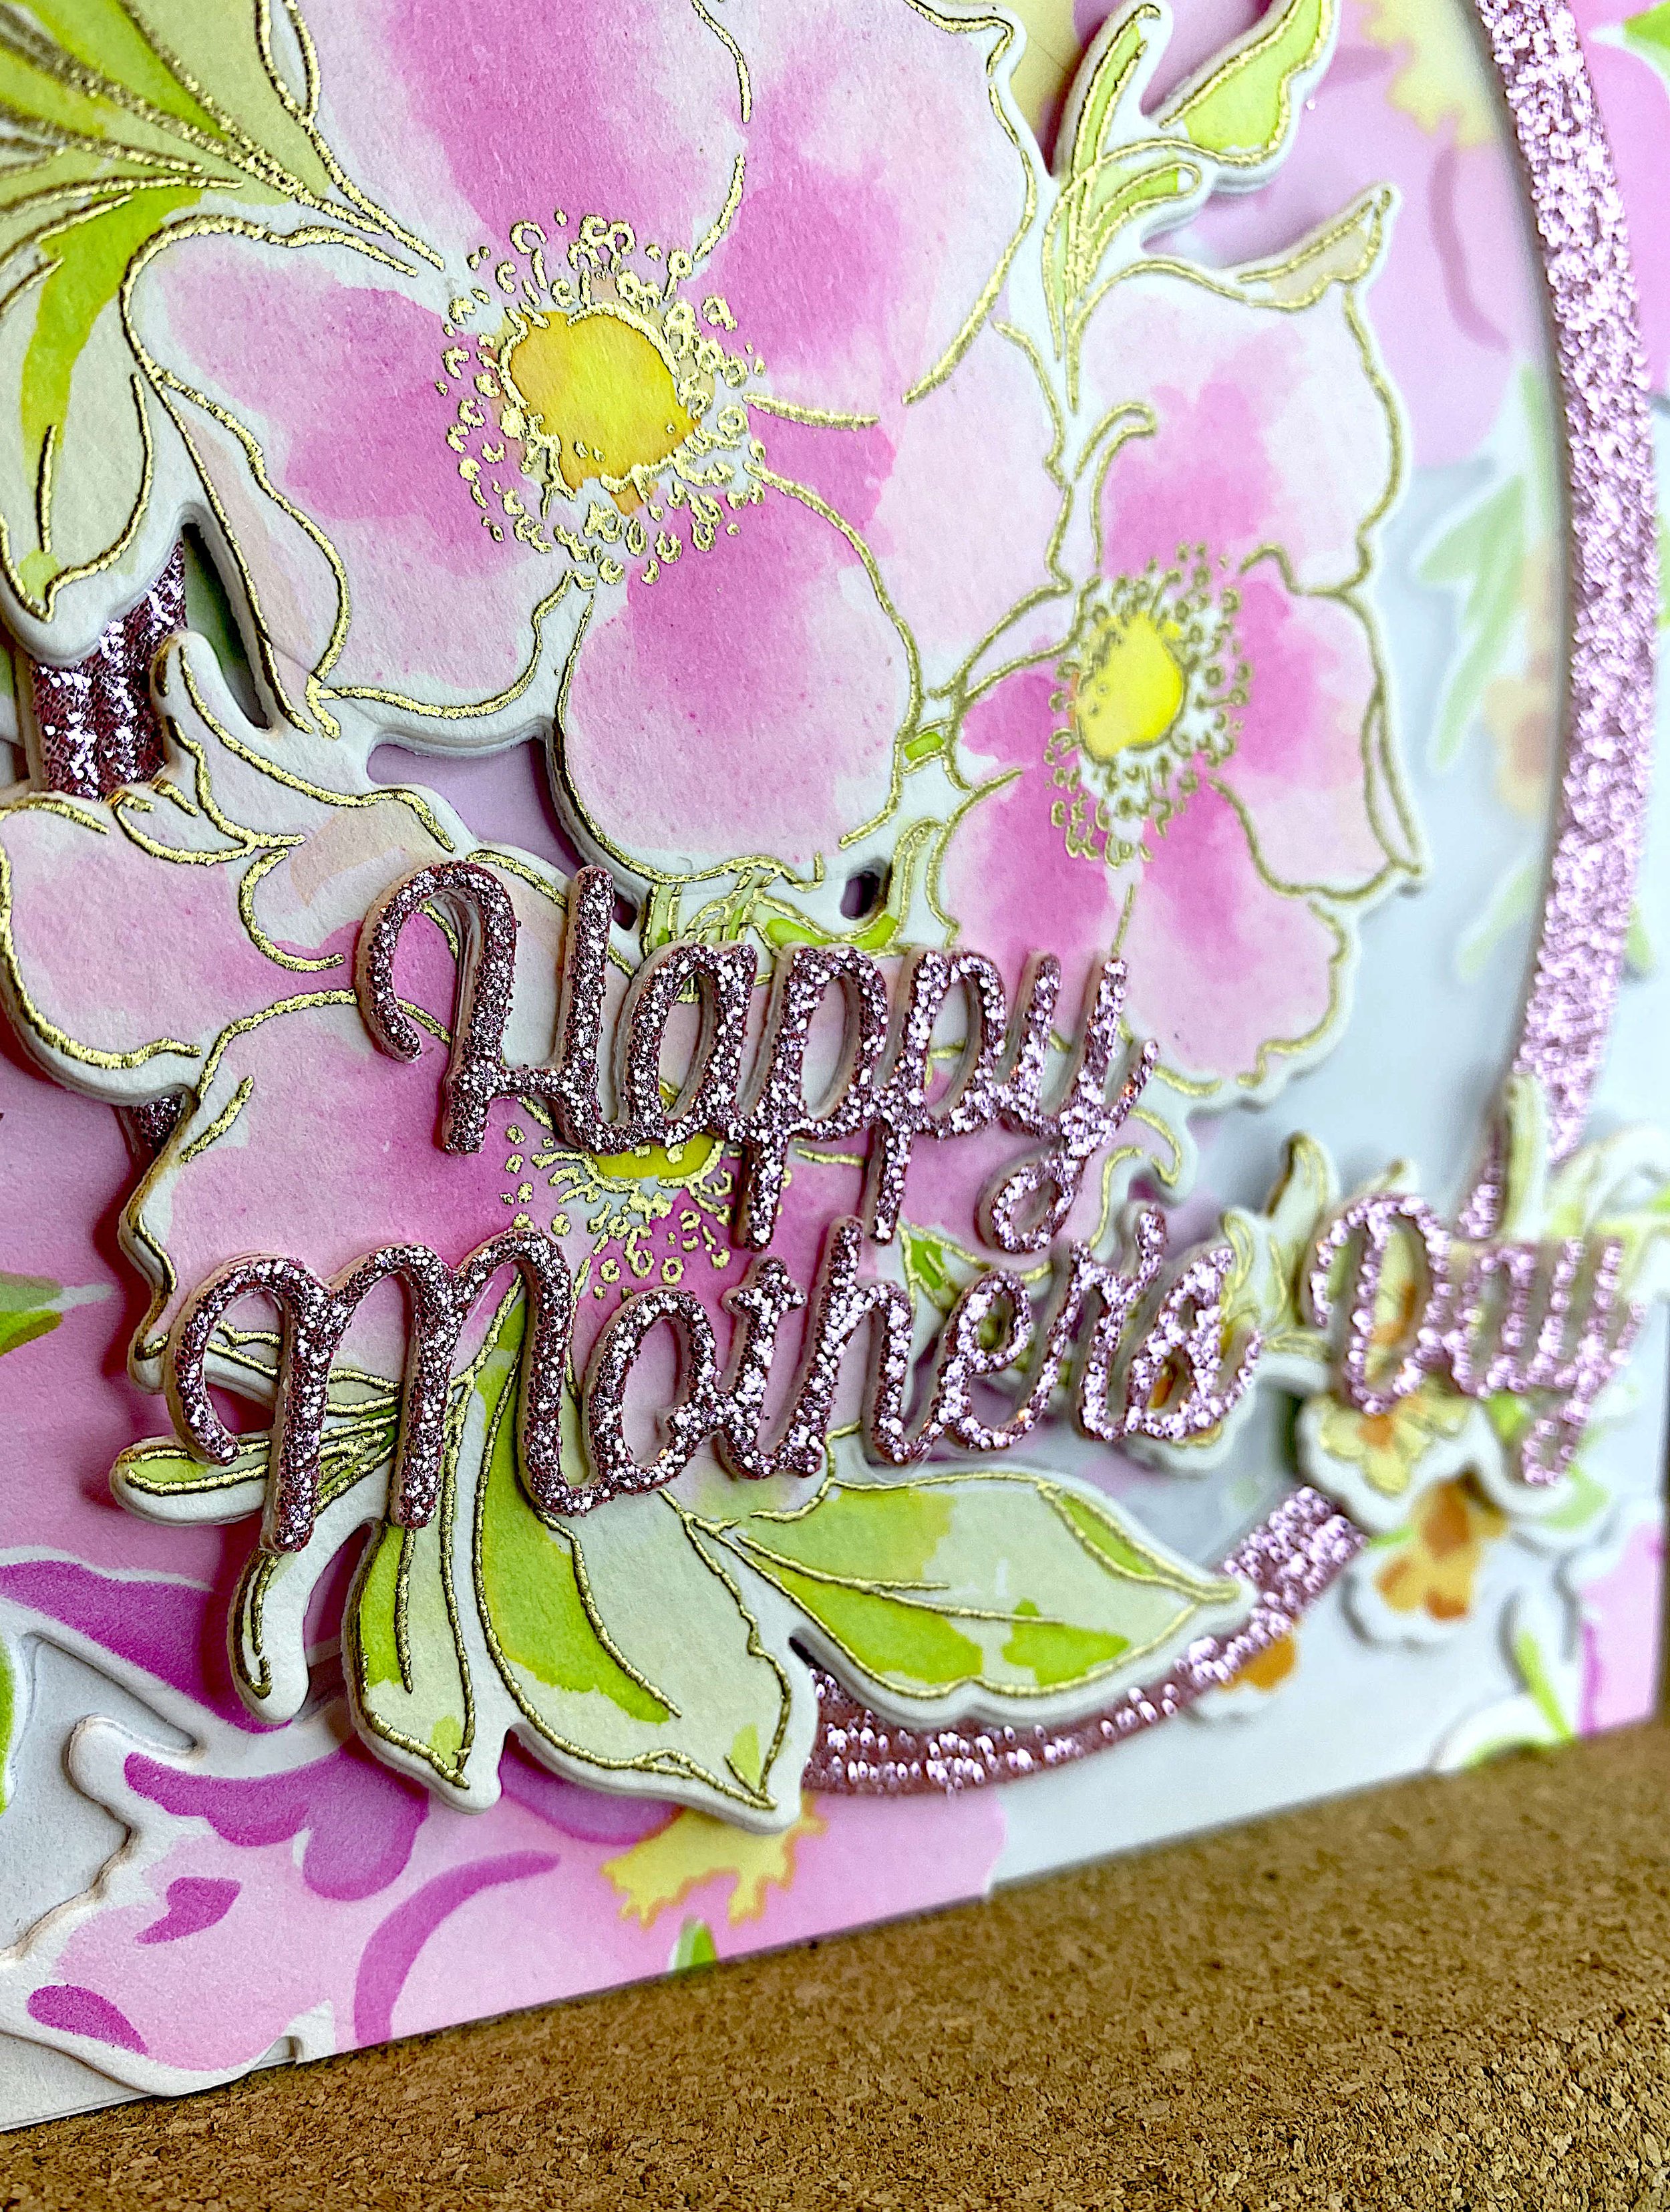
Heat embossing and watercoloring
Then I heat embossed the stamp from the Nothing But The Best product suite in gold. I smooshed the inks from the challenge palette onto my glass craft surface and watercolored the flowers. I cut them out, because I wanted to use them as a focal point for the card.
But placing the watercolor flowers onto the stenciled flowers did not look good at all. The stenciled flowers took over because of the vibrant inks. I knew I had to tone them down.
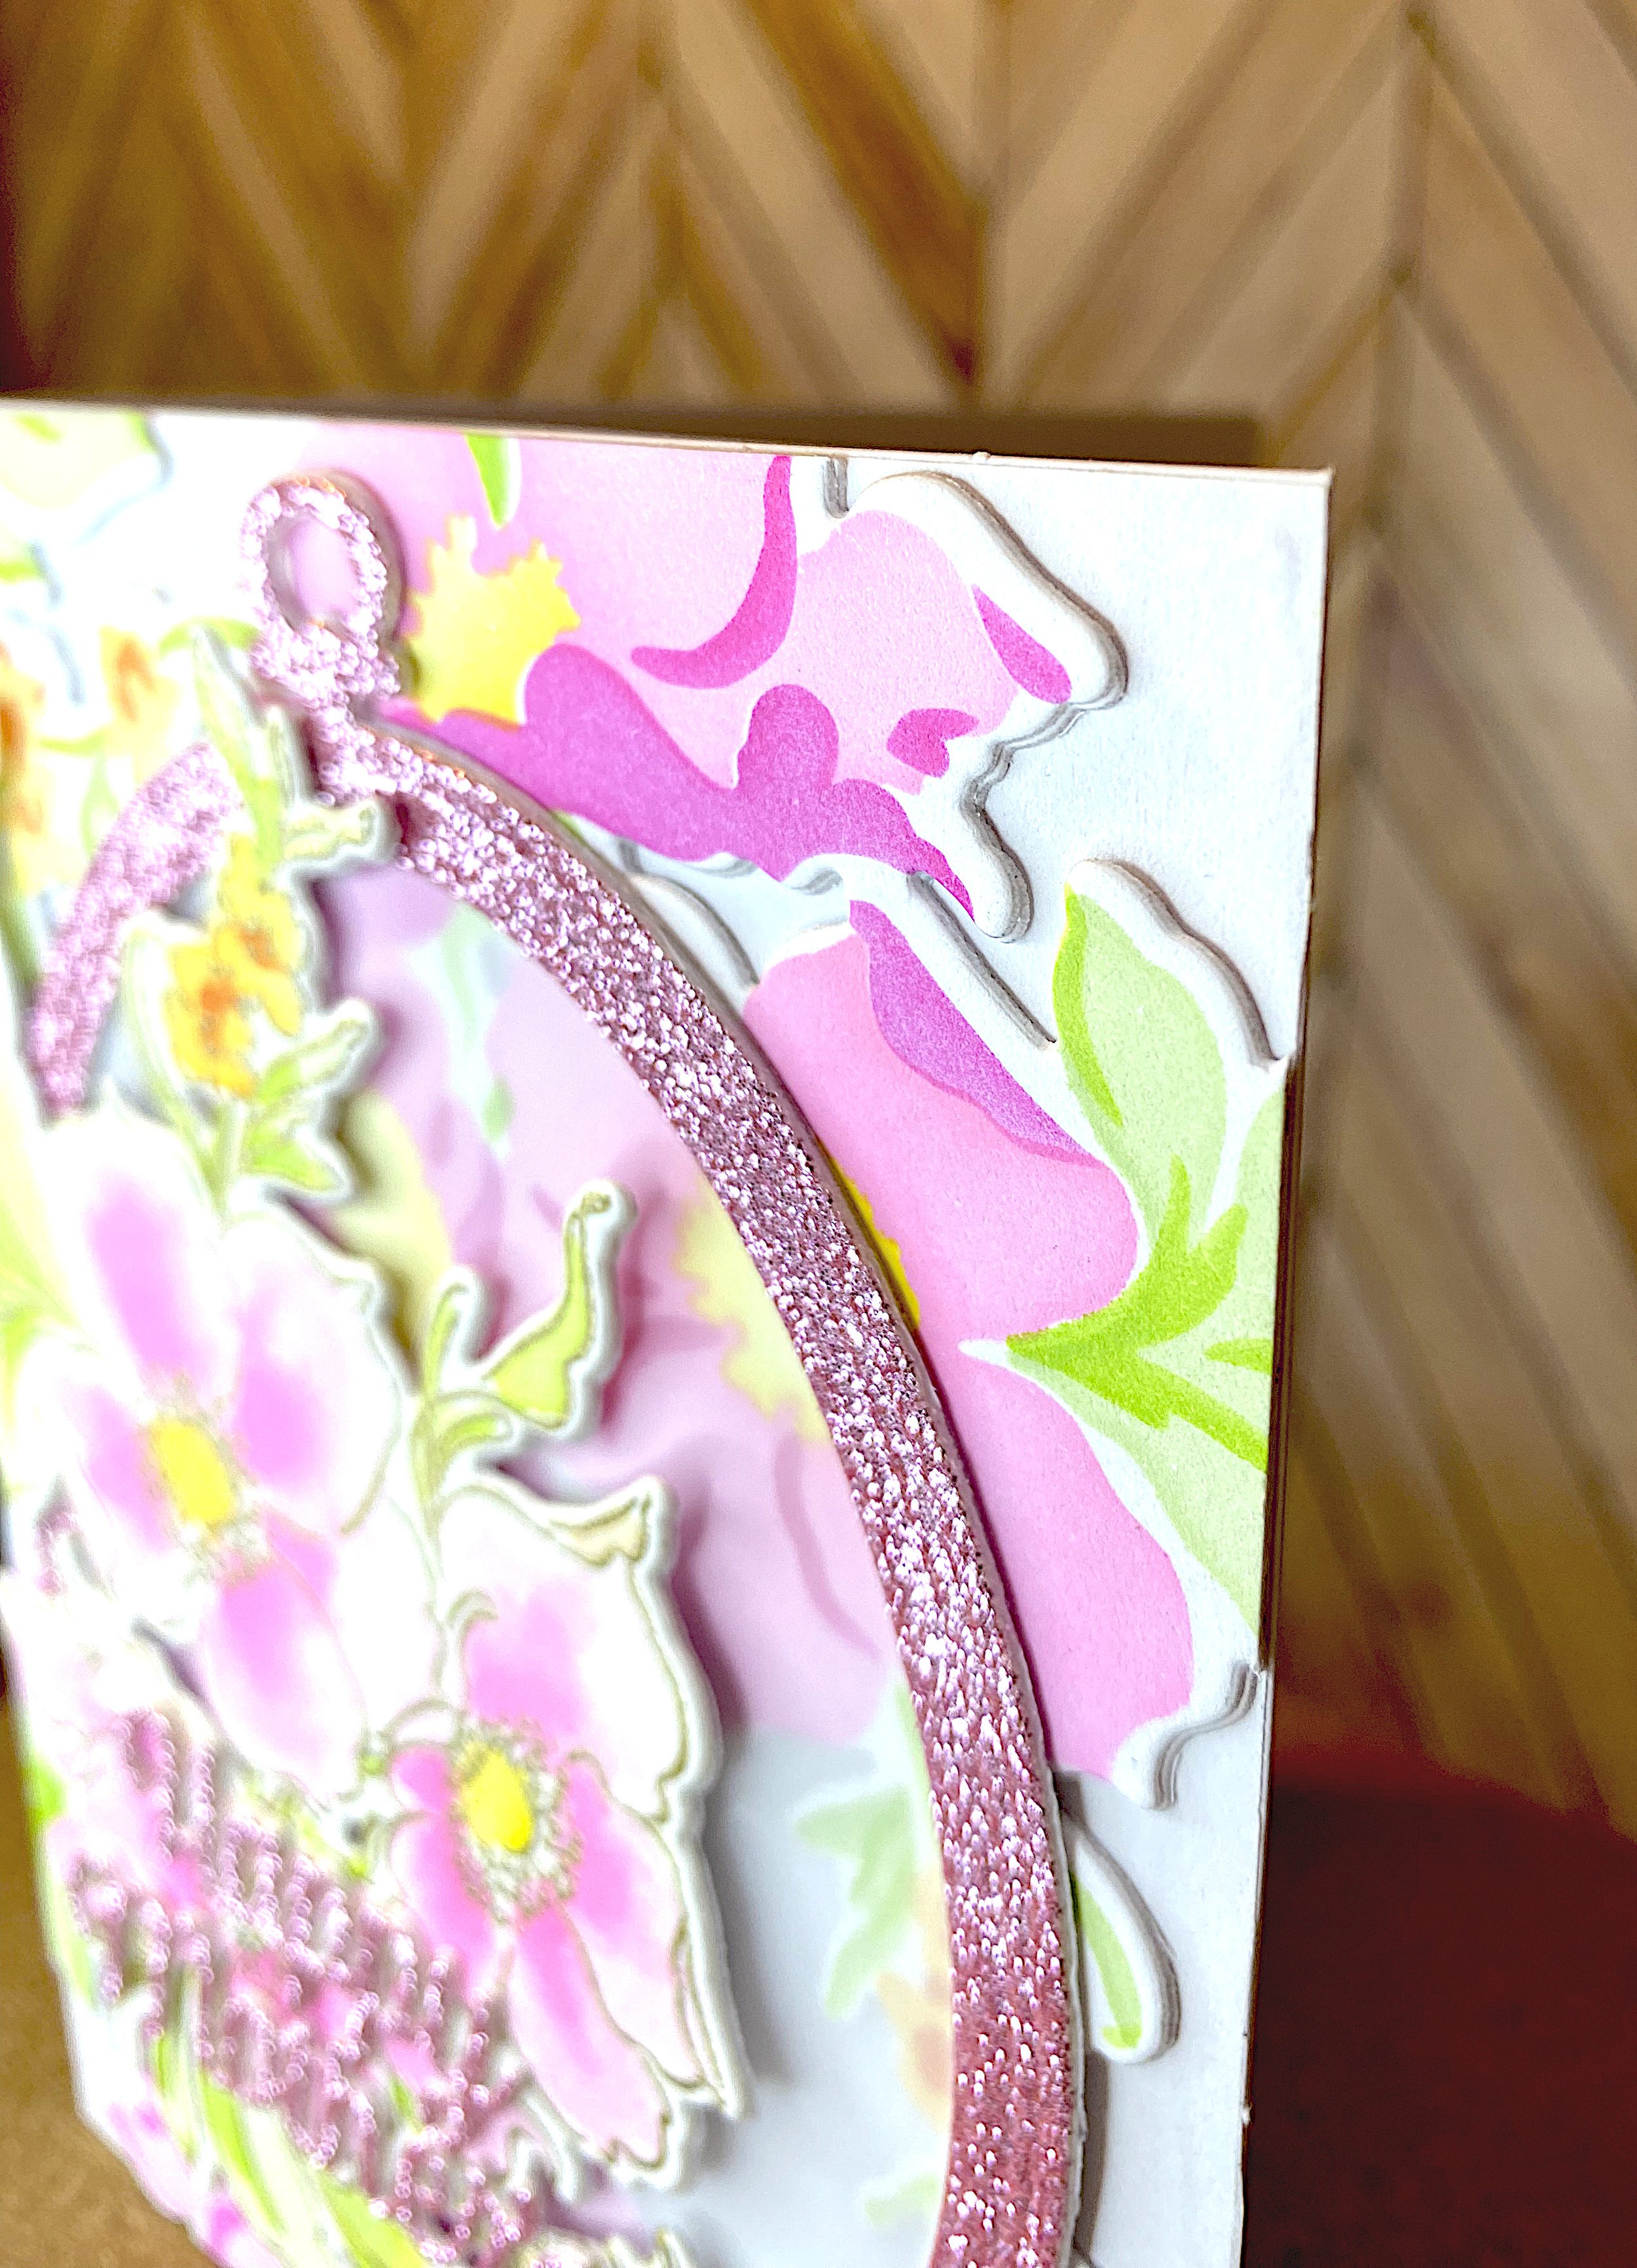
A common method for toning down a busy background, is to use vellum. Pawing through my stash, I found I still had some pearlized vellum. Putting it between the background and foreground really helped the watercolored flowers stand out better.
Creating the frame
Next I debated how I wanted to apply the vellum to the card. The problem with vellum is that glue shows through it.
I looked through my dies for a frame that would work. After a couple of tries I landed on a Tonic Studios die that looks like an oval embroidery hoop. It doesn’t seem to be sold any more, but Waffleflower have a nesting ovals die set that could achieve a similar look.
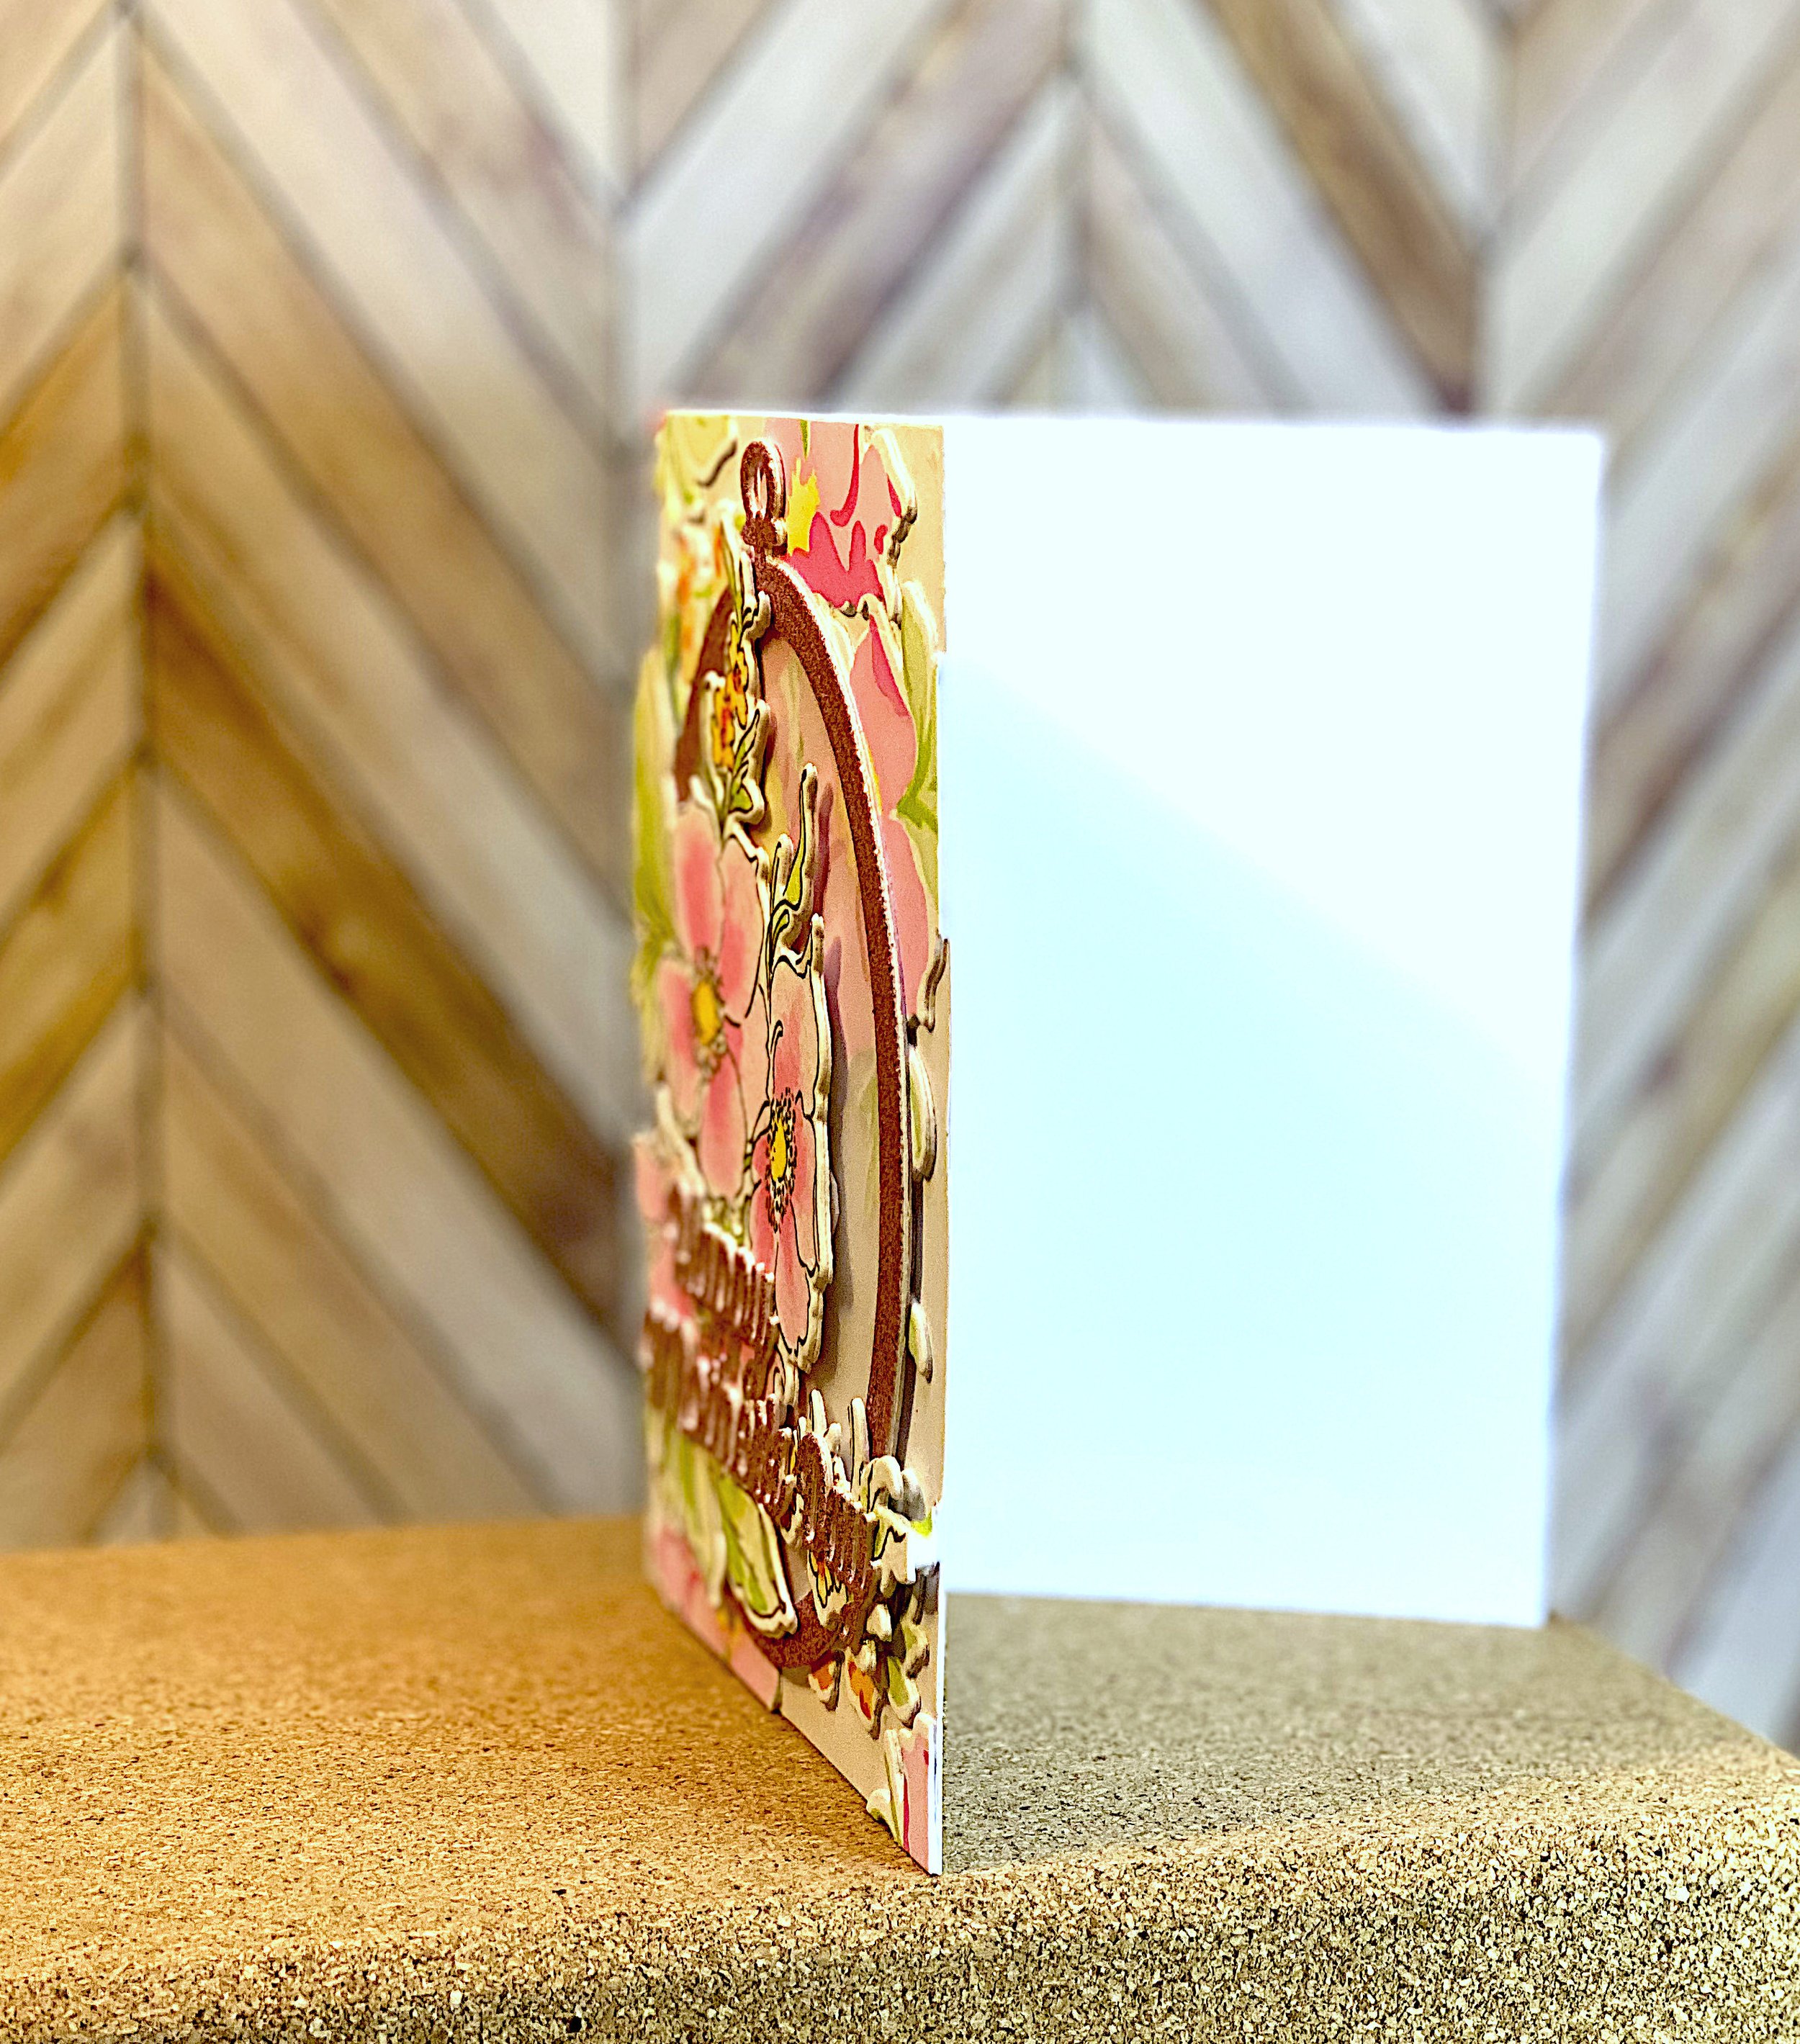
I cut out the vellum using the outer oval die. Then I cut out the hoop from pink non-shedding glitter cardstock and my favorite Accent Opaque 120 lbs cover weight cardstock. I sandwiched the vellum between the white and pink hoops. This way I was able to glue the white hoop to the die cuts on the card front and end up with a pretty stable card.
Motif and sentiment
Glueing on glitter is always a bit dicey but I had plenty of surface to work with, so I adhered the watercolored flowers on the left and bottom sides of the frame. Some parts that were sticking out from the frame needed support from foam tape or cardstock. This is why reverse tweezers are such an essential tool for papercrafters.
Luckily I still had enough pink glitter paper for the sentiment. It’s from the Spellbinders Merry Everything sentiment die set. It’s a great die set for lots of occasions. It’s also on sale right now. I layered it with two layers of Accent Opaque for added oomph.
This was quite a journey and I was happy when I was finally done. But I like the result.
You can buy this card in my Etsy store.


