

Happy Holiday Bears
Affiliate links: You support my crafty business whenever you click on a link and buy something, and it doesn’t cost you a penny extra.
Cardmaking video on the Valley Oak Paper YouTube channel
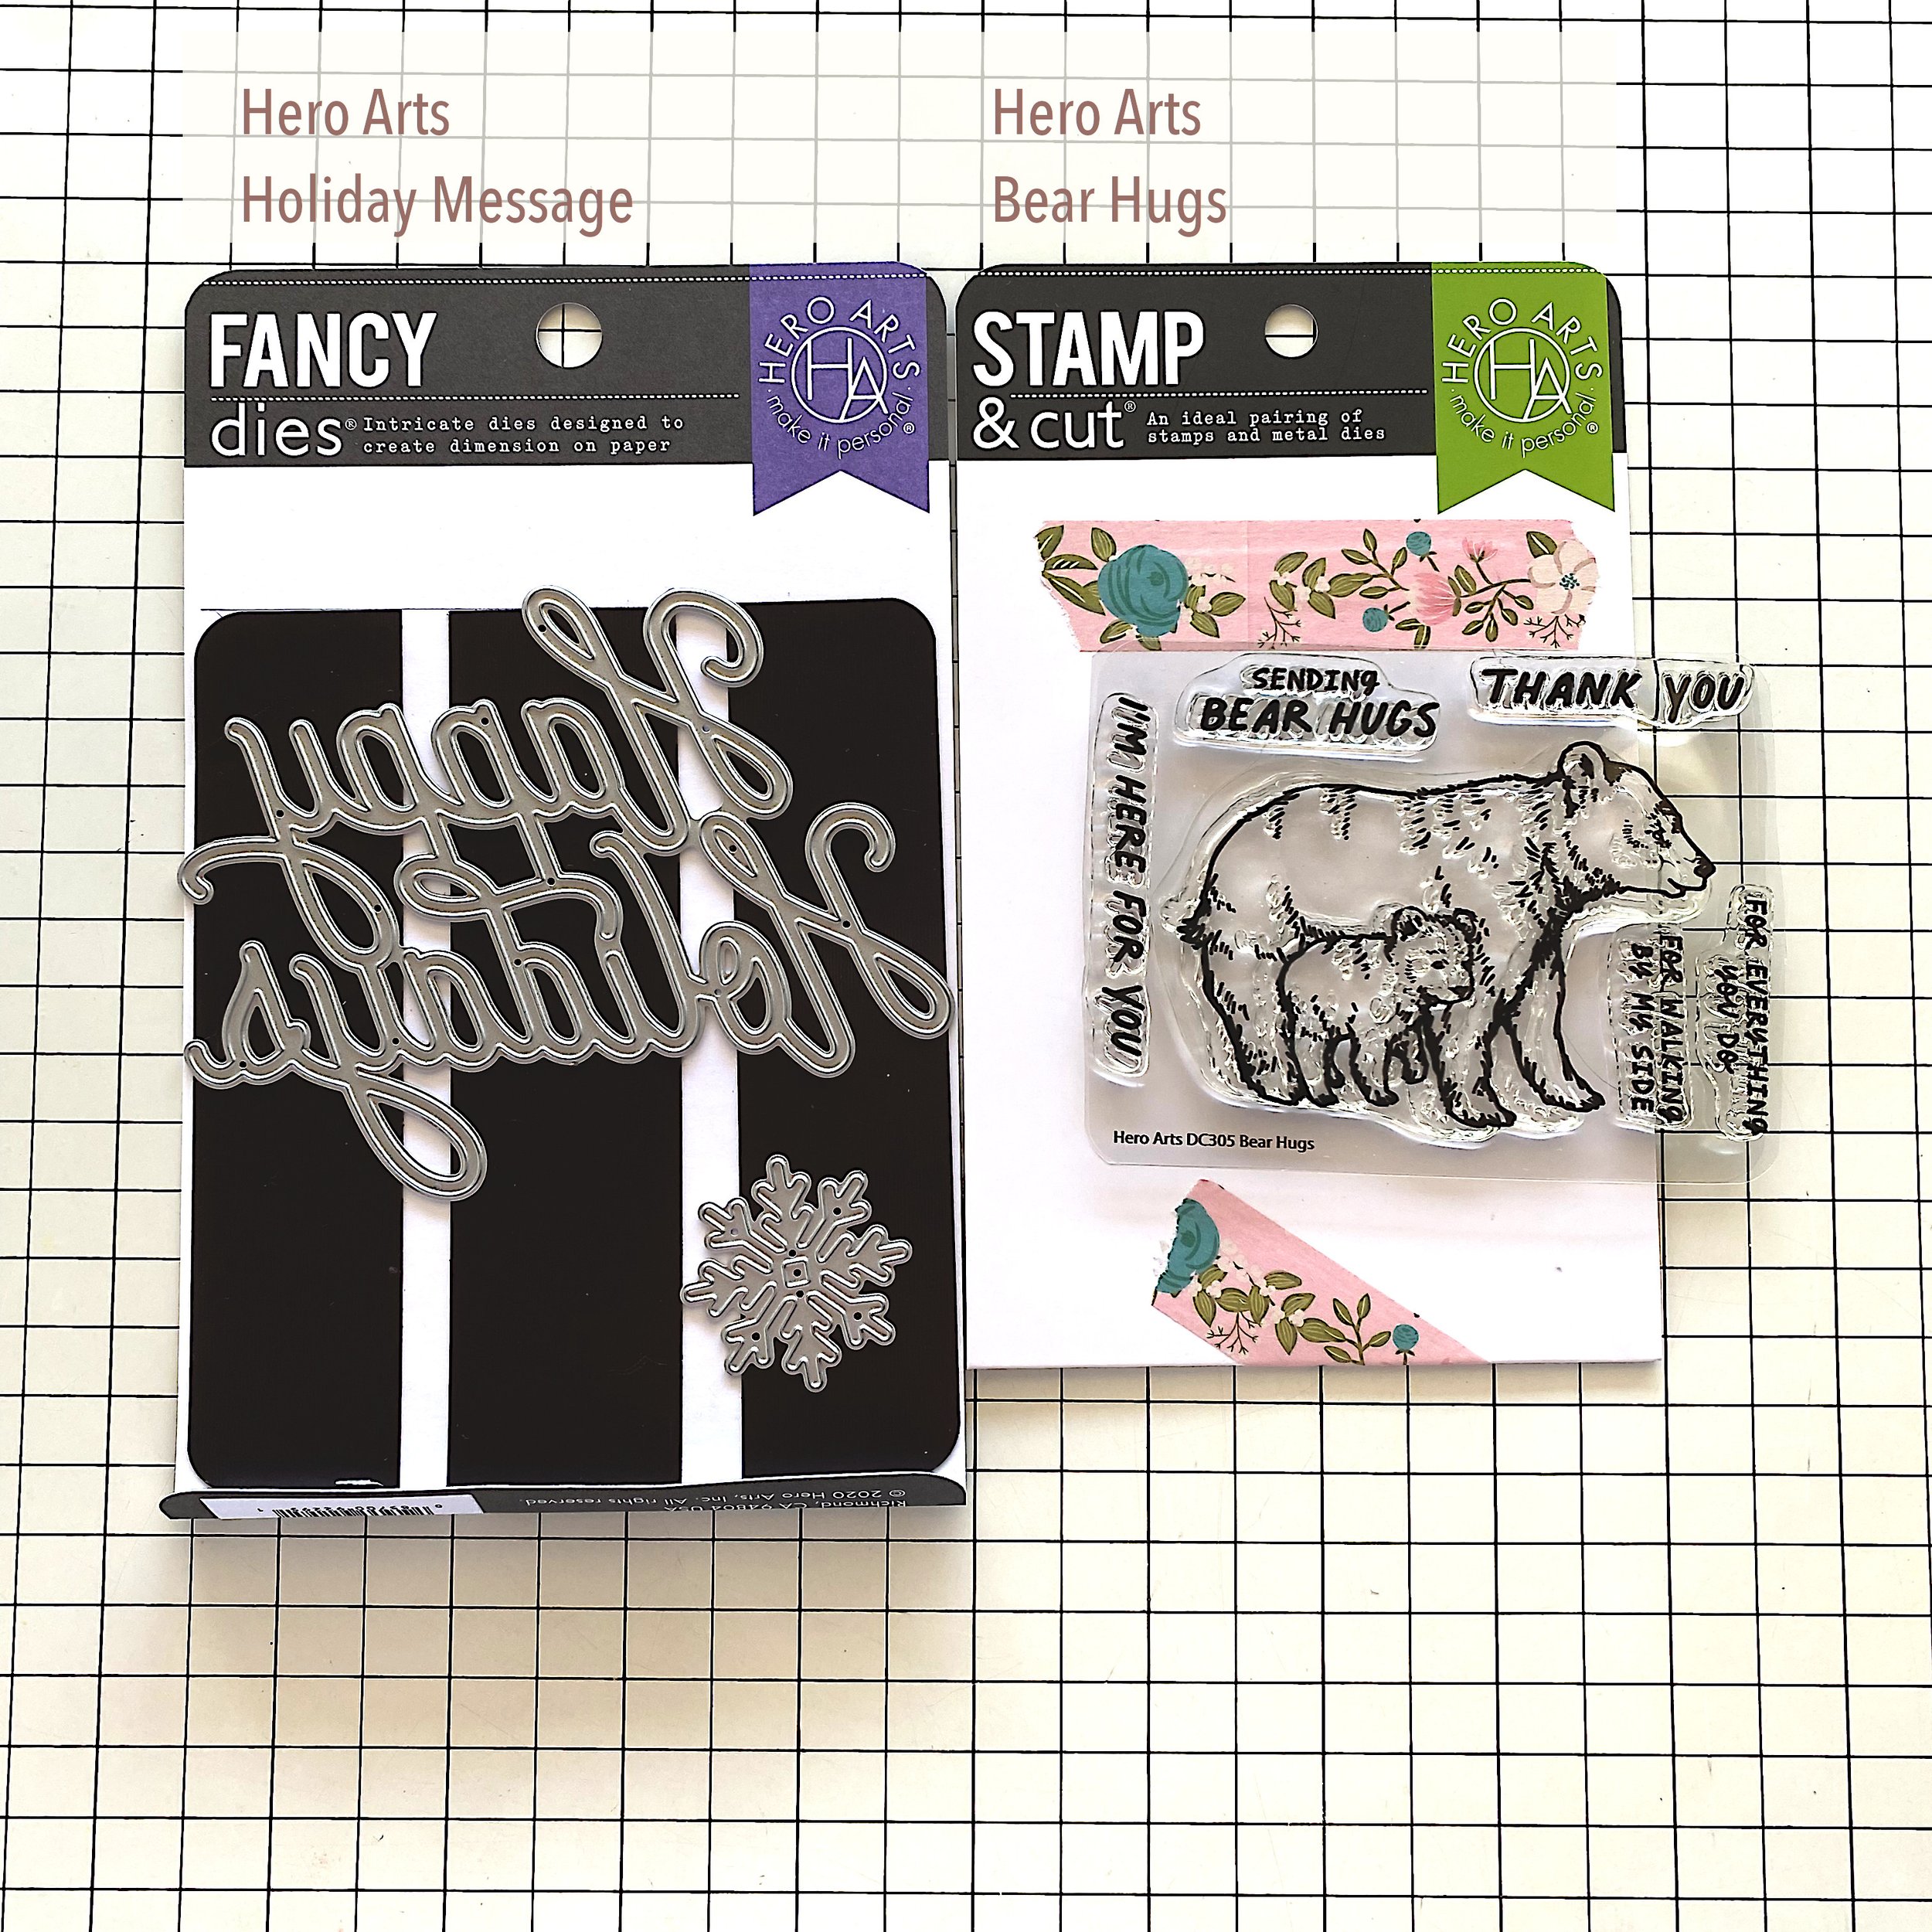
This is a relatively simple card that would be easy to mass produce in a couple of evenings. It’s using two Hero Arts products:
The blue cardstock I’m using is 110 lbs from Recollections. In the blue-toned collection called Blue Skies, it’s the bottom shade. Cut it to 4” by 5.25.” That’s 1/4” less than an A2 card in both directions.
The gold foil cardstock is also from Recollections. Cut it to 4.125” by 5.375.” That’s 1/8” less than an A2 card in both directions. This will give you an elegant 1/16” gold border around the blue panel.
For stacking I’m using Accent Opaque in 100 lbs cover weight. It’s in stock right now, so if you were thinking of getting some, now’s the time! At less than $14 for 200 sheets, it’s a steal.


Stamping
I start by stamping the message inside the card, so it has time to dry before I work on the outside. Place the stamp that says “Sending bear hugs” in your stamp positioner. It should be near the top center on the right side of the raised score line. I stamp in Blueprint Sketch to match the blue cardstock.
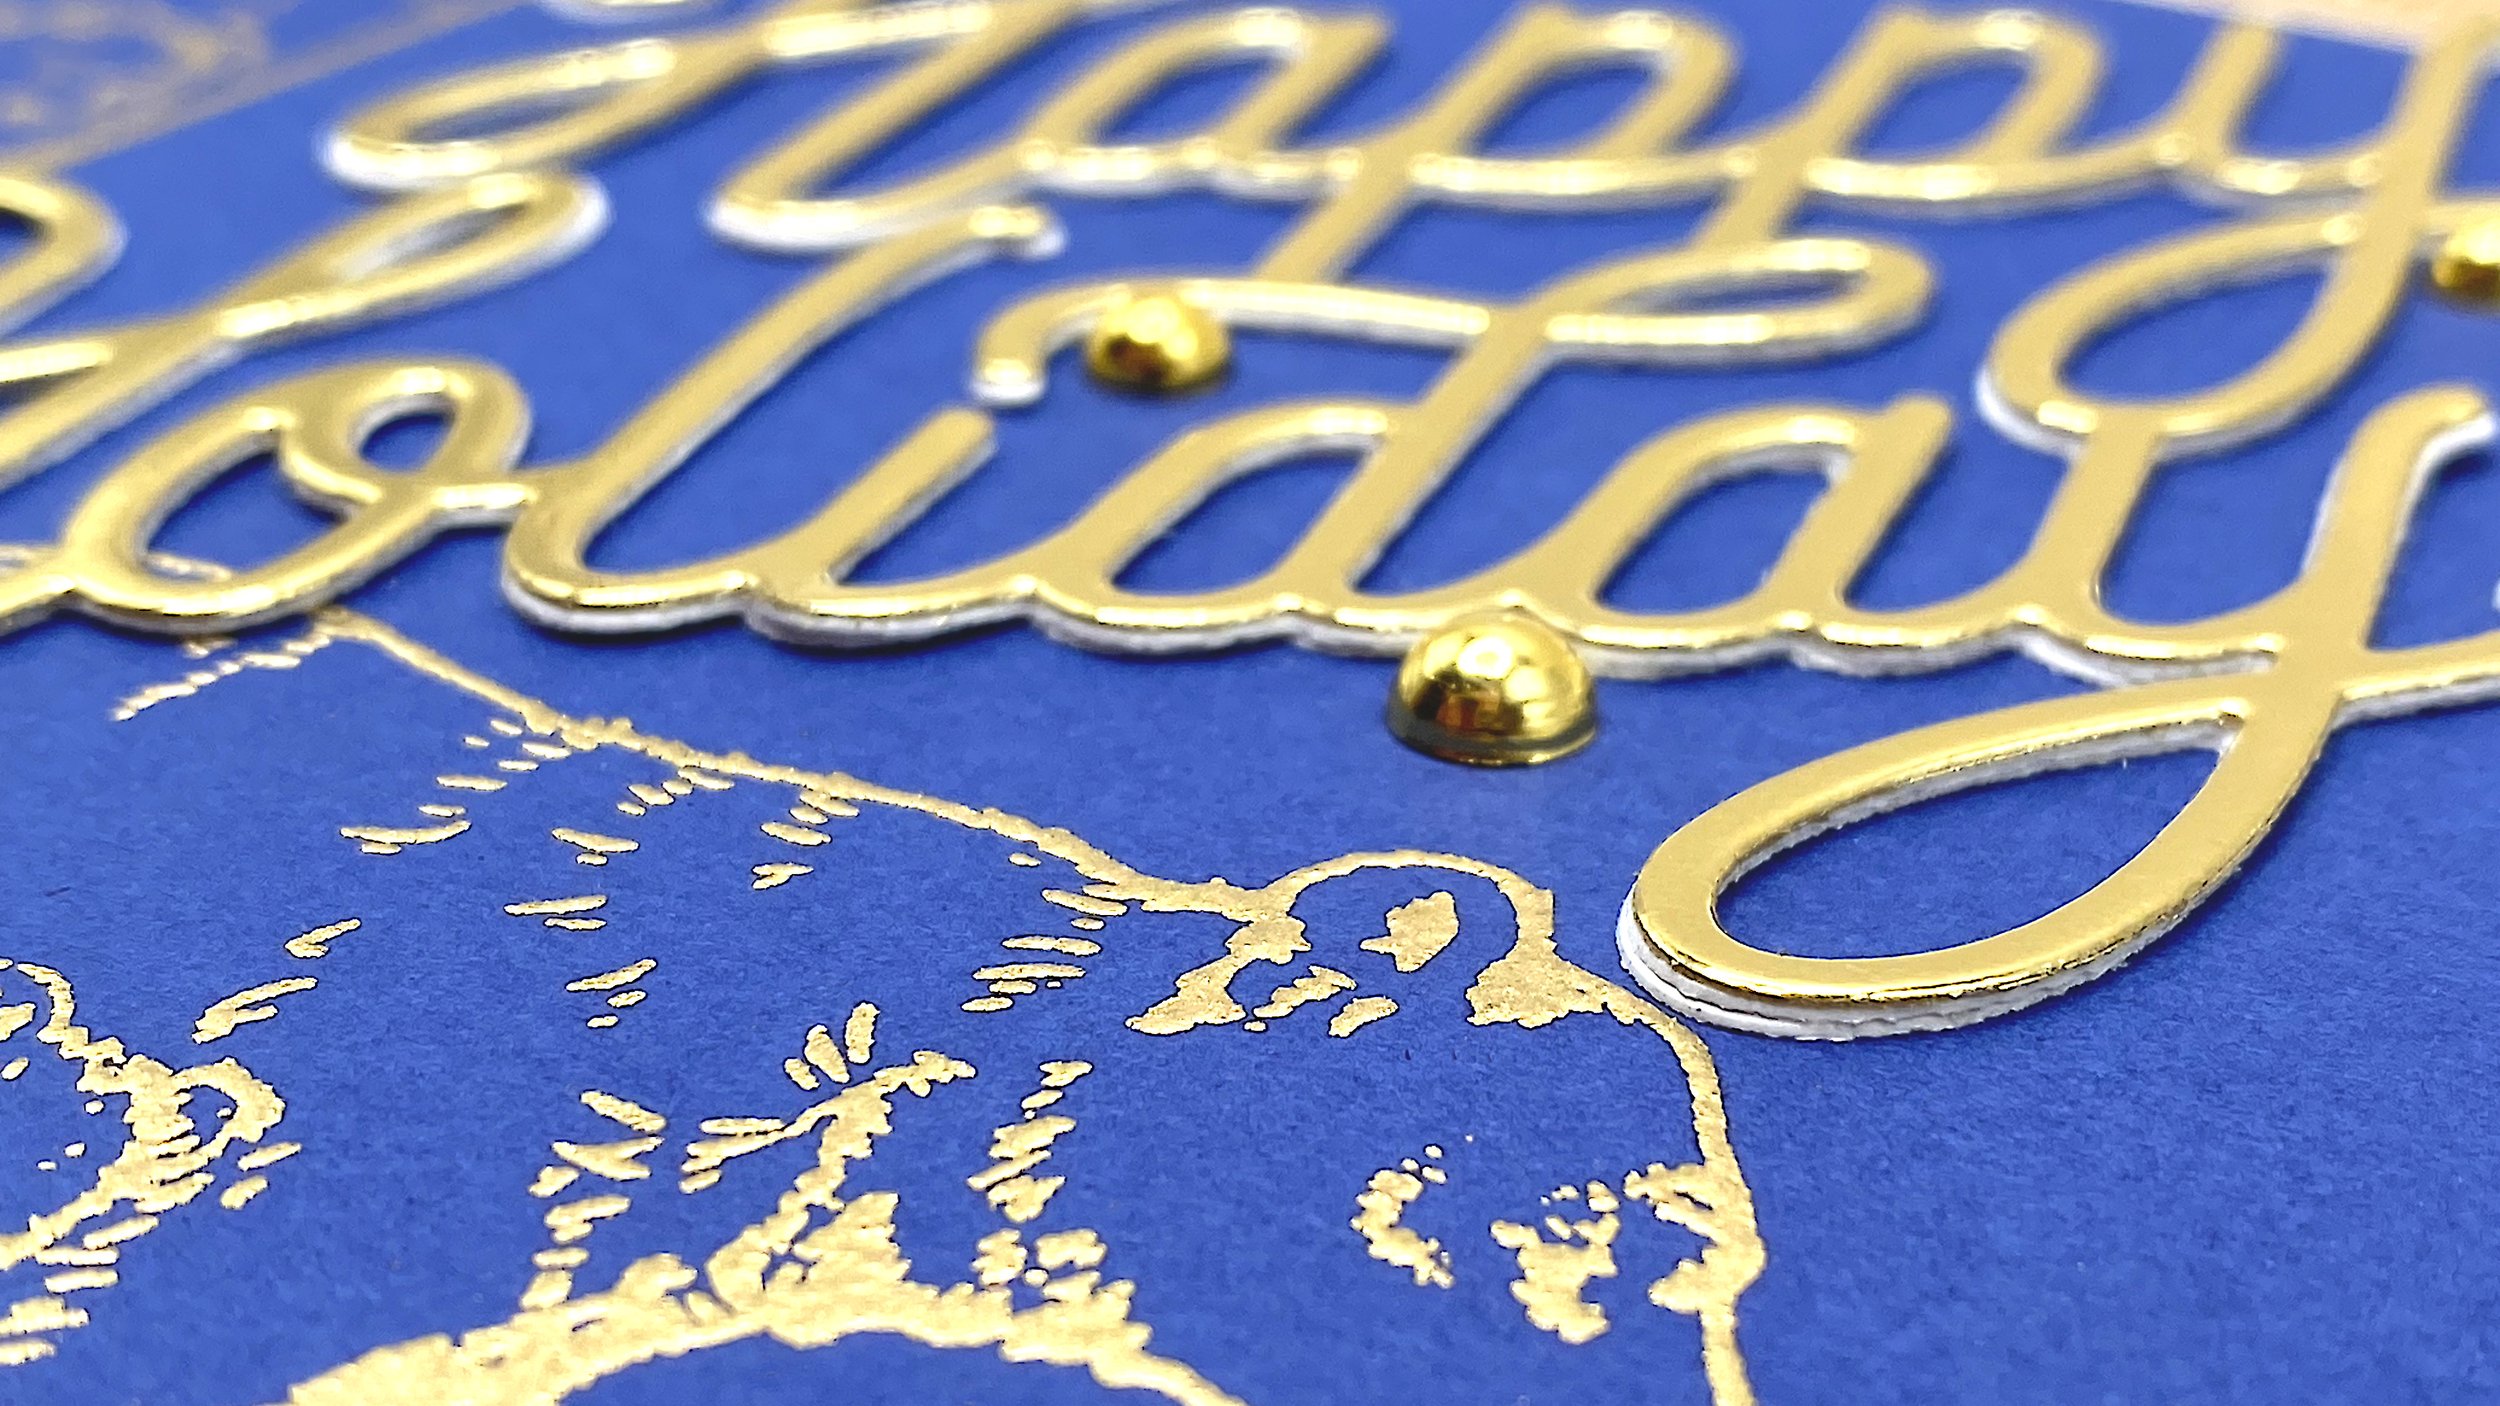
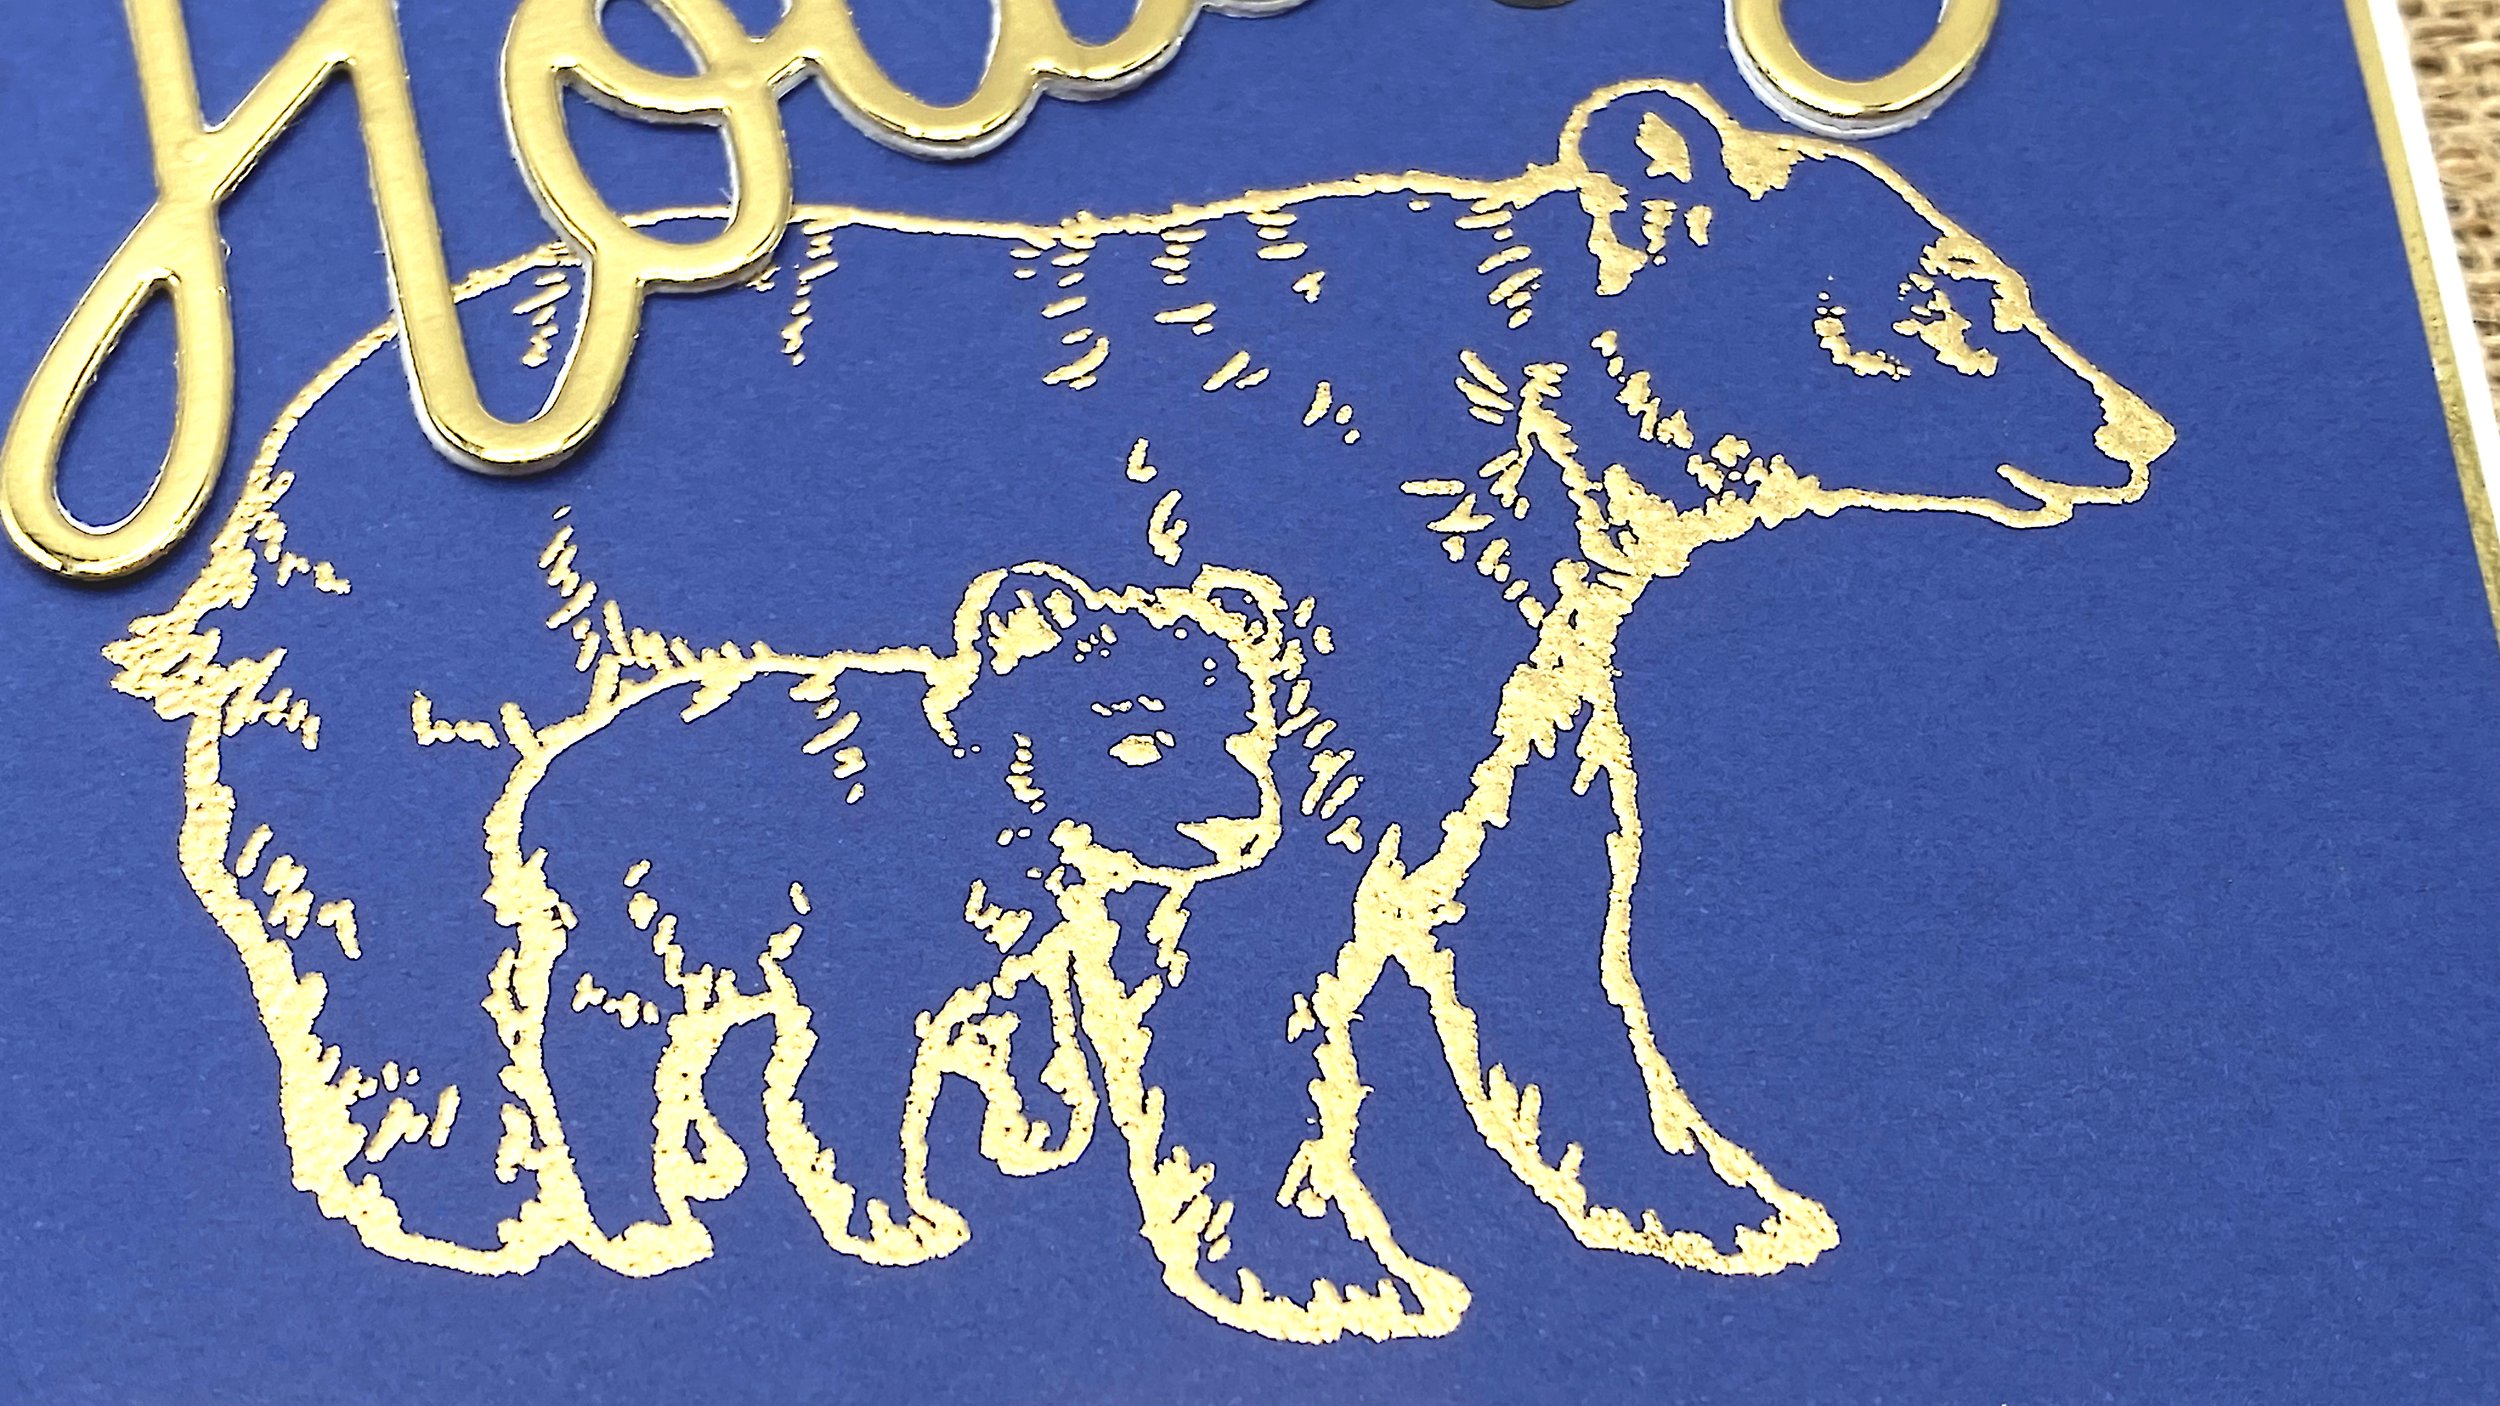
Next I’m stamping the bears at the bottom center of the blue panel. First I use my anti-static powder tool on the cardstock, then I stamp in Versamark ink. I’ve recently had to reink my Versamark pad. Now I only have to stamp once to get all the detail. I heat emboss the bears with Ranger’s Super Fine Detail Gold Embossing Powder. I love seeing the powder melt under my Wagner heat tool.
Die cutting
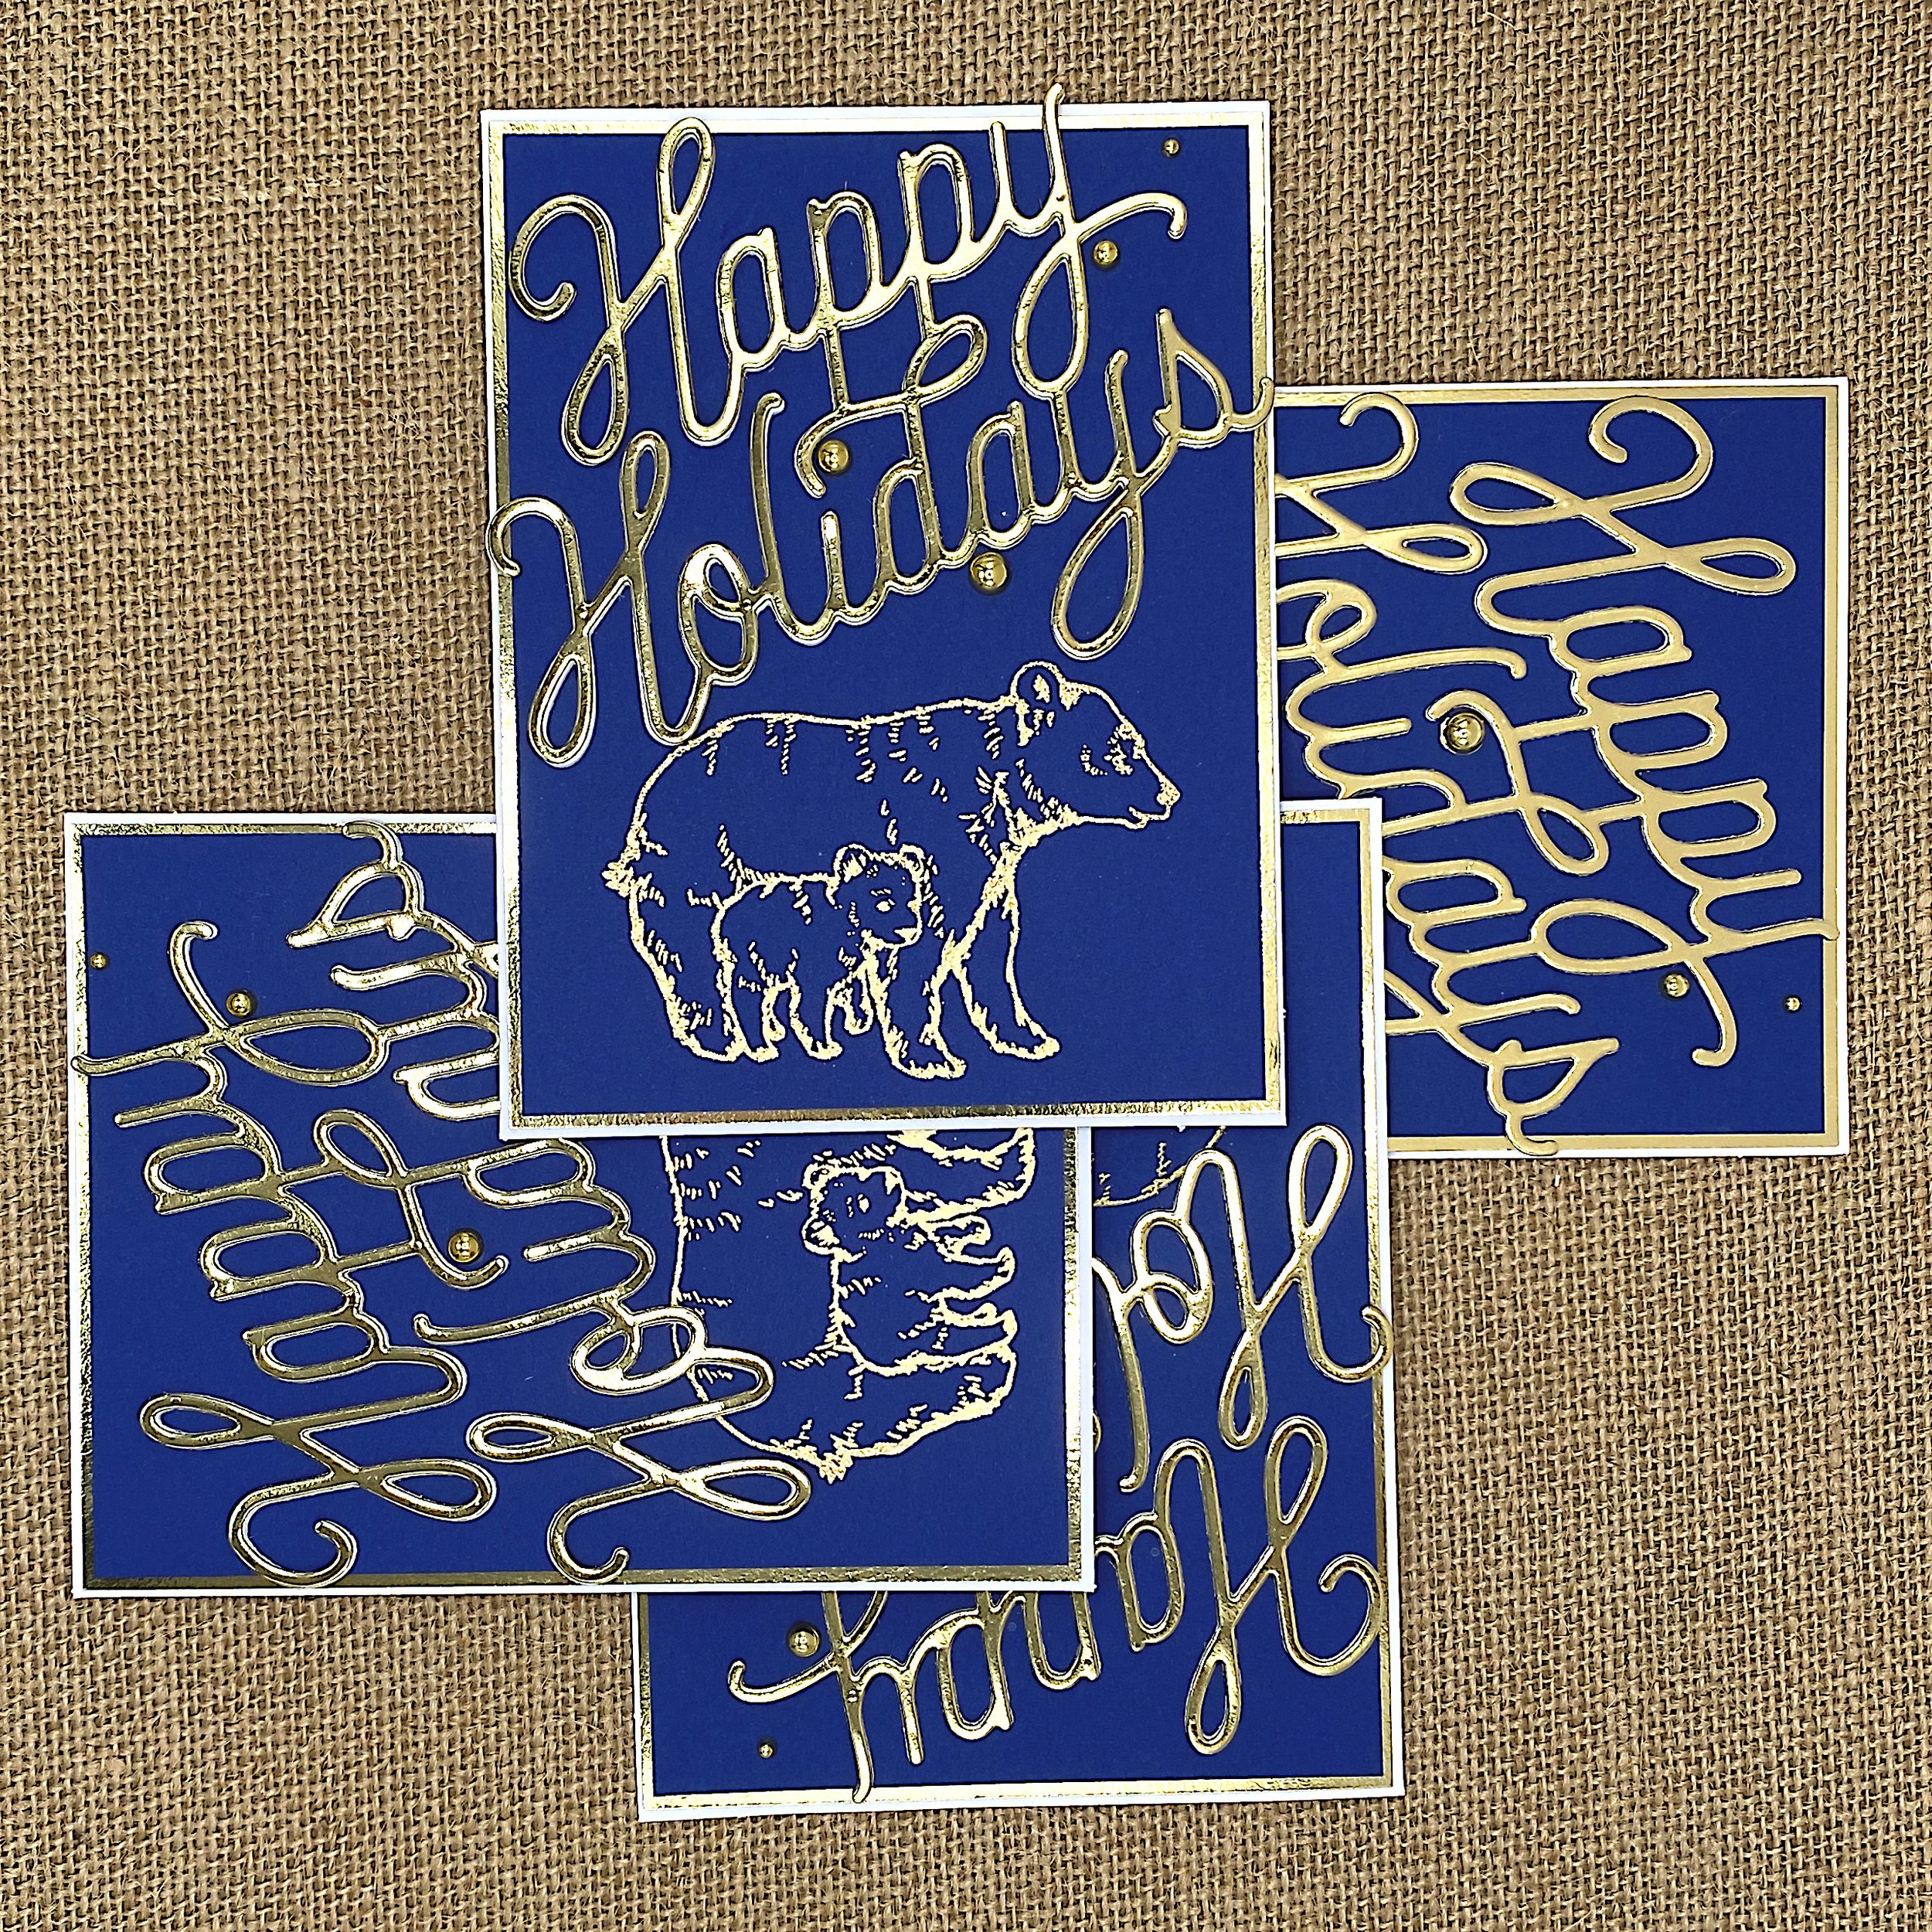
The Holiday Messages die is big. I cut it once from gold foil and twice from Accent Opaque and stack them.
Big sentiments like this one are hard to stack all at once. Often the glue sets before I’ve had a chance to line everything up. So I glue it in stages. Usually if I’ve got the first part right, the rest of the sentiment almost aligns itself.
Matting and centering tips
Always dry fit before gluing! Dry fitting means to place something where you want it without glue. Because there is no glue, you can take your time and get the placement exactly where you want it.
Then stop and note the distances from the element to the edges of the panel or card base. Only then do you pick up the card element and add glue to it. When you put it down again, try to recreate the same distances to the edges as you had in the dry fitting.
The first few times you’ll still feel a bit at sea. But if you keep doing this you’ll get better and better at it. Soon you’ll be as good as Jennifer McGuire. 😊
When it comes to centering things, I use both hands when placing the card element. That’s handy because my hands are roughly the same size. So if I can fit my right index finger between the card element and the right edge of the panel, then I should also be able to fit my left index between the card element and the left edge of the panel.
When matting, I like to place the mat with the long edge toward me. Then I put down the top panel starting at the left side. There I can see the distance between the edges on three sides at the same time. If those three are the same, I can be reasonably sure that the fourth distance is going to be the same too.
If you’re left handed, try the same method but starting on the right side. That way you hold the top panel with your dominant hand.
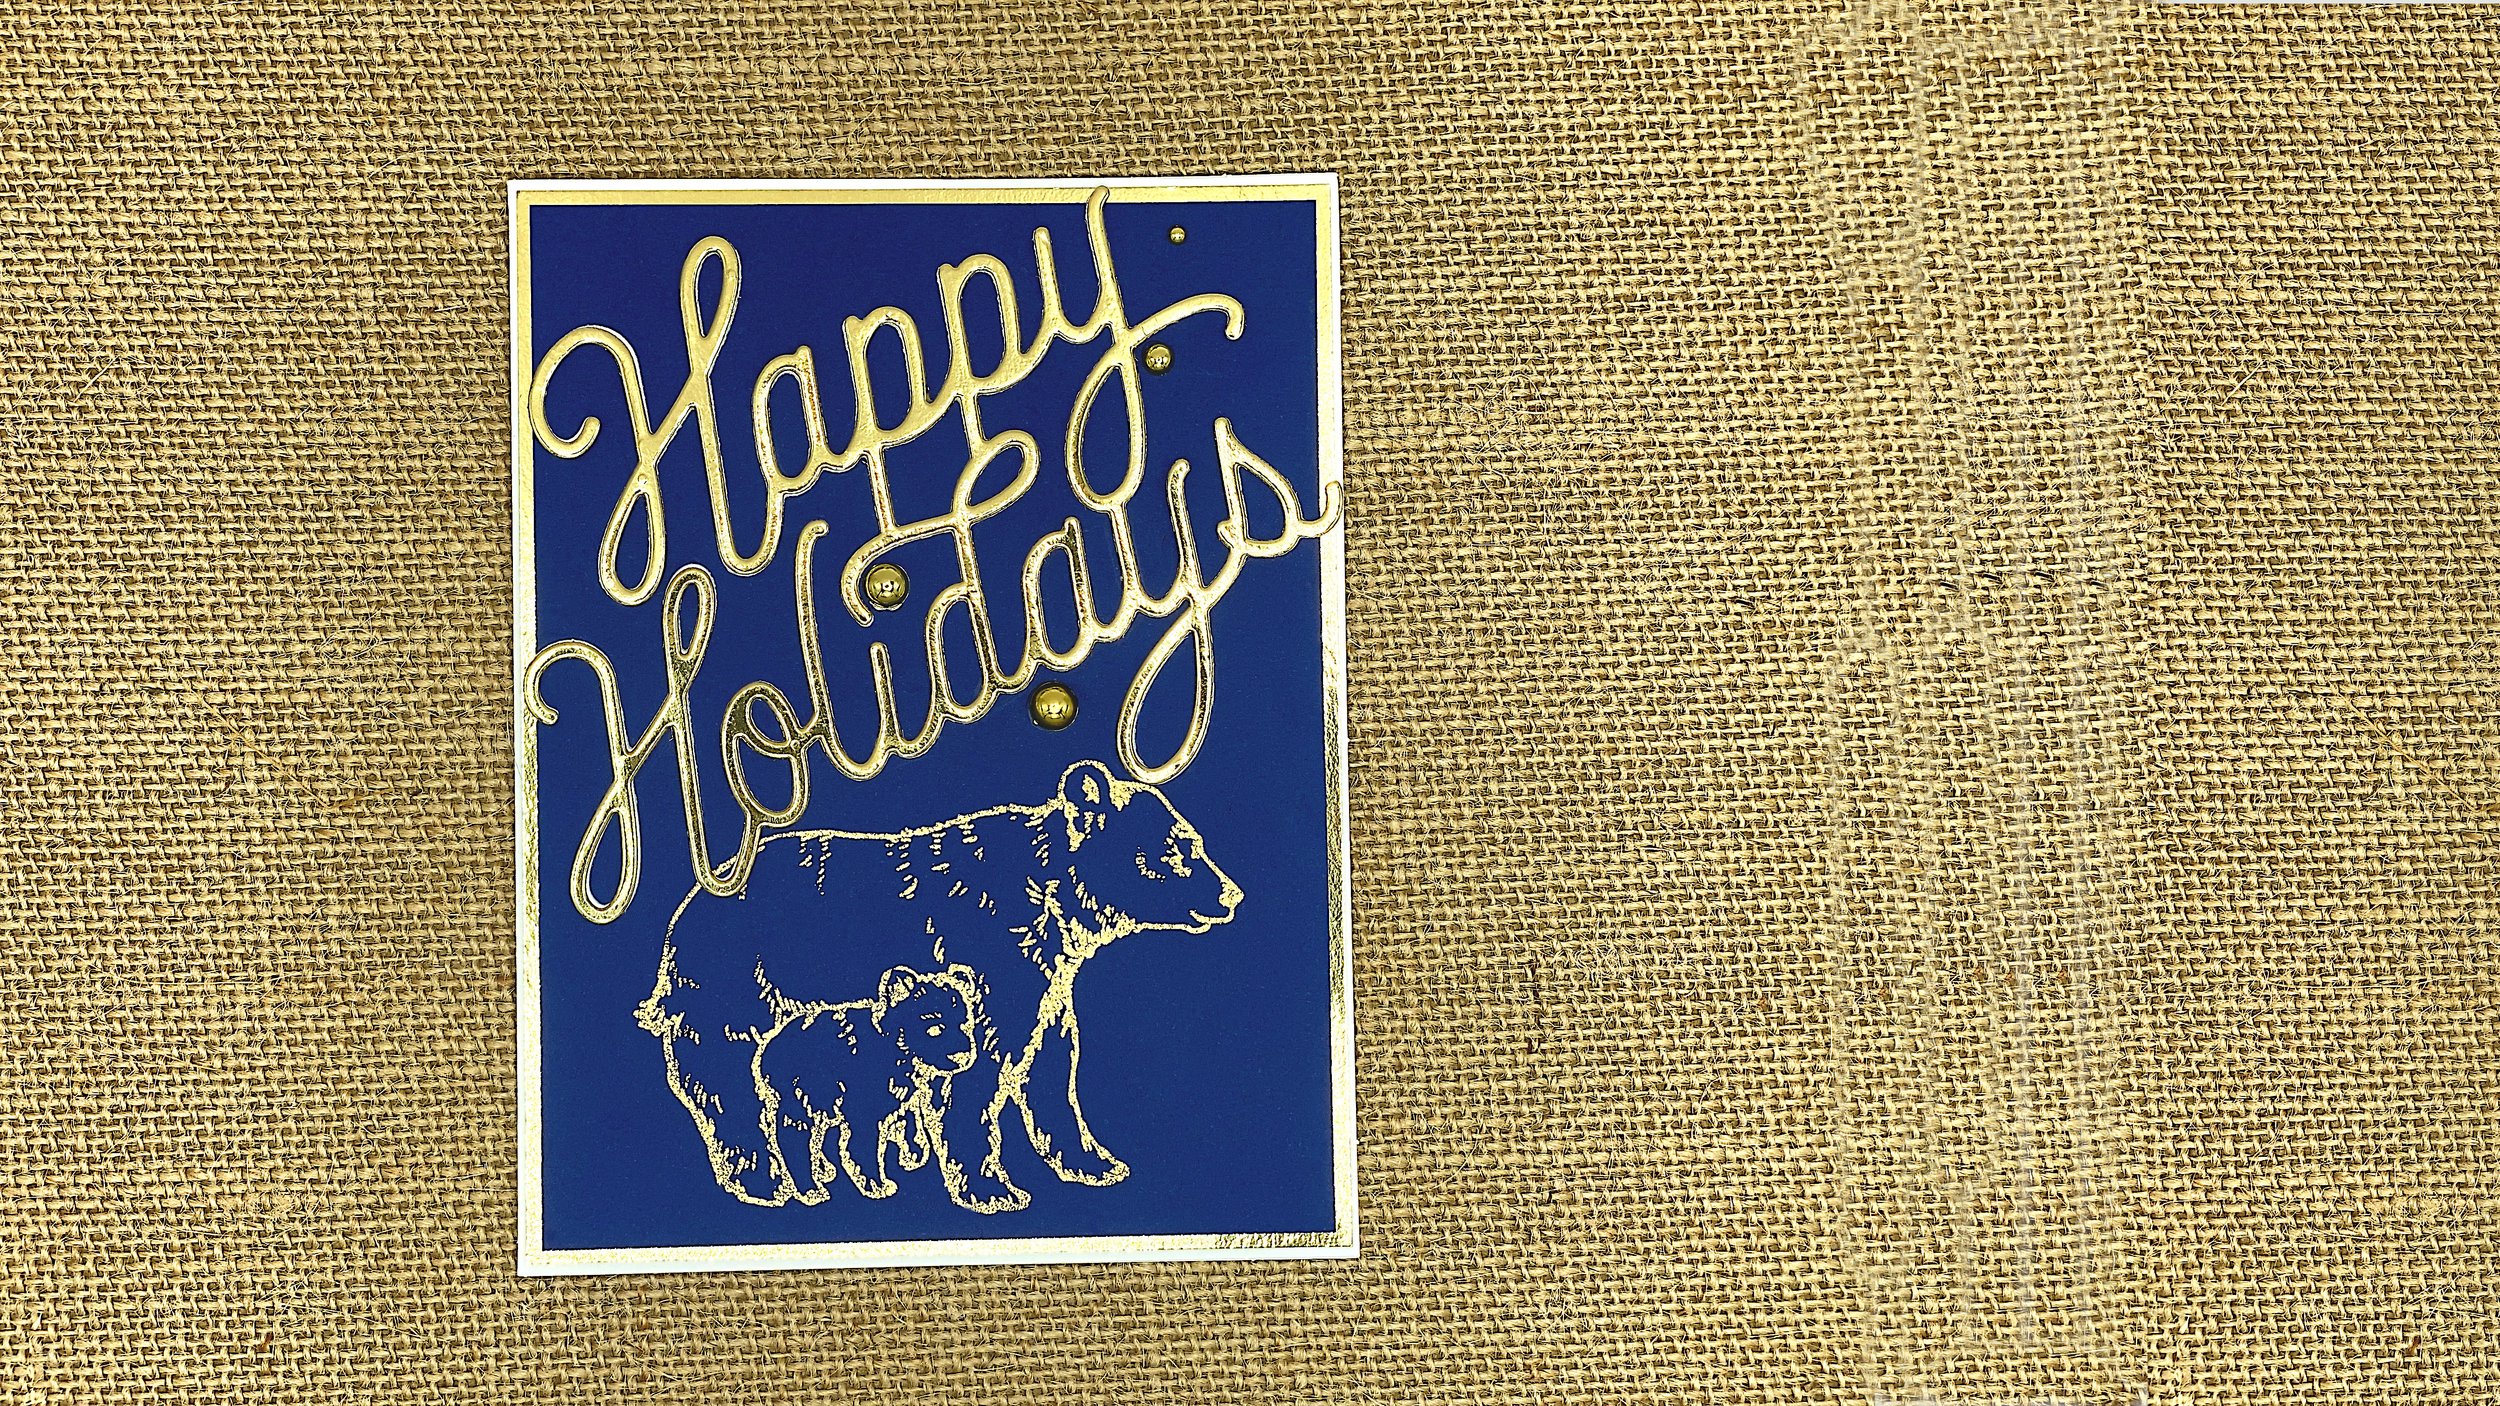
Assembling the card
I adhere the sentiment to the top of the blue panel. Then I can matte the blue panel with the gold foil cardstock. The stamping inside the card base should be dry by now, so I can fold the card base with my teflon bone folder. Finally I adhere the matted panel to the card base and scatter a few gold pearls across it.