

Bring on the heat embossing tutorial
Affiliate links: You support my business whenever you click on a link and buy something, and it doesn’t cost you a penny extra.
The topic of Sunday’s Insta hop was Bring on the Heat Embossing, so I did a lot of heat embossing on this card. The die set I used for the landscape is called Color Block Landscape. It’s by Spellbinders and I’m reasonably sure it was inspired by the desert environment of their HQ in Arizona. It even includes a saguaro cactus. But of course it can be used for any mountainous landscape. I’ve used it for Yule cards, for instance.


Ink-blended landscape
I knew I wanted hot colors for the landscape itself, but I die cut the landscape from white Accent Opaque cardstock. Many colored cardstocks are not as hefty as Accent Opaque. Then I used Distress Oxide Inks to color them. If you’re wondering about the color choices, they were inspired by the flag of Arizona. I glued the pieces onto copy paper.
The sky is made from a whole piece of cardstock. In hindsight I think it might have looked better if I had cut them with my trimmer. But I just used low-tack tape to mask off horizontal bands. I ink blended them with more Distress Oxide Inks. When I was done, I added the sky to the landscape.
Heat-embossed suns
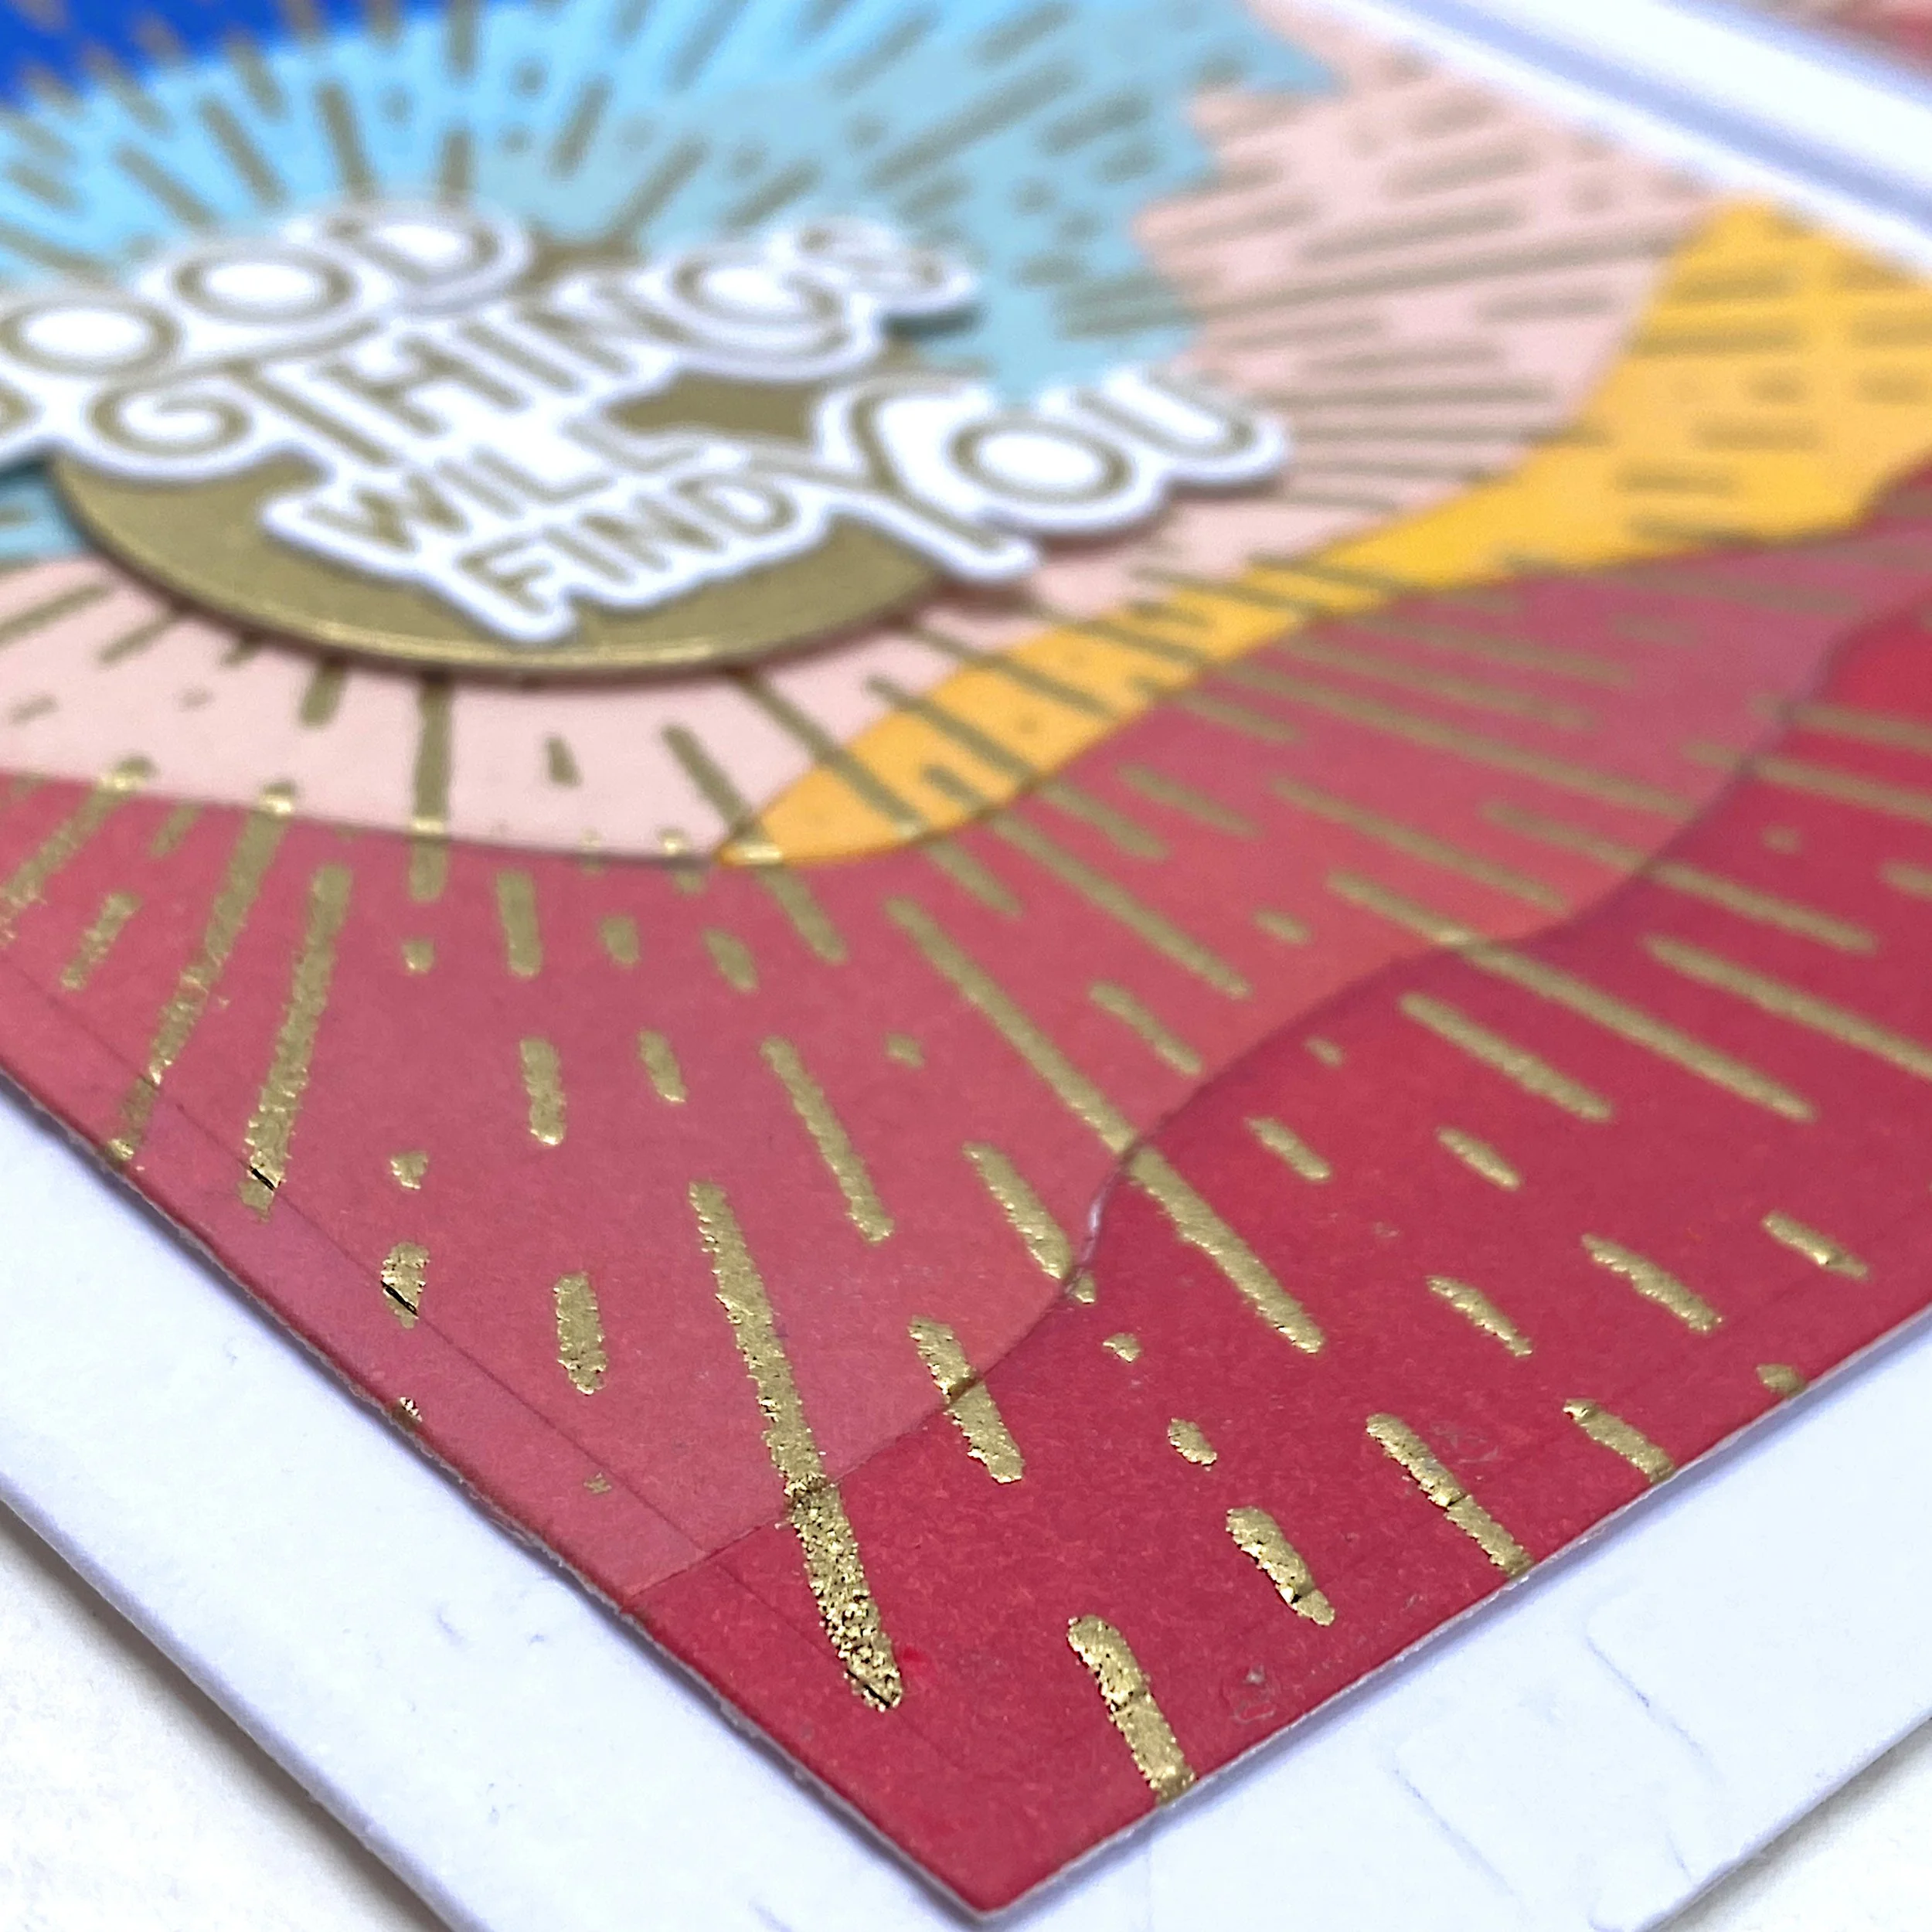
So far I hadn’t done any heat embossing but that was about to change. I decided I wanted the sun slightly off center and touching the horizon. So that’s where I centered my sun ray stencil. I ink blended over it with Versamark heat embossing ink and heat embossed the pattern with gold embossing powder. When you’re heat embossing an ink blended surface, you need to make sure that the ink has dried first. I let my card fronts dry overnight. I also used anti-static powder before embossing. Any stray embossing powder I removed with a dry brush.
Then I cut down my card fronts with my Spellbinders A2 nested die set. I dry embossed the card bases with a script embossing folder and adhered the card fronts.
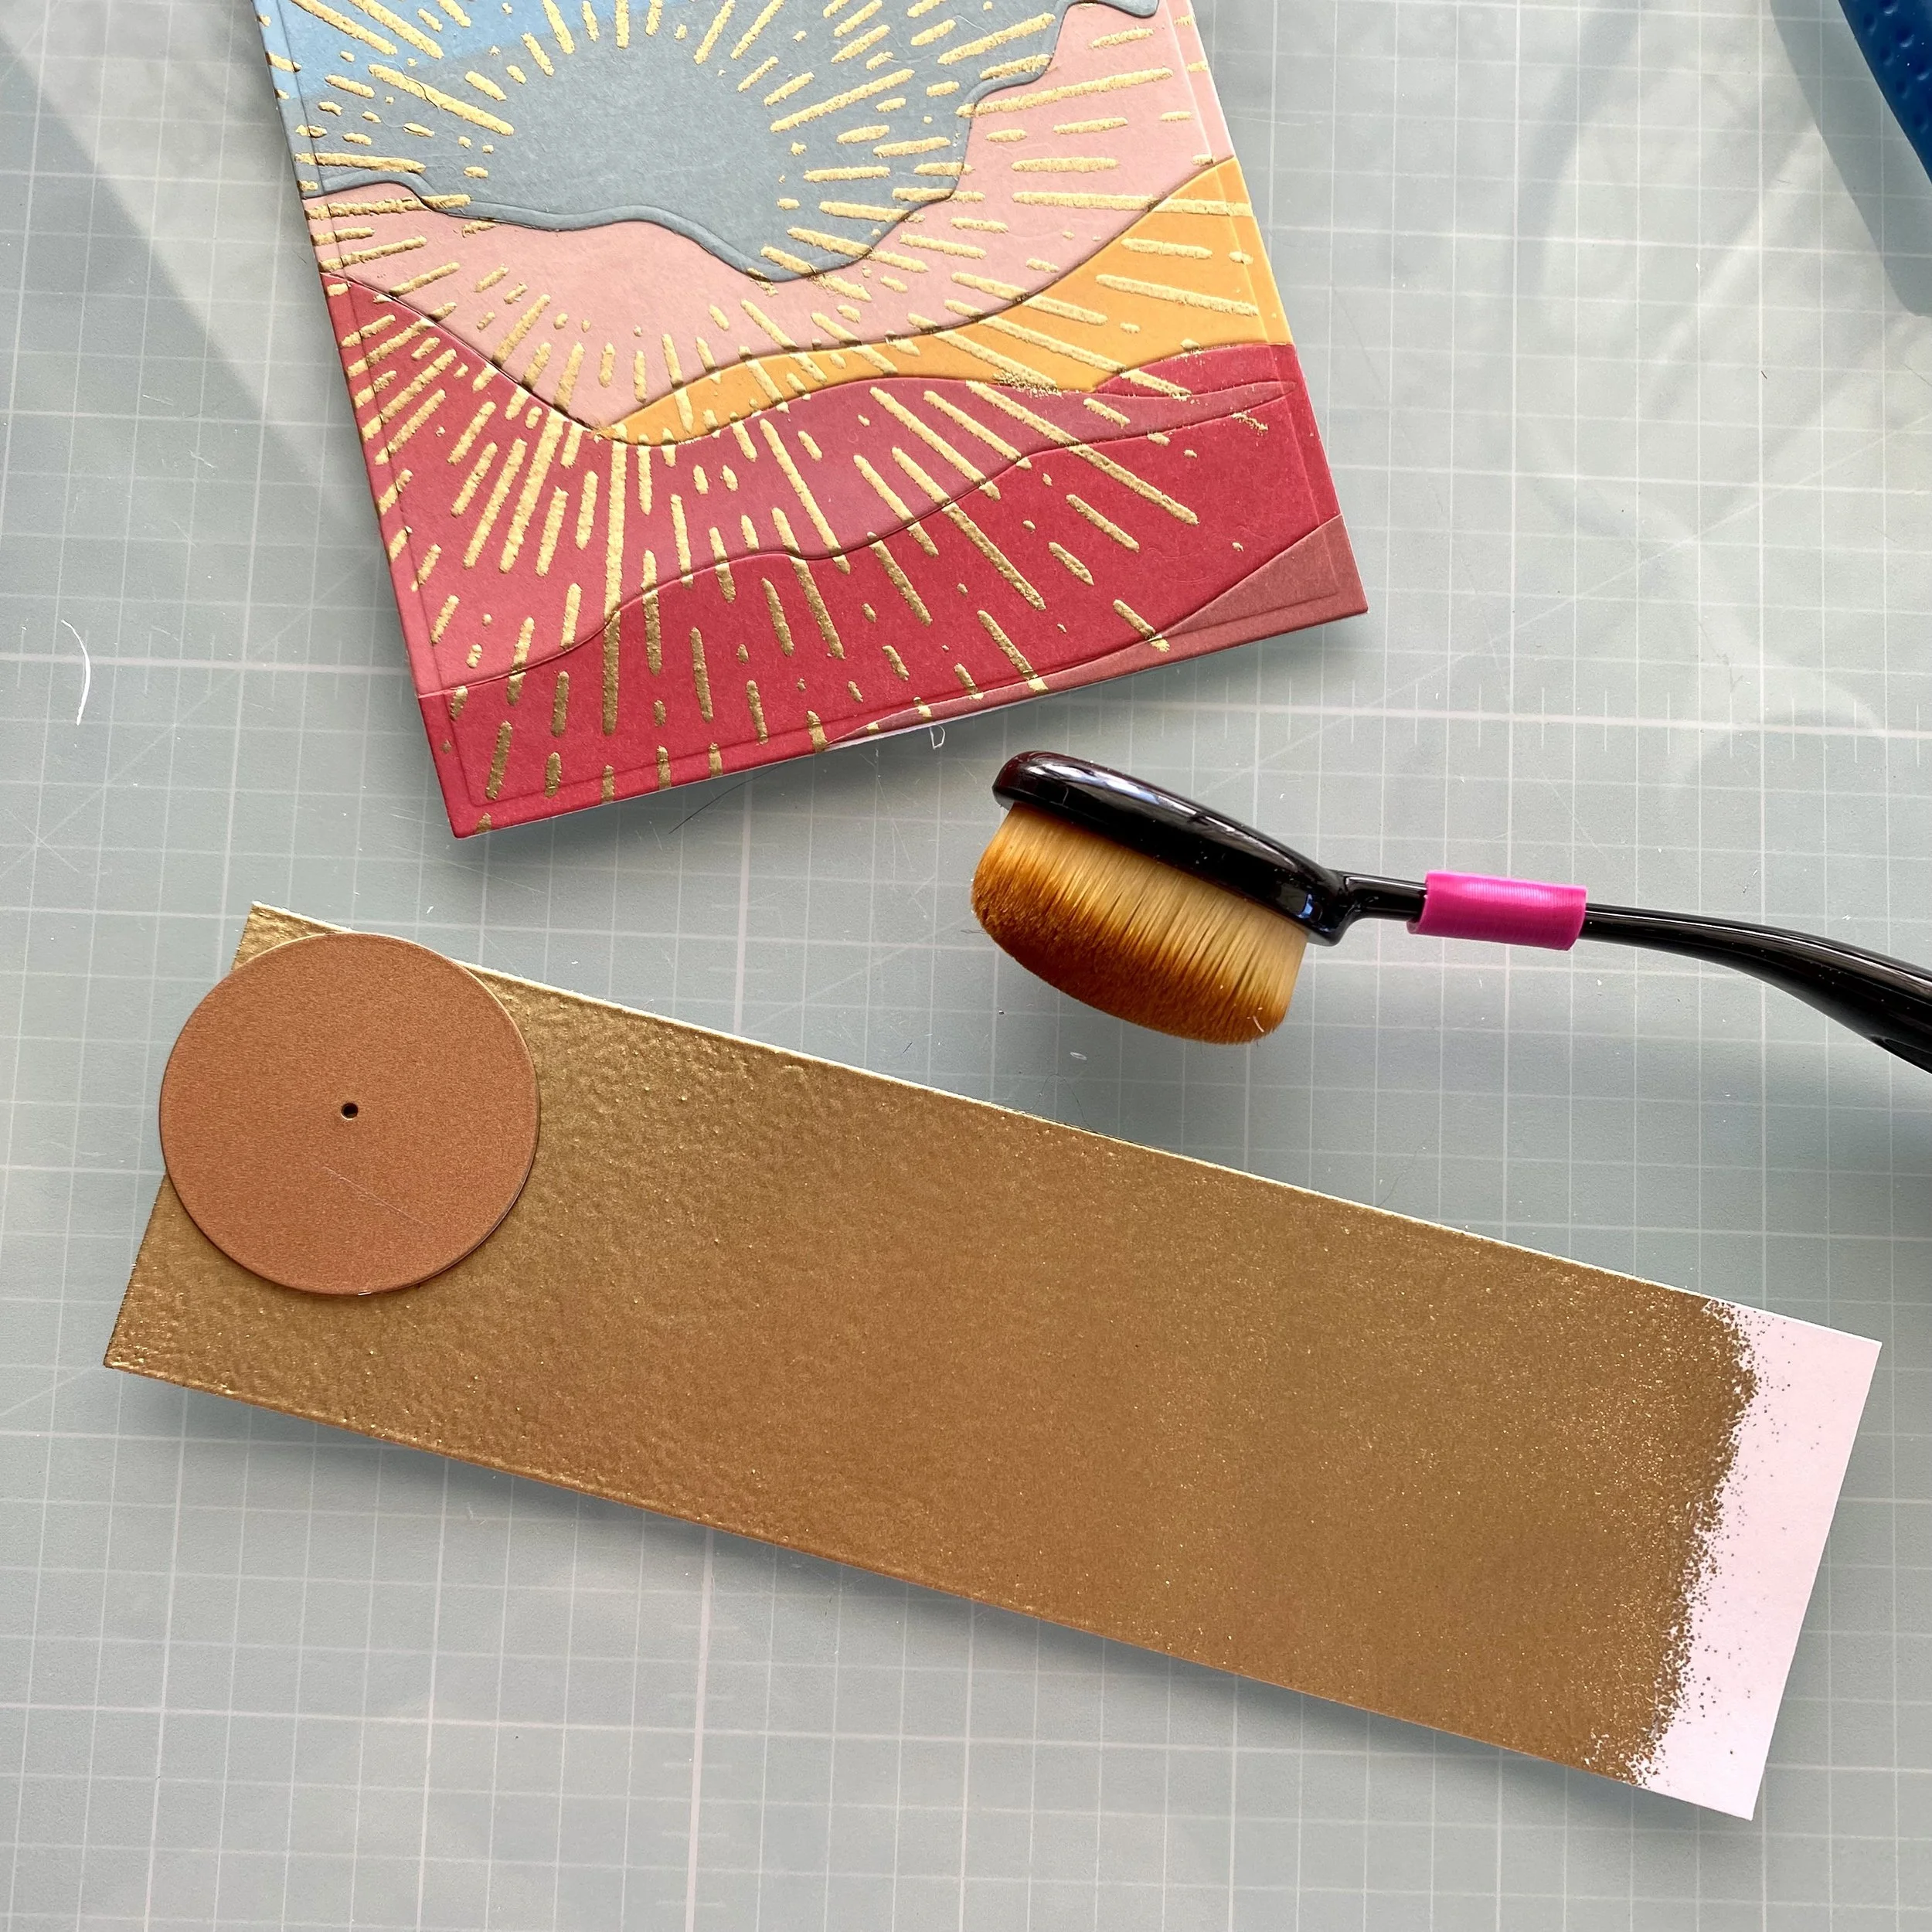
To ensure that the sun would match the rays, I dragged my Versamark ink pad across a piece of cardstock and heat embossed it with gold embossing powder. I actually did it twice to get really solid coverage. Then I die cut my suns from it. I adhered the suns with a little foam to raise them off the surface of the card.


Sentiments
The encouraging sentiment is from Pinkfresh Studio’s Wonderful Sentiments set. I just love the Art Deco style of these! I heat embossed it in gold, of course. Then I die cut it and doubled it up to adhere to the sun.